What makes the perfect scoop of ice cream on a warm day? Fresh mint leaves and dark chocolate chips come together in this easy homemade ice cream recipe, made with just a handful of ingredients and a simple churning process. Save this idea for a quick family favorite dessert to enjoy all summer long.
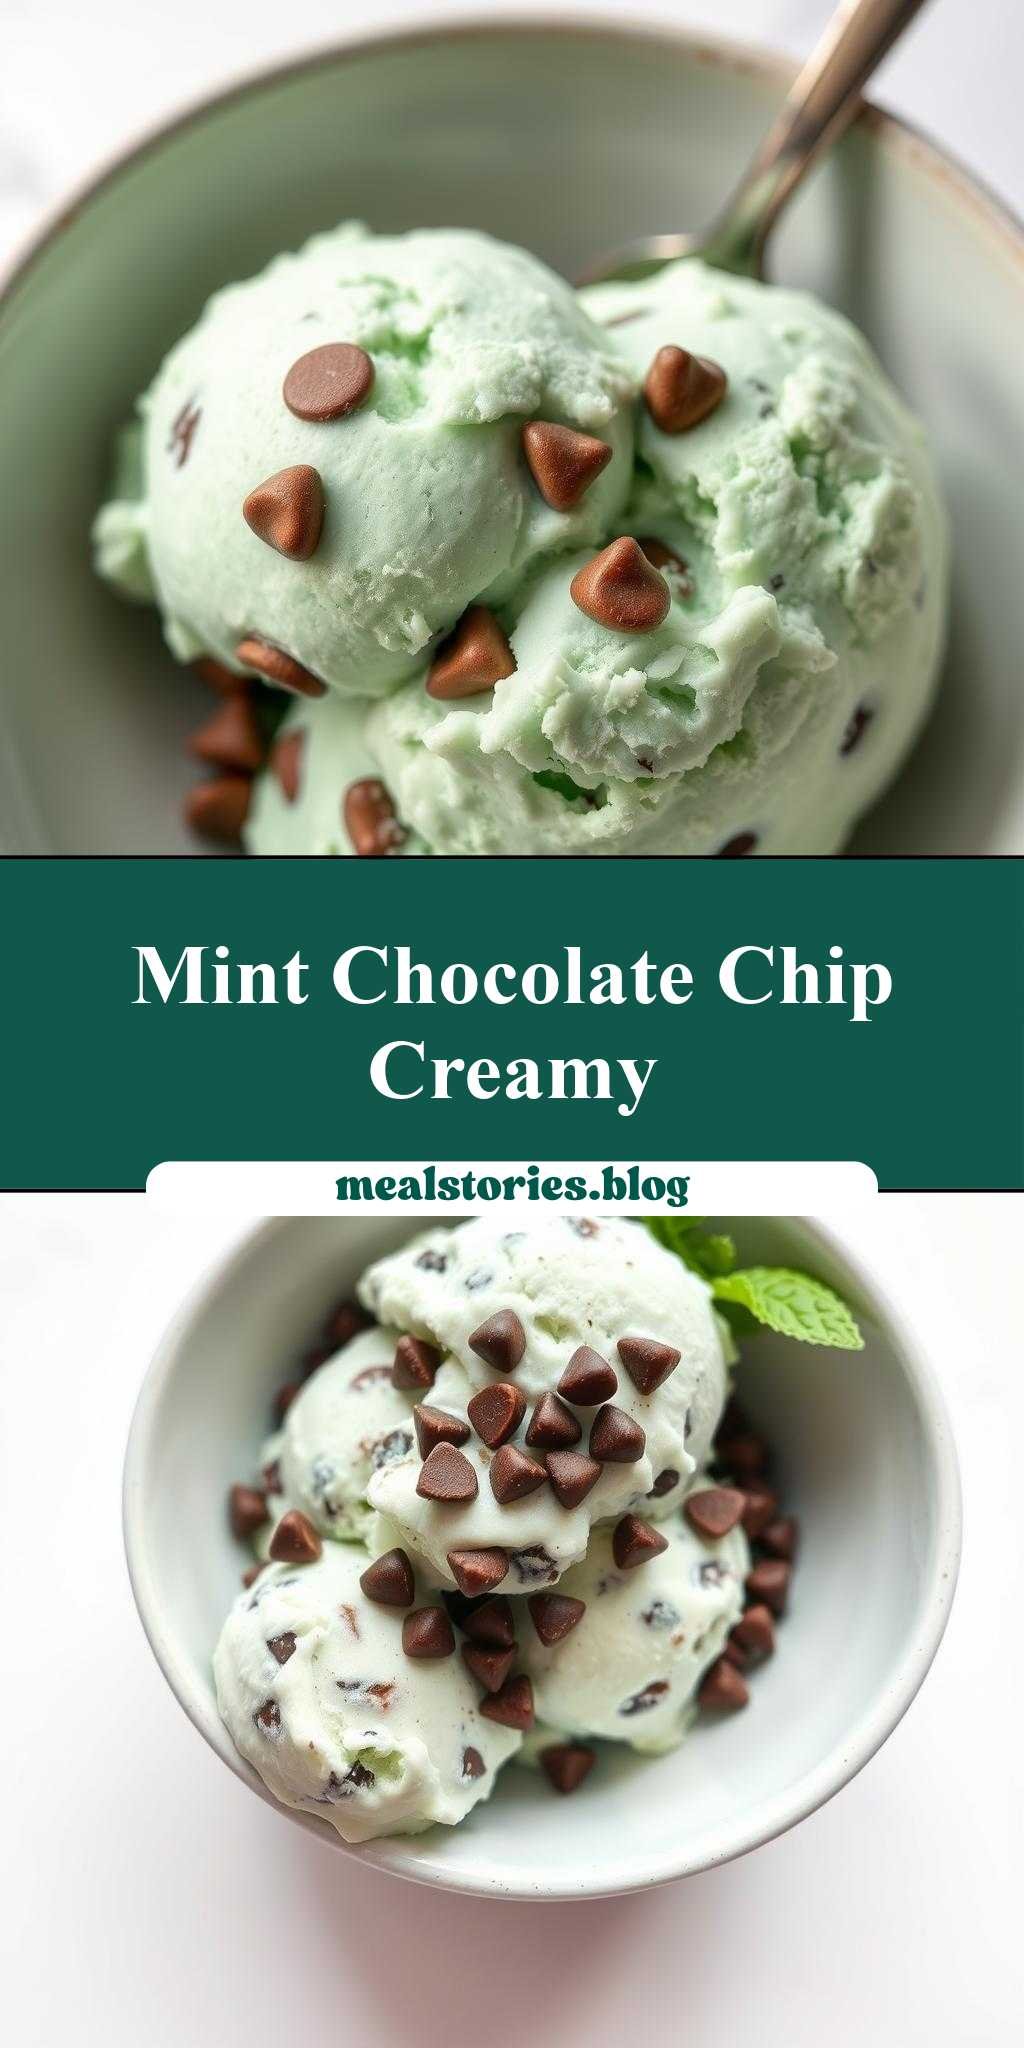
mint chocolate chip ice cream recipe in a bowl
Introduction
Imagine a refreshing dessert that combines the coolness of mint with the richness of chocolate, all in the comfort of your own home. This mint chocolate chip ice cream recipe in a bowl is a game-changer for anyone looking to create a unique and delicious treat without needing an ice cream maker. Using everyday ingredients and a bit of creativity, you can create a dessert that’s not only impressive but also incredibly easy to make. The best part? You can customize it to your taste, whether you prefer a stronger mint flavor or more chocolate chips. In this article, we’ll guide you through the process of making this incredible dessert, from the key ingredients to the final touches.
Why This Works
- Flavor balance and ingredient accessibility: This recipe strikes a perfect balance between the freshness of mint and the sweetness of chocolate, using ingredients that are easily found in most grocery stores.
- Ease of preparation: Despite its decadent taste, this ice cream is surprisingly simple to make, requiring minimal cooking and no special equipment beyond a blender and a freezer.
- Impressive results with minimal effort: The end result is a creamy, flavorful ice cream that looks and tastes like it was made by a professional, all with less than 30 minutes of active preparation time.
Key Ingredients
The main ingredients for this mint chocolate chip ice cream recipe include fresh mint leaves, heavy cream, whole milk, granulated sugar, and high-quality dark chocolate chips. For the mint, you can use either fresh leaves or peppermint extract, depending on what’s available and your personal preference. The heavy cream and whole milk provide the richness and creaminess, while the sugar balances out the bitterness of the chocolate and the freshness of the mint. If you’re looking for substitutions, you can use half-and-half instead of heavy cream for an even richer texture, or try different types of chocolate chips for varying flavor profiles.
Instructions
- Step 1: Begin by preparing your ingredients. Rinse the fresh mint leaves and pat them dry. If using peppermint extract, have it ready. Measure out the heavy cream, whole milk, granulated sugar, and chocolate chips.
- Step 2: In a blender, combine the heavy cream, whole milk, granulated sugar, and fresh mint leaves (or peppermint extract). Blend the mixture on high speed until the sugar is fully dissolved and the mint is well combined. Taste and adjust the sweetness or mint flavor as needed.
- Step 3: Pour the mixture into a bowl and cover it with plastic wrap, making sure the wrap touches the surface of the mixture to prevent a skin from forming. Refrigerate for at least 2 hours or overnight to allow the flavors to meld and the mixture to chill.
- Step 4: Once the mixture is chilled, remove it from the refrigerator and pour it into an ice cream maker. Follow the manufacturer’s instructions to churn the ice cream. Alternatively, if you don’t have an ice cream maker, you can pour the mixture into a 9×13 inch baking dish and freeze it in the freezer, stirring every 30 minutes until the desired consistency is reached, which should take about 2 to 3 hours. Once the ice cream is almost fully set, fold in the chocolate chips.
Handy Tips
- For a more intense mint flavor, you can increase the amount of fresh mint leaves or add a few drops of peppermint extract to the mixture before freezing.
- To avoid ice crystals in your ice cream, make sure the mixture is well chilled before freezing, and stir it regularly if you’re using the “no-churn” method.
- Experiment with different types of chocolate chips, such as white chocolate or caramel-filled chips, for unique flavor combinations.
Heat Control
Since this recipe primarily involves chilling and freezing, heat control is minimal. However, if you’re melting the chocolate chips to create a swirl pattern in your ice cream, do so over low heat in a double boiler or in short increments in the microwave, stirring between each heating to avoid burning the chocolate.
Crunch Factor
The crunch factor in this recipe comes from the chocolate chips. To enhance the texture, you can also add other crunchy elements like chopped nuts (walnuts or pecans work well), candy pieces, or even cookie dough chunks. Simply fold these ingredients into the ice cream along with the chocolate chips during the last stage of freezing.
Pro Kitchen Tricks
- For a lighter, more aerated ice cream, whip the cream separately before folding it into the chilled mixture, then proceed with freezing.
- To make your ice cream more visually appealing, press a piece of parchment paper or plastic wrap onto the surface of the ice cream after it’s frozen, then use a spatula or spoon to create a decorative swirl or pattern before serving.
Storage Tips
- Store your homemade mint chocolate chip ice cream in an airtight container in the freezer to preserve freshness and prevent ice crystal formation.
- For leftovers, consider portioning the ice cream into individual serving containers or ice pop molds for easy grab-and-go treats.
- The ice cream will typically keep for up to 3 days in the freezer, though it’s best consumed within a day or two for optimal flavor and texture.
Gift Packaging Ideas
This ice cream makes a wonderful gift, especially during warmer months. Consider packaging it in decorative glass jars or containers, topped with a ribbon or a gift tag. You can also include a bag of homemade cookies or wafers on the side for a complete dessert gift set. For a more personalized touch, write out the recipe on a card and include it with the gift, along with any suggested toppings or mix-ins.
Flavor Variations
- Different spices: Add a pinch of salt or a teaspoon of vanilla extract to enhance the flavor profile of your ice cream.
- Creative toppings: Offer a variety of toppings such as whipped cream, caramel sauce, chopped nuts, or even candy pieces to let everyone customize their own sundae.
- Ingredient swaps: Try using coconut milk instead of heavy cream for a dairy-free version, or experimenting with different types of mint like spearmint or chocolate mint for unique flavor twists.
Troubleshooting
- Texture problems: If your ice cream turns out too icy, it may be due to insufficient stirring during the freezing process. If it’s too soft, it might not have been frozen long enough.
- Ingredient replacements: If you’re out of heavy cream, you can substitute it with a mixture of milk and butter for a similar richness, though the texture might be slightly different.
- Over/undercooking signs: Since this recipe doesn’t involve cooking, the main concern is freezing time. Underfrozen ice cream will be too soft, while overfreezing can make it too hard and icy.
FAQs
- Can I freeze it? Yes, this ice cream is designed to be frozen. In fact, freezing is what gives it its signature texture.
- Is it gluten-free? Yes, this recipe is naturally gluten-free, making it a great option for those with gluten intolerance or sensitivity.
- Can I double the recipe? Absolutely. Simply multiply all the ingredients by two and proceed with the instructions as given. Keep in mind that freezing time might be slightly longer for a larger batch.
Conclusion
Making mint chocolate chip ice cream in a bowl is a fun and rewarding process that yields a deliciously unique dessert perfect for any time of the year. With its refreshing mint flavor, rich chocolate chips, and creamy texture, this ice cream is sure to become a favorite. Feel free to experiment with the recipe, trying out different flavors and mix-ins to create your own signature ice cream flavors. Whether you’re a seasoned cook or just starting out, this recipe is a great way to explore the world of homemade ice cream and enjoy the fruits of your labor in a cool, creamy bowl.