What makes a chocolate treat truly unforgettable? Rich, velvety chocolate and a homemade touch. These easy chocolate truffles are made with heavy cream and dark chocolate for a decadent flavor. Save this idea for a quick dessert solution to impress your family and friends.
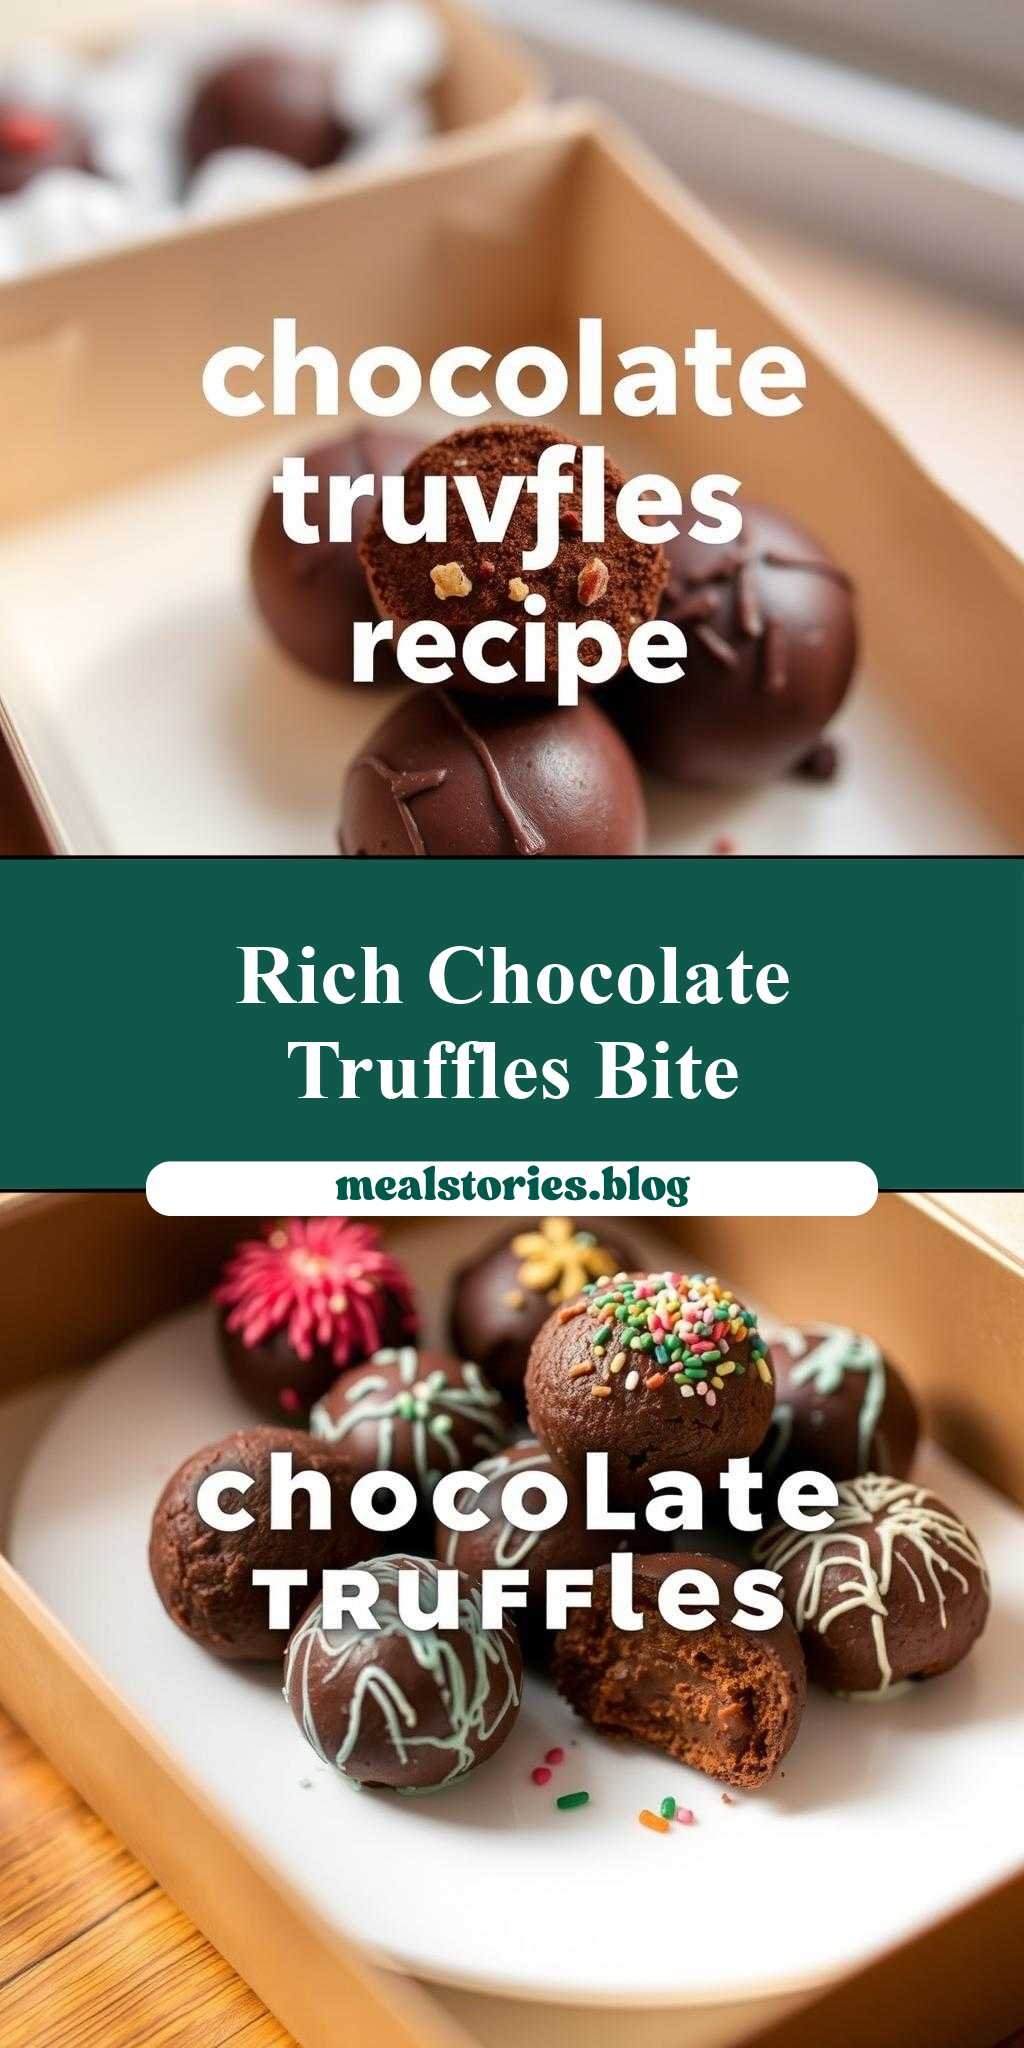
Chocolate Truffles in a Box with Text Overlay that Reads Chocolate Truffles Recipe
Introduction
Indulge in the richness of chocolate and the simplicity of creation with our decadent chocolate truffles recipe. This treat is not only a delight to the palate, but it’s also incredibly easy to make, requiring just a few everyday ingredients. The best part? You can customize them to your heart’s content, whether you prefer a classic dark chocolate, a fruity twist, or a nutty surprise. With minimal effort, you’ll be able to impress your friends and family with these professional-looking, mouthwatering truffles. So, let’s dive into the world of chocolatey goodness and explore how to make these irresistible bites.
Why This Works
- Flavor balance and ingredient accessibility: Our recipe strikes the perfect balance between rich, velvety chocolate and subtle additional flavors, all using ingredients that are easily found in most grocery stores.
- Ease of preparation: Despite their luxurious appearance, these truffles are surprisingly simple to prepare. The process involves melting, mixing, chilling, and rolling – steps that are hard to mess up.
- Impressive results with minimal effort: With just a few steps and about 30 minutes of active time, you’ll end up with a batch of truffles that look like they came straight from a high-end chocolatier.
Key Ingredients
The foundation of our chocolate truffles includes high-quality dark chocolate (at least 70% cocoa for the best flavor), heavy cream, and unsalted butter. For flavor variations, you might also use extracts like vanilla or peppermint, different types of nuts for coating (hazelnuts, almonds, etc.), or even dried fruits for added texture and taste. When it comes to substitutions, you can replace heavy cream with a non-dairy milk alternative for a vegan version, or use different types of chocolate chips for varying flavors.
Instructions
- Step 1: Begin by preparing your ingredients. Chop the dark chocolate into small pieces to ensure it melts evenly. Measure out your heavy cream and have your butter ready.
- Step 2: In a double boiler or a heatproof bowl set over a pot of simmering water, melt the chocolate, stirring occasionally. Once melted, remove from the heat and stir in the heavy cream and butter until fully incorporated and smooth.
- Step 3: Allow the mixture to cool to room temperature, then cover and refrigerate for at least 2 hours or overnight. This chilling step is crucial as it will make the chocolate firm enough to roll into balls.
- Step 4: Once chilled, use a melon baller or a spoon to scoop out small portions of the chocolate mixture. Roll each portion between your hands to form a smooth ball. For the final touch, roll each truffle in your chosen coating – cocoa powder, chopped nuts, or confectioners’ sugar – to give them a beautiful finish.
Handy Tips
- Work with chilled ingredients and tools to prevent the chocolate from melting prematurely. If the chocolate starts to melt while you’re rolling the truffles, pop the mixture back into the fridge for about 10 minutes to firm up.
- Experiment with different coatings and flavorings to create unique truffle variations. Consider using cinnamon, cayenne pepper, or orange zest for added depth.
- For a more intense chocolate experience, use a higher percentage of cocoa in your chocolate. However, keep in mind that very dark chocolate can be quite bitter, so balance it with a sweeter coating if needed.
Heat Control
When melting the chocolate, it’s crucial to avoid overheating, as this can cause the chocolate to seize up and become grainy. Using a double boiler is the safest method, as it provides gentle heat. If you’re using a microwave, heat the chocolate in short intervals (10-15 seconds), stirring between each heating to avoid burning the chocolate.
Crunch Factor
The desired texture for chocolate truffles is typically smooth on the inside and crunchy or powdery on the outside, depending on the coating. To achieve a smooth interior, make sure the chocolate mixture is well chilled before rolling. For the exterior, the type of coating you choose will dictate the texture – nuts will provide a crunch, while cocoa powder or confectioners’ sugar will give a softer, more velvety feel.
Pro Kitchen Tricks
- To ensure your truffles are perfectly round and smooth, lightly dust your hands with cocoa powder or confectioners’ sugar before rolling each truffle. This trick helps prevent the chocolate from sticking to your skin.
- For an extra glossy finish on your truffles, melt a small amount of shortening (like coconut oil or vegetable shortening) and brush it over the truffles after they’ve been coated. This step adds a professional touch but is optional.
Storage Tips
- Store your truffles in an airtight container in the refrigerator for up to 2 weeks. Let them come to room temperature before serving for the best flavor and texture.
- If you plan to give the truffles as gifts, consider packaging them in small gift boxes or bags and keeping them chilled until gift-giving.
- While freezing is possible, it’s not recommended as it can affect the texture of the chocolate. However, if you must freeze, place the truffles in a single layer in a freezer-safe bag or container and thaw in the refrigerator overnight when you’re ready to serve.
Gift Packaging Ideas
Chocolate truffles make exquisite gifts, especially when beautifully packaged. Consider placing them in decorative gift boxes, small wooden crates, or even handmade paper cones. Add a personal touch with a ribbon or a gift tag, and don’t forget to include a card with storage and serving instructions to ensure your gift is enjoyed at its best.
Flavor Variations
- Different spices: Infuse your truffles with warmth by adding a pinch of cinnamon, nutmeg, or cayenne pepper to the chocolate mixture.
- Creative toppings: Experiment with various nuts (hazelnuts, almonds, pecans), seeds (sesame, poppy), or even dried fruits and candy pieces for unique coatings.
- Ingredient swaps: Replace heavy cream with a non-dairy alternative for vegan truffles, or use white chocolate for a sweeter, creamier version.
Troubleshooting
- Texture problems: If your truffles are too soft, they may not have chilled long enough. Conversely, if they’re too hard, the chocolate might have been overheated. Adjust your chilling time and melting technique accordingly.
- Ingredient replacements: Always consider the flavor and texture profile when substituting ingredients. For example, using milk chocolate instead of dark will result in a sweeter, milder truffle.
- Over/undercooking signs: Since these truffles don’t require baking, the main concern is the melting and chilling process. Ensure your chocolate is melted smoothly and not overheated, and that it’s chilled until firm to the touch.
FAQs
- Can I freeze it? While it’s possible to freeze chocolate truffles, it’s not the best method for preserving them, as freezing can affect the texture. However, if you do choose to freeze, make sure to thaw them in the refrigerator overnight before serving.
- Is it gluten-free? Yes, this recipe is naturally gluten-free, making it a great option for those with gluten intolerance or sensitivity. Just be sure to check the ingredients of any additional coatings or mix-ins for gluten.
- Can I double the recipe? Absolutely! Simply double all the ingredients and proceed with the recipe as instructed. Keep in mind that chilling time might be slightly longer for a larger batch.
Conclusion
Making chocolate truffles is a fun and rewarding process that allows for creativity and customization. Whether you’re a seasoned chocolatier or a beginner in the kitchen, this recipe is sure to delight. Don’t be afraid to experiment with different flavors and coatings to make the truffles truly your own. Share them with friends and family, or enjoy them all by yourself – after all, you deserve a little indulgence. Happy cooking, and remember, the most important ingredient in any recipe is love!