What happens when you fill mini peppers with a blend of creamy cheese and spices and bake until tender? A deliciously easy weeknight dinner that’s sure to become a family favorite, thanks to the simplicity of homemade roasted peppers. Save this idea for a quick and satisfying meal solution.
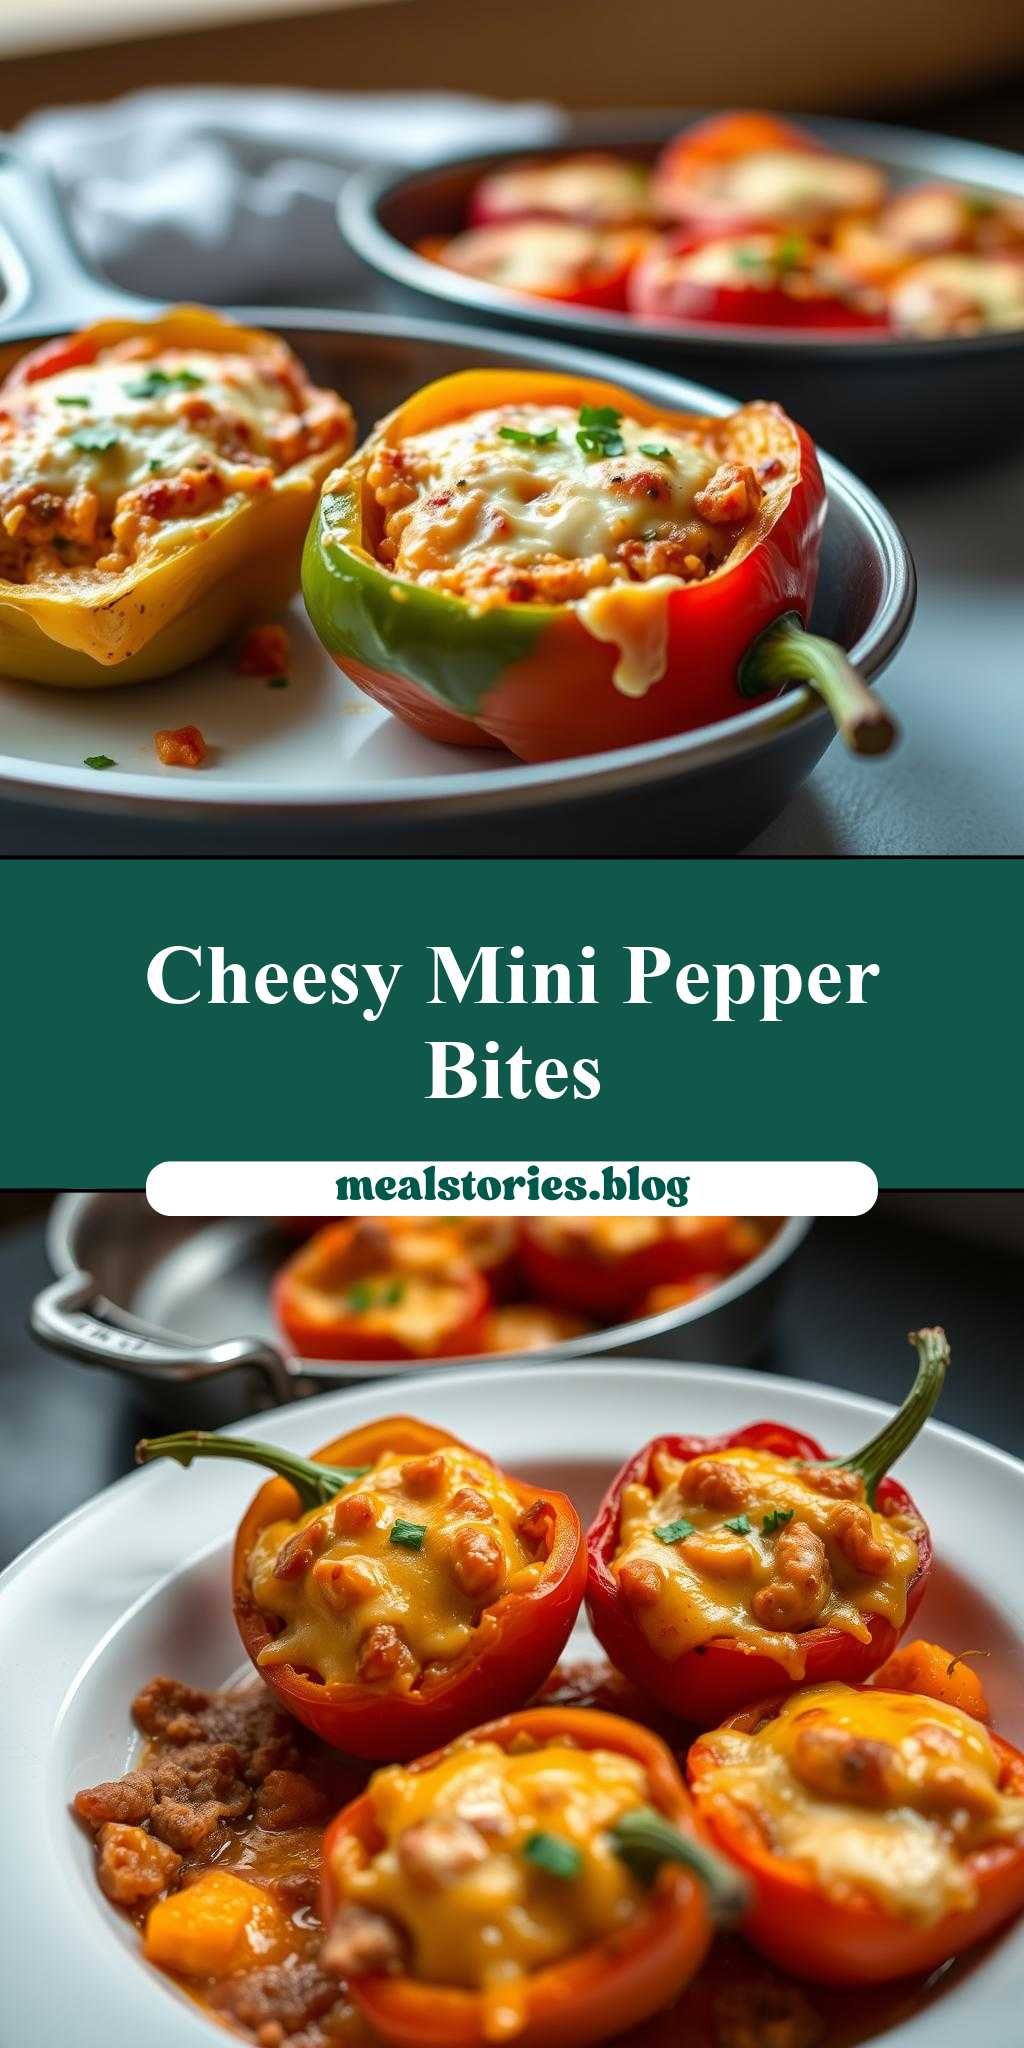
Two Pans Filled with Cheese Stuffed Mini Peppers
Introduction
Imagine a dish that combines the natural sweetness of mini peppers with the richness of cheese, all in a recipe that’s as easy to make as it is impressive to serve. Two pans filled with cheese stuffed mini peppers are the perfect solution for a quick yet flavorful meal or snack that can be customized to suit any taste. This recipe is all about creativity and simplicity, using everyday ingredients to create a masterpiece that’s sure to delight both kids and adults. Whether you’re looking for a side dish, an appetizer, or just a fun snack, this recipe has got you covered.
Why This Works
- Flavor balance and ingredient accessibility: The combination of mini peppers and cheese provides a perfect balance of sweetness and savory flavors, using ingredients that are easily found in most supermarkets.
- Ease of preparation: The recipe is straightforward and requires minimal preparation time, making it ideal for busy days or when you need something quick.
- Impressive results with minimal effort: Despite its simplicity, the dish looks and tastes impressive, perfect for entertaining guests or special occasions without the hassle of complicated recipes.
Key Ingredients
To make two pans filled with cheese stuffed mini peppers, you’ll need a few key ingredients. First, you’ll need mini peppers, which come in a variety of colors and can be used interchangeably for different looks and slightly different flavors. For the filling, you’ll need a good quality cheese – cheddar, mozzarella, or a blend works well. You’ll also need some breadcrumbs for added texture, an egg to bind the mixture, and some seasonings like salt, pepper, and any other herbs or spices you like. Practical substitutions can include using different types of cheese, adding some diced ham or bacon for extra flavor, or using gluten-free breadcrumbs for dietary restrictions.
Instructions
- Step 1: Begin by preheating your oven to 375°F (190°C). While the oven is heating up, cut off the tops of the mini peppers and remove the seeds and membranes. Place them in two pans, depending on their size, to ensure they have enough room to cook evenly.
- Step 2: In a bowl, mix together the cheese, breadcrumbs, egg, salt, pepper, and any additional seasonings or ingredients you’re using. The mixture should be well combined but not too wet or dry. Adjust as necessary with more breadcrumbs or egg.
- Step 3: Stuff each mini pepper with the cheese mixture, filling them as full as possible without overflowing. Once all the peppers are stuffed, you can sprinkle some additional cheese on top for extra flavor and browning.
- Step 4: Place the pans in the oven and bake for about 20-25 minutes, or until the peppers are tender and the cheese is melted and slightly browned on top. Remove from the oven and let cool for a few minutes before serving. You can serve them hot, garnished with fresh herbs or a dollop of sour cream for added flavor and creaminess.
Handy Tips
- When selecting mini peppers, choose ones that are firm and have no signs of wrinkles or soft spots. This will ensure they hold their shape and flavor during cooking.
- Don’t overfill the peppers, as the cheese will expand during cooking and you want to avoid it spilling out into the pans.
- Consider using a variety of cheeses for a more complex flavor profile. Mixing a sharp cheddar with a creamy mozzarella can add depth to the dish.
Heat Control
For this recipe, heat control is crucial to achieve the perfect tenderness of the peppers and the melting of the cheese. The ideal temperature is 375°F (190°C), and the peppers should be cooked for about 20-25 minutes. You’ll know they’re done when they’re slightly softened to the touch but still retain some crunch, and the cheese is melted and lightly browned on top. Keep an eye on them during the last few minutes of cooking, as the cheese can quickly go from perfectly melted to burnt.
Crunch Factor
The crunch factor in this dish comes from the slight firmness of the cooked peppers and the texture of the breadcrumbs in the cheese mixture. To achieve this, make sure not to overcook the peppers – they should still have a bit of bite to them. Additionally, using panko breadcrumbs can provide a lighter, crunchier texture compared to regular breadcrumbs.
Pro Kitchen Tricks
- For an extra crispy top, broil the peppers for an additional 1-2 minutes after baking. Keep a close eye to avoid burning.
- Use high-quality cheese for the best flavor. Freshly shredded cheese can make a big difference in taste and texture.
- Prepare the cheese mixture ahead of time and store it in the fridge for up to a day. This can save time during cooking and allow the flavors to meld together.
Storage Tips
- Leftover stuffed peppers can be stored in an airtight container in the fridge for up to 3 days. Reheat them in the oven or microwave until warmed through.
- For longer storage, consider freezing the peppers before baking. Simply stuff the peppers, place them on a baking sheet lined with parchment paper, and freeze. Once frozen, transfer them to a freezer-safe bag or container for up to 3 months. Bake frozen peppers for an additional 10-15 minutes, or until tender and the cheese is melted.
- Use glass or plastic containers with tight-fitting lids for storage to keep the peppers fresh and prevent moisture from getting in.
Gift Packaging Ideas
If you’re looking to give this dish as a gift, consider packaging the stuffed peppers in a decorative baking dish or individual ramekins. Wrap the dish in plastic wrap or aluminum foil and tie with a ribbon. You can also include a card with reheating instructions and a personal message. For a more rustic look, place the peppers in a basket lined with a towel or parchment paper and cover with a cloth or plastic wrap.
Flavor Variations
- Different spices: Add some heat with red pepper flakes, or use smoked paprika for a smoky flavor.
- Creative toppings: Top the peppers with some chopped fresh herbs like parsley or cilantro, or use a dollop of sour cream or salsa for added creaminess and flavor.
- Ingredient swaps: Use different types of cheese, such as feta for a salty kick or goat cheese for a tangy flavor. You can also add some diced meats or vegetables to the cheese mixture for extra flavor and nutrition.
Troubleshooting
- Texture problems: If the peppers are too soft, they may have been overcooked. Try reducing the cooking time or temperature. If the cheese is not melting properly, check that your oven is at the correct temperature and consider using a different type of cheese.
- Ingredient replacements: If you don’t have a particular ingredient, don’t be afraid to substitute. For example, you can use gluten-free breadcrumbs or dairy-free cheese for dietary restrictions.
- Over/undercooking signs: Keep an eye on the peppers during cooking. If they start to wrinkle or the cheese is browning too quickly, they may be overcooking. If the peppers are still hard or the cheese is not melted, they may need a few more minutes in the oven.
FAQs
- Can I freeze it? Yes, you can freeze the stuffed peppers before or after baking. Before baking, simply place them on a baking sheet lined with parchment paper and freeze. Once frozen, transfer them to a freezer-safe bag or container. After baking, let the peppers cool completely, then place them in a freezer-safe container or bag.
- Is it gluten-free? The recipe can be made gluten-free by using gluten-free breadcrumbs. Be sure to check the ingredients of any store-bought cheese or seasonings to ensure they are also gluten-free.
- Can I double the recipe? Yes, you can easily double or triple the recipe depending on your needs. Just be sure to adjust the cooking time slightly if you’re cooking a larger batch of peppers.
Conclusion
Making two pans filled with cheese stuffed mini peppers is a fun and rewarding cooking experience that’s perfect for any skill level. With its combination of natural sweetness, rich cheese, and crunchy texture, this dish is sure to become a favorite. Don’t be afraid to experiment with different flavors and ingredients to make the recipe your own, and enjoy the process of creating something delicious and impressive with minimal effort. Whether you’re cooking for yourself, your family, or a crowd, this recipe is sure to please, and the best part is, you can always adapt it to suit any occasion or dietary need.