What’s the secret to a stress-free morning routine? Whip up a batch of these quick and easy banana oat breakfast bars, loaded with melted chocolate chips and fresh bananas, perfect for a homemade breakfast on-the-go, save this idea
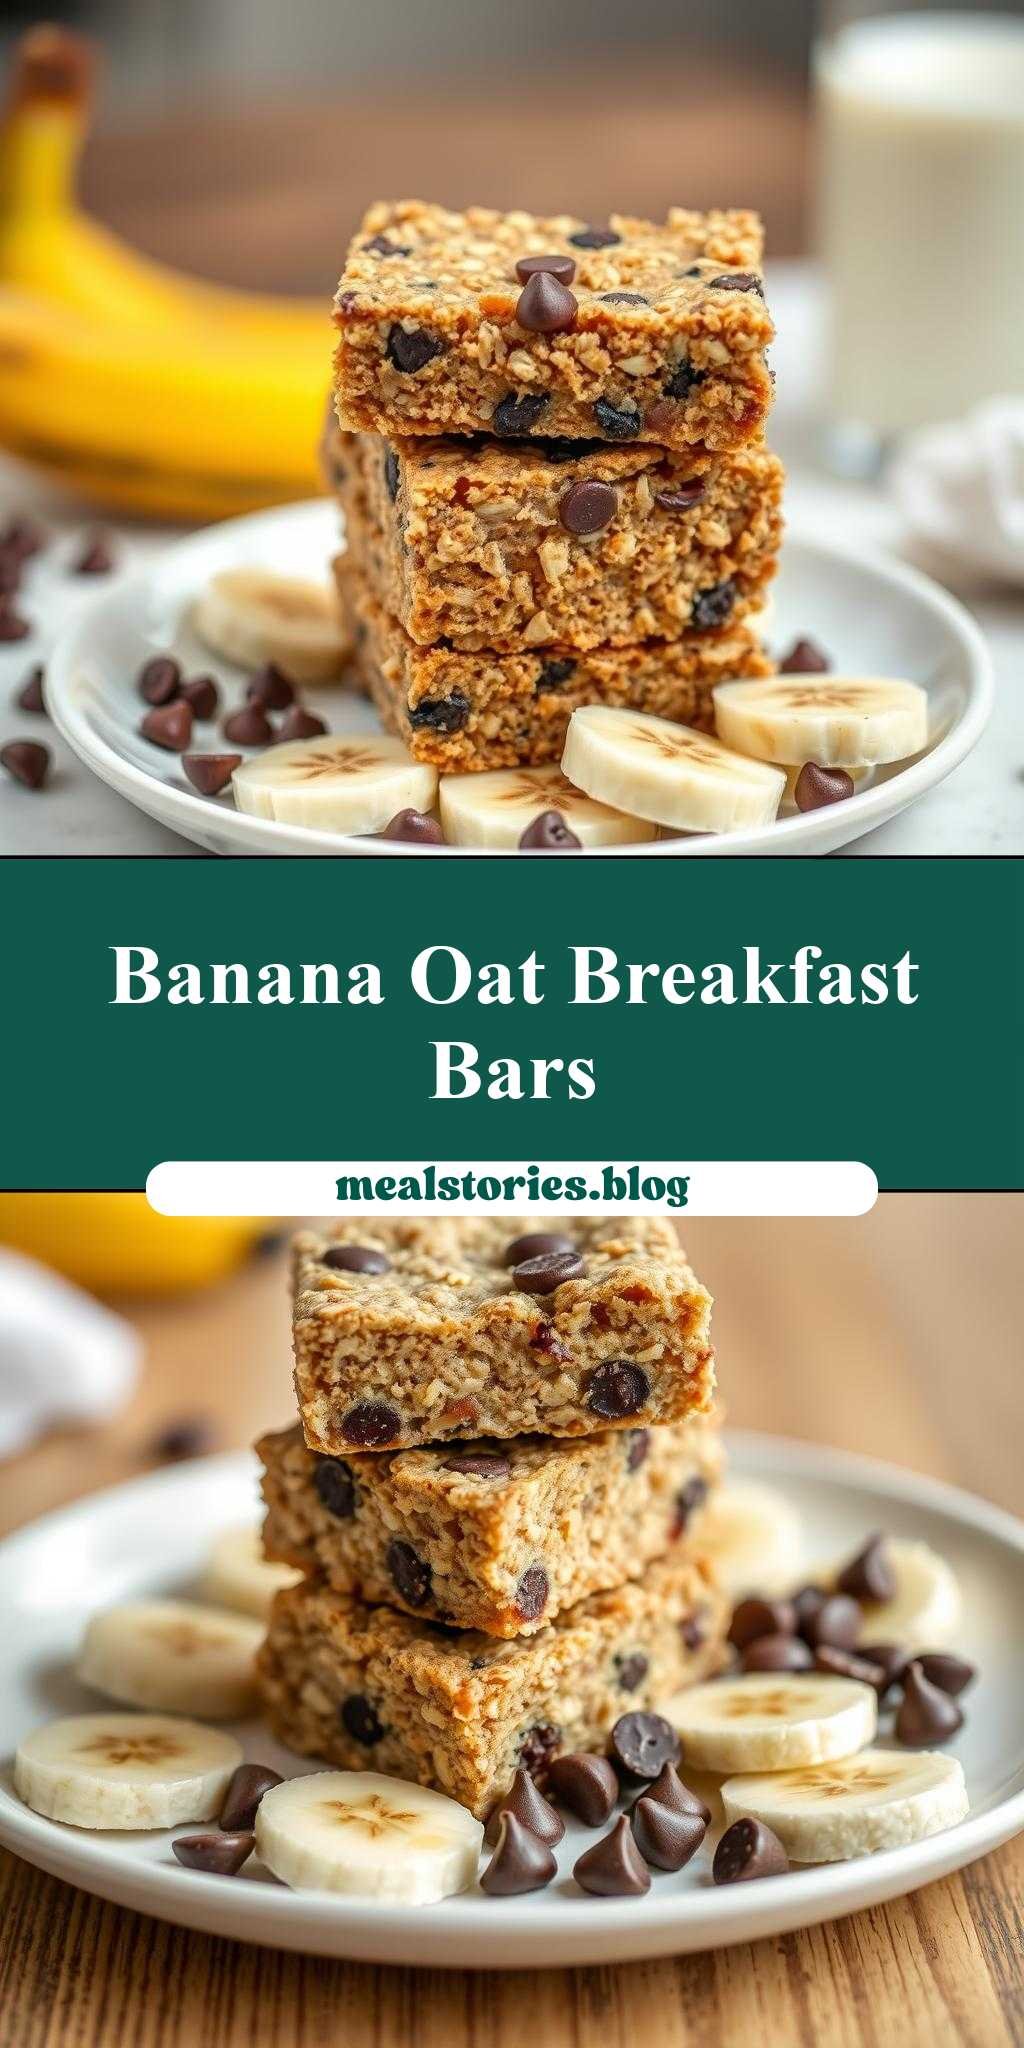
banana oat breakfast bars are stacked on a white plate with chocolate chips and bananas
Introduction
Starting your day with a delicious and nutritious breakfast has never been easier, thanks to these mouthwatering banana oat breakfast bars. Packed with the natural sweetness of bananas, the hearty goodness of oats, and the indulgent taste of chocolate chips, these bars are not only a treat for your taste buds but also a great way to kick-start your morning. The best part? They’re incredibly easy to make, requiring minimal effort and using everyday ingredients that you likely already have in your pantry. Whether you’re a busy professional looking for a quick breakfast on-the-go or a parent seeking a healthy snack for your kids, these banana oat breakfast bars are the perfect solution. So, let’s dive into the world of these scrumptious bars and explore what makes them so special.
Why This Works
- Flavor balance and ingredient accessibility: The combination of ripe bananas, rolled oats, and dark chocolate chips creates a perfect balance of flavors and textures that is both satisfying and delicious. Plus, these ingredients are easily found in most supermarkets, making this recipe highly accessible.
- Ease of preparation: One of the standout features of this recipe is how easy it is to prepare. With a simple mix-and-bake method, you can have these bars ready in no time, perfect for those busy mornings when time is of the essence.
- Impressive results with minimal effort: Despite the simplicity of the recipe, the result is a breakfast bar that looks and tastes like it was bought from a gourmet bakery. The presentation, with the bars stacked on a white plate and garnished with additional chocolate chips and sliced bananas, is sure to impress anyone.
Key Ingredients
The magic of these banana oat breakfast bars lies in their ingredients. You’ll need ripe bananas for natural sweetness, rolled oats for a hearty and wholesome base, dark chocolate chips for an indulgent touch, a hint of cinnamon for warmth, and a drizzle of honey for extra sweetness. For practical substitutions, you can use other types of milk instead of regular milk, almond flour as an alternative to oats for a gluten-free option, and different types of nuts or seeds for added crunch. The flexibility of these ingredients allows you to customize the bars to your dietary preferences and ingredient availability.
Instructions
- Step 1: Begin by preheating your oven to 375°F (190°C). While the oven is warming up, peel the bananas and mash them in a large bowl until they’re smooth. Add the oats, chocolate chips, cinnamon, and a drizzle of honey to the bowl. Mix everything together until well combined.
- Step 2: In a separate bowl, whisk together the eggs and milk until the mixture is smooth. Pour this wet mixture over the dry ingredients and stir until everything is fully incorporated. The batter should be thick but still pourable. If it’s too thick, you can add a little more milk.
- Step 3: Line an 8×8 inch baking dish with parchment paper and pour the batter into it. Smooth out the top to ensure even baking. If desired, sprinkle some additional chocolate chips and sliced bananas on top for extra flavor and visual appeal.
- Step 4: Bake the mixture in the preheated oven for about 25-30 minutes, or until the edges are lightly golden brown and the center is set. Remove the bars from the oven and let them cool completely in the pan before cutting into bars. Stack them on a white plate, garnish with more chocolate chips and bananas, and serve.
Handy Tips
- To ensure the bars hold their shape well, don’t overmix the batter. Mix the ingredients just until they come together in a cohesive mixture.
- For an extra crunchy top, sprinkle some chopped nuts or seeds on top of the bars before baking.
- If you find the bars too dense, you can try adding an extra egg or a little more milk to the batter to lighten them up.
Heat Control
When baking these bars, it’s crucial to keep an eye on the heat and the baking time. The ideal temperature is 375°F (190°C), and the bars should bake for 25-30 minutes. You’ll know they’re done when the edges are lightly golden brown and the center is set. If you prefer a chewier bar, bake for 23 minutes. For a firmer bar, bake for 30 minutes. Always check for doneness by inserting a toothpick into the center of the bars; it should come out clean or with a few moist crumbs.
Crunch Factor
The desired texture of these banana oat breakfast bars is moist and slightly chewy on the inside with a lightly golden, crunchy edge. To achieve this texture, don’t overbake the bars. The addition of chocolate chips also provides a nice texture contrast, as they retain some of their crunch even after baking. For an extra crunchy element, consider adding some chopped nuts or seeds to the batter before baking.
Pro Kitchen Tricks
- To make the bars more visually appealing, press some additional chocolate chips into the top of the bars as soon as they come out of the oven. The heat will slightly melt the chocolate, creating a beautiful, gooey top.
- For easier cleanup, line your baking dish with parchment paper before adding the batter. This way, you can simply lift the bars out of the pan once they’ve cooled, and there will be minimal sticking and cleanup required.
Storage Tips
- These bars can be stored in an airtight container at room temperature for up to 3 days. For longer storage, consider refrigerating them for up to 5 days or freezing for up to 2 months. When freezing, cut the bars into individual portions, wrap each in plastic wrap or aluminum foil, and place them in a freezer-safe bag.
- To reheat frozen bars, simply thaw them overnight in the refrigerator or reheat in the microwave for a few seconds until warmed through.
Gift Packaging Ideas
These banana oat breakfast bars make a wonderful gift, especially when packaged in an attractive and thoughtful way. Consider placing the bars in a decorative tin or jar, wrapping them individually in colorful paper or bags, and tying with a ribbon. You can also include a handwritten note with the recipe and some suggestions for customizations. For a more rustic look, place the bars in a paper bag, add some fresh fruit like bananas or apples, and tie the top with twine.
Flavor Variations
- Different spices: Try adding a pinch of nutmeg, cardamom, or ginger to the batter for a unique twist on the classic flavor.
- Creative toppings: Before baking, sprinkle the top of the bars with chopped nuts, seeds, dried fruit, or even candy pieces for added texture and flavor.
- Ingredient swaps: Substitute the bananas with mashed avocados for a creamy, healthier alternative, or use different types of milk and chocolate for varying flavors.
Troubleshooting
- Texture problems: If the bars turn out too dense, check that you didn’t overmix the batter. For bars that are too dry, try adding a little more milk or an extra egg to the recipe.
- Ingredient replacements: If you’re out of a particular ingredient, don’t be afraid to get creative with substitutions. Just keep in mind how the replacement might affect the overall flavor and texture of the bars.
- Over/undercooking signs: Keep an eye on the bars while they’re baking. If they’re browning too quickly, cover the top with foil to prevent overcooking. Conversely, if they seem undercooked, give them a few more minutes in the oven and check again.
FAQs
- Can I freeze it? Yes, these bars freeze beautifully. Simply cut them into individual portions, wrap each in plastic wrap or aluminum foil, and place them in a freezer-safe bag for up to 2 months.
- Is it gluten-free? The recipe as given contains oats, which may not be suitable for those with gluten intolerance. However, you can easily make a gluten-free version by substituting the oats with gluten-free oats or another gluten-free alternative.
- Can I double the recipe? Absolutely! If you’re looking to make a larger batch, simply double all the ingredients and bake in a larger dish. Keep in mind that the baking time may be slightly longer, so check the bars frequently to avoid overcooking.
Conclusion
With their perfect blend of flavors, ease of preparation, and versatility, these banana oat breakfast bars are sure to become a staple in your household. Whether you’re making them for a quick breakfast, a snack on-the-go, or as a thoughtful gift, these bars are guaranteed to please. Don’t be afraid to experiment with different ingredients and flavor combinations to make the recipe your own. Share your creations with friends and family, and enjoy the joy of baking and sharing delicious food with others. Happy baking, and we look forward to hearing about your adventures with these fantastic banana oat breakfast bars!