What makes a cheesecake truly unforgettable? This mosaic velvet Oreo cheesecake is a showstopper with its rich homemade caramel sauce and crushed Oreos, perfect for a quick and easy family favorite dessert, try making it at home with cream cheese and a water bath for a silky smooth texture, save this idea for your next special occasion.
Mosaic Velvet Oreo Cheesecake
Introduction
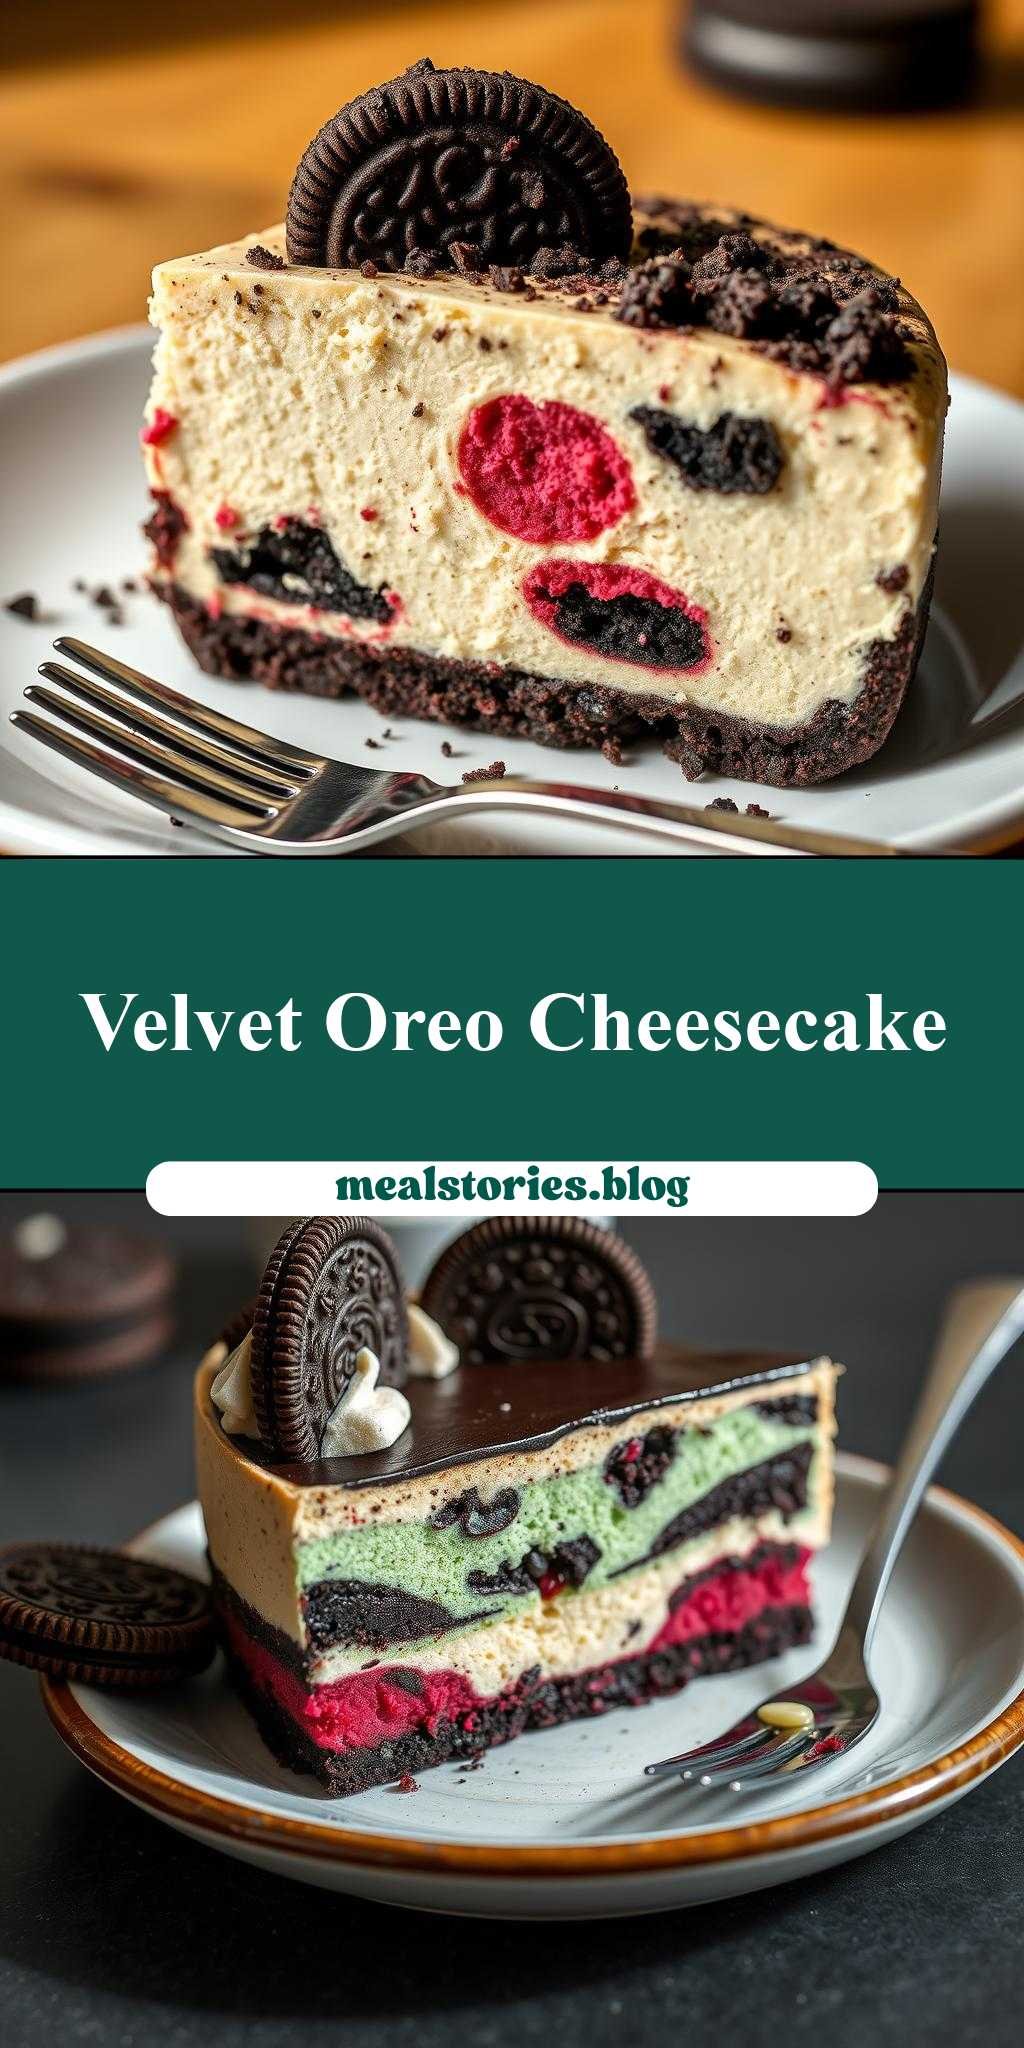
Imagine a dessert that combines the richness of cheesecake, the crunch of Oreos, and the vibrant visual appeal of a mosaic, all in one delectable treat. The Mosaic Velvet Oreo Cheesecake is a masterpiece of creativity and flavor, perfect for special occasions or as a unique dessert to impress your friends and family. What makes this cheesecake truly special is its accessibility; it’s made with everyday ingredients and requires minimal effort, yet the results are nothing short of impressive. Whether you’re a seasoned baker or a beginner in the kitchen, this recipe is sure to delight with its ease, flavor, and creativity.
Why This Works
- Flavor balance and ingredient accessibility: The combination of the creamy cheesecake, the crunch of the Oreo crust, and the mosaic design on top creates a perfect balance of flavors and textures that everyone can enjoy. The ingredients are easily found in most supermarkets, making it accessible to anyone who wants to try their hand at this recipe.
- Ease of preparation: Despite its impressive appearance, the Mosaic Velvet Oreo Cheesecake is surprisingly easy to prepare. The steps are straightforward, and with a little patience, anyone can achieve the stunning mosaic effect on top.
- Impressive results with minimal effort: One of the most appealing aspects of this recipe is the high return on investment. With relatively minimal effort, you end up with a dessert that looks and tastes like it was made by a professional, perfect for impressing guests or satisfying your sweet tooth.
Key Ingredients
The Mosaic Velvet Oreo Cheesecake relies on a few key ingredients to achieve its unique flavor and texture. The base of the cheesecake is made with a mixture of cream cheese, eggs, sugar, and vanilla extract, which provides the creamy and rich texture. The crust is made from crushed Oreos, which not only adds a delightful crunch but also a deep, chocolatey flavor. For the mosaic design on top, you’ll need a variety of colored chocolates or candy melts, which can be melted and used to create the vibrant, mosaic pattern. Practical substitutions can be made for some ingredients; for example, you can use different types of cookies for the crust or various food colorings to customize the colors of your mosaic.
Instructions
- Step 1: Begin by preparing your ingredients. Crush the Oreos in a food processor to make the crust, and mix the cream cheese, eggs, sugar, and vanilla extract in a large bowl until smooth. Melt the colored chocolates or candy melts in separate bowls, ready for the mosaic design.
- Step 2: Cook the Oreo crust in a preheated oven for about 10 minutes, or until it’s lightly toasted. Allow it to cool completely before filling it with the cheesecake mixture. Pour the cheesecake batter into the cooled crust and bake until the edges are set and the center is just slightly jiggly.
- Step 3: Once the cheesecake is baked and cooled, it’s time to create the mosaic design on top. Use the melted colored chocolates or candy melts to draw or paint your mosaic pattern directly onto the cheesecake. You can use a toothpick, a small brush, or even a piping bag to create your design, depending on the level of detail you desire.
- Step 4: Finally, add any final touches to your cheesecake. This could include adding additional decorations, such as sprinkles or chopped nuts, around the mosaic design, or simply slicing and serving. The cheesecake is best served chilled, so make sure to refrigerate it for at least a few hours before serving.
Handy Tips
- One of the most helpful tips for making the Mosaic Velvet Oreo Cheesecake is to ensure that your cheesecake cools completely before attempting to add the mosaic design. This will prevent the chocolates from melting or becoming too runny, allowing you to achieve a crisp, clean design.
- Another useful tip is to experiment with different colors and patterns for your mosaic. The more creative you are, the more unique and personalized your cheesecake will be. Don’t be afraid to try out new designs or colors to make your dessert truly one-of-a-kind.
- When it comes to substitutions, consider what ingredients you have on hand and how you can use them to enhance the flavor and appearance of your cheesecake. For example, using different flavors of extract, like almond or coconut, can add a unique twist to the traditional cheesecake flavor.
Heat Control
Heat control is crucial when baking the Mosaic Velvet Oreo Cheesecake. The ideal temperature for baking the cheesecake is 325°F (165°C), and the baking time will depend on the size of your cheesecake. A general rule of thumb is to bake for about 50-60 minutes for a standard 9-inch cheesecake, or until the edges are set and the center is just slightly jiggly. It’s also important to avoid overbaking, as this can cause the cheesecake to dry out. Keep an eye on your cheesecake during the baking time, and adjust as necessary to ensure it comes out perfectly.
Crunch Factor
The crunch factor in the Mosaic Velvet Oreo Cheesecake comes primarily from the Oreo crust. To achieve the perfect crunch, it’s essential to not overbake the crust. A lightly toasted crust will provide a delightful texture contrast to the creamy cheesecake. Additionally, if you choose to add any toppings, such as chopped nuts or cookie crumbs, these can also contribute to the overall crunch of the dessert.
Pro Kitchen Tricks
- One expert tip for achieving a smooth and creamy cheesecake is to ensure all your ingredients are at room temperature before mixing. This helps to prevent lumps and ensures that your cheesecake batter is smooth and even.
- Another trick is to use a water bath when baking your cheesecake. This helps to prevent cracking and ensures that the cheesecake cooks evenly. To do this, place your cheesecake pan in a larger pan filled with water, making sure the water level is below the top of the cheesecake pan.
- For cleanup, a useful hack is to line your cheesecake pan with parchment paper before adding the crust and cheesecake batter. This makes removing the cheesecake from the pan much easier and reduces the risk of it breaking or sticking.
Storage Tips
- The Mosaic Velvet Oreo Cheesecake can be stored in the refrigerator for up to 5 days. It’s best to keep it in an airtight container to maintain freshness and prevent it from drying out.
- For longer storage, the cheesecake can be frozen. Wrap it tightly in plastic wrap or aluminum foil and place it in a freezer-safe bag. Frozen cheesecake can be stored for up to 2 months. To thaw, simply place it in the refrigerator overnight.
- When reheating, it’s best to let the cheesecake come to room temperature or warm it up gently in the microwave. Be cautious not to overheat, as this can cause the cheesecake to become too soft or the mosaic design to melt.
Gift Packaging Ideas
The Mosaic Velvet Oreo Cheesecake makes a wonderful gift, especially for special occasions like birthdays or holidays. To package it as a gift, consider placing the cheesecake in a decorative tin or box. You can wrap the box in colorful paper or ribbons to match the occasion. Another idea is to slice the cheesecake and package each slice individually in cute containers or jars, perfect for a dessert buffet or as a take-home treat for guests.
Flavor Variations
- Different spices: Adding a pinch of cinnamon, nutmeg, or cardamom to the cheesecake batter can give it a unique and intriguing flavor. These spices pair particularly well with the chocolate from the Oreos.
- Creative toppings: Besides the mosaic design, you can add other creative toppings to enhance the flavor and appearance of your cheesecake. Consider using fresh fruits, caramel sauce, whipped cream, or even candy pieces to create a sundae-inspired cheesecake.
- Ingredient swaps: Feel free to experiment with different types of cookies for the crust or various flavors of chocolate for the mosaic design. You could also substitute the cream cheese with other creamy ingredients, like mascarpone or ricotta, for a lighter texture and different flavor profile.
Troubleshooting
- Texture problems: If your cheesecake turns out too dense, it might be due to overmixing the batter. Try mixing your ingredients just until they come together for a lighter texture. If it’s too soft, it could be underbaked; check your cheesecake frequently towards the end of the baking time.
- Ingredient replacements: If you find yourself missing an ingredient, don’t hesitate to get creative with substitutions. For example, if you don’t have Oreos, you could use another type of chocolate sandwich cookie. Just be mindful of how the substitution might affect the flavor and texture of your cheesecake.
- Over/undercooking signs: Keep an eye on your cheesecake while it bakes. If the edges start to brown too quickly, you might need to reduce the oven temperature. If the center is still very jiggly after the recommended baking time, give it a few more minutes and check again. Remember, it’s better to err on the side of undercooking slightly, as the cheesecake will continue to set as it cools.
FAQs
- Can I freeze it? Yes, the Mosaic Velvet Oreo Cheesecake can be frozen for up to 2 months. Wrap it tightly and store it in a freezer-safe bag. Thaw overnight in the refrigerator when you’re ready to serve.
- Is it gluten-free? The traditional recipe includes Oreos, which contain gluten. However, you can make a gluten-free version by using gluten-free cookies for the crust and ensuring all other ingredients are gluten-free.
- Can I double the recipe? Yes, you can double the recipe to make a larger cheesecake. Just keep in mind that you’ll need to adjust the baking time accordingly. A larger cheesecake will take longer to bake, so check it frequently to avoid overcooking.
Conclusion
The Mosaic Velvet Oreo Cheesecake is a true showstopper, combining the best of cheesecake, Oreos, and creative design. With its ease of preparation, impressive results, and the potential for endless customization, this dessert is perfect for any occasion. Whether you’re a baking novice or a seasoned pro, this recipe is sure to delight. So don’t be afraid to get creative, experiment with new flavors and designs, and most importantly, enjoy the process of making something truly special. Happy baking!