What makes Filipino desserts so irresistible? This easy homemade treat combines sweet sticky rice with fresh mango for a quick weeknight dinner side dish. Save this idea for a delicious family favorite to enjoy later
Filipino Sticky Rice with Mango
Introduction
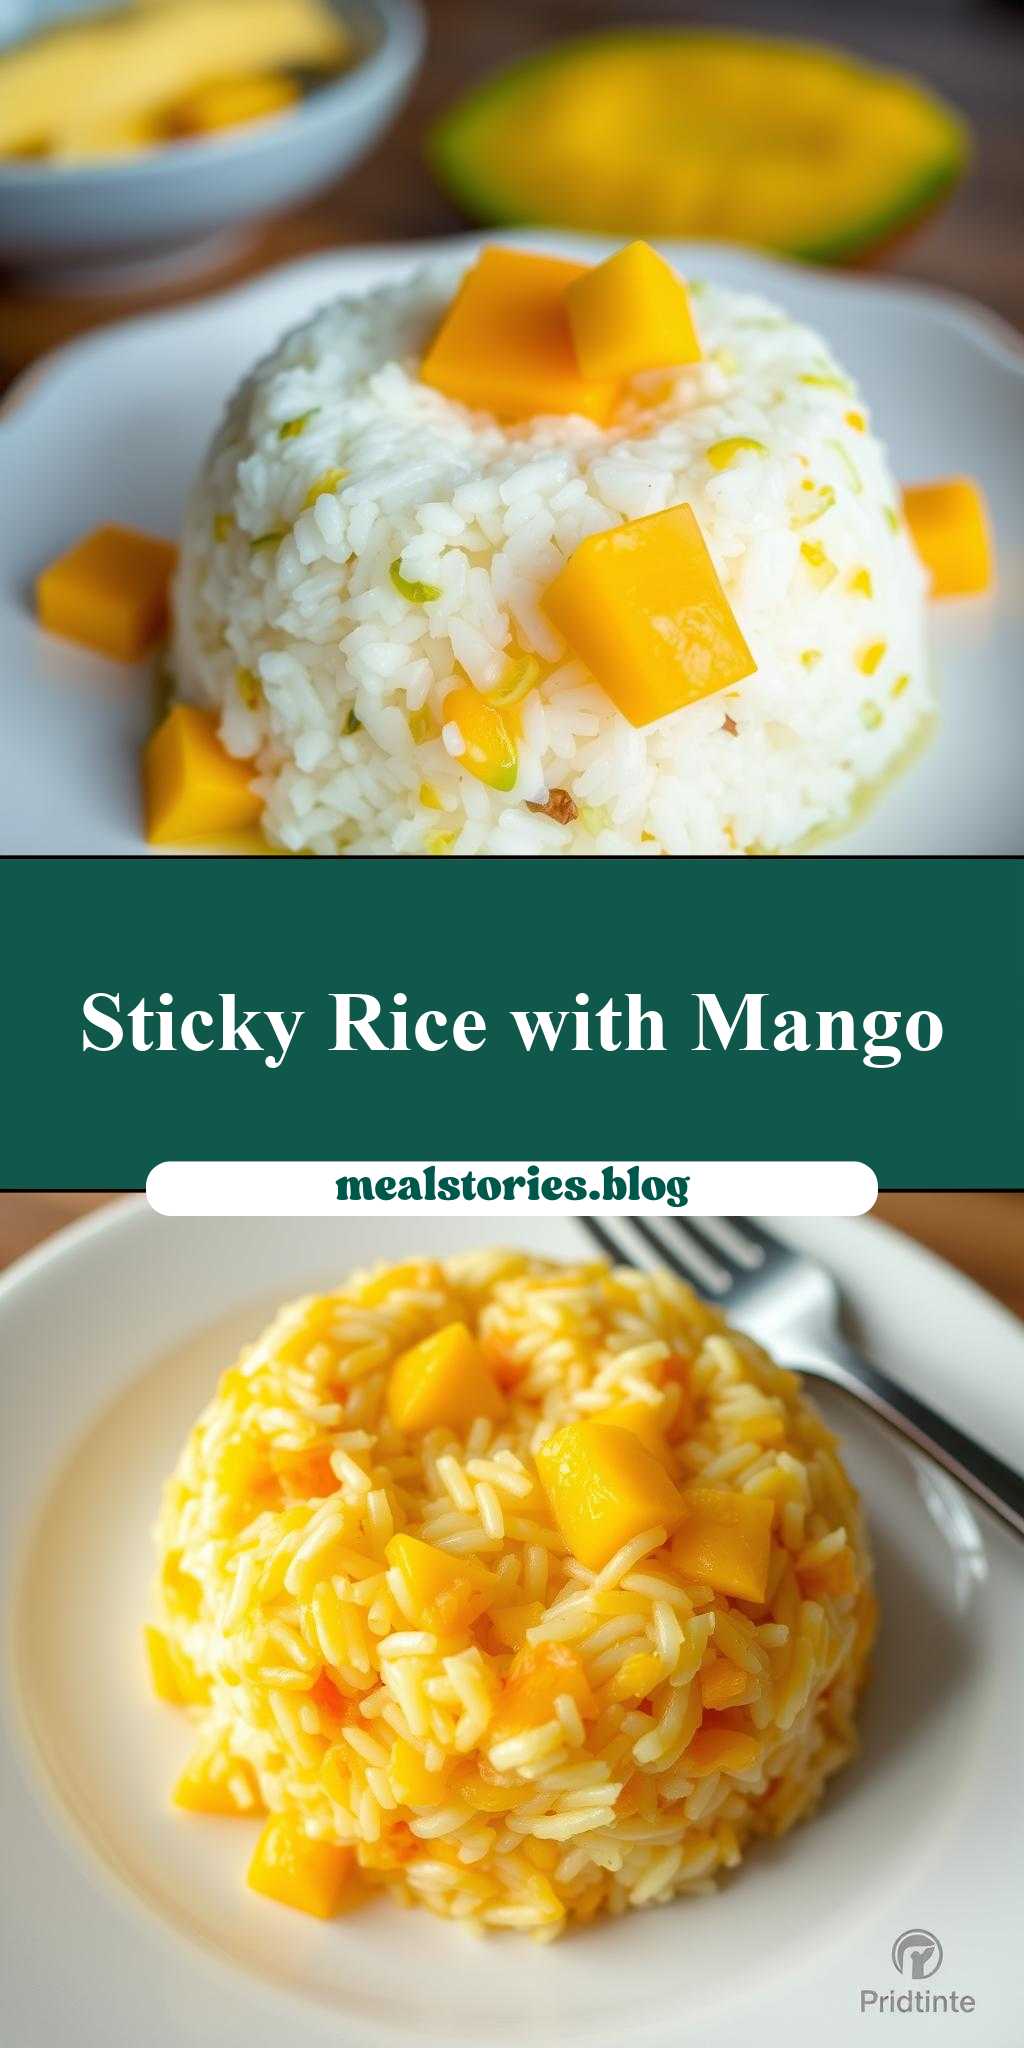
Filipino Sticky Rice with Mango, also known as “Mango Biko,” is a delightful and traditional Filipino dessert that combines the creamy richness of sticky rice with the sweet, luscious flavor of fresh mango. This dish is not only easy to make but also offers a creative twist on everyday ingredients, making it a perfect treat for any occasion. The beauty of Mango Biko lies in its balance of flavors and textures, from the soft, slightly chewy sticky rice to the vibrant, juicy mango slices on top. Whether you’re looking to explore international cuisines or simply want a dessert that’s both impressive and effortless, Filipino Sticky Rice with Mango is an excellent choice.
Why This Works
- Flavor balance and ingredient accessibility: The combination of sticky rice, coconut milk, and mango provides a well-rounded flavor profile that is both familiar and exotic. Moreover, the ingredients are readily available in most supermarkets, making it accessible to anyone interested in trying this dessert.
- Ease of preparation: Despite its impressive presentation, Mango Biko is surprisingly easy to prepare. The process involves simple steps like cooking the sticky rice, mixing it with coconut milk, and topping it with mango, which can be accomplished with minimal culinary expertise.
- Impressive results with minimal effort: The layered presentation of sticky rice and mango slices creates a visually appealing dessert that looks like it requires much more effort than it actually does. This makes it perfect for entertaining guests or special occasions where you want to make a good impression without spending hours in the kitchen.
Key Ingredients
The main ingredients for Filipino Sticky Rice with Mango include glutinous or “sweet” rice, coconut milk, sugar, salt, and fresh mango. Glutinous rice is essential for achieving the desired sticky texture, but if it’s not available, you can also use short-grain rice as a substitute, though the result might be slightly different. Coconut milk adds richness and flavor, and while you can use the low-fat version, the full-fat variety gives the best results. Sugar and salt are used to balance the sweetness and flavor. Finally, fresh, ripe mango is crucial for the best flavor and texture; other fruits like peaches or pineapples can be used as substitutes, but mango is traditional and preferred.
Instructions
- Step 1: Begin by preparing your ingredients. Rinse the glutinous rice thoroughly and soak it in water for at least 4 hours or overnight. Drain the water and set the rice aside. Cut the fresh mango into slices or cubes, depending on your desired presentation.
- Step 2: Cook the glutinous rice. In a large pot, combine the soaked and drained glutinous rice with 2 cups of water. Bring to a boil over high heat, then reduce the heat to low, cover, and simmer for about 15-20 minutes, or until the rice is cooked and sticky. In a separate saucepan, combine coconut milk, sugar, and salt, and heat over medium heat, stirring constantly, until the sugar is dissolved and the mixture is hot but not boiling.
- Step 3: Mix the cooked sticky rice with the coconut milk mixture. Once the rice is cooked, fluff it with a fork and then mix it with the coconut milk mixture until well combined. The mixture should be creamy and the rice should be well coated.
- Step 4: Assemble the dessert. Press the sticky rice mixture into a serving dish or individual molds. Top with sliced or cubed mango. You can also add a sprinkle of sesame seeds or coconut flakes for extra texture and flavor. Chill in the refrigerator for at least 30 minutes before serving.
Handy Tips
- Use short-grain rice if glutinous rice is not available, but note the texture will be slightly different.
- Adjust the amount of sugar according to your taste preferences and the sweetness of the mango.
- For a creamier dessert, you can add a bit more coconut milk, but be careful not to make it too soggy.
- Avoid overmixing the sticky rice with the coconut milk, as this can make the dessert too dense.
Heat Control
When cooking the glutinous rice and heating the coconut milk mixture, it’s essential to control the heat to prevent burning or overcooking. For the rice, once it boils, reduce the heat to the lowest setting and cover the pot to allow it to simmer gently. For the coconut milk mixture, medium heat is sufficient, and constant stirring is necessary to prevent the sugar from caramelizing or the milk from scorching. Ideal cooking times and temperatures will depend on your specific stove and cookware, so adjust accordingly and monitor the process closely.
Crunch Factor
The texture of Filipino Sticky Rice with Mango should be soft and slightly chewy from the sticky rice, complemented by the firm, juicy texture of the fresh mango. To achieve the right crunch factor, ensure that the mango is fresh and ripe. If you’re looking to add more texture, you can sprinkle toasted coconut flakes or sesame seeds on top of the dessert before serving.
Pro Kitchen Tricks
- For easier molding and unmolding of the sticky rice, lightly grease the molds with coconut oil or cooking spray.
- To enhance the coconut flavor, you can add a teaspoon of coconut extract to the coconut milk mixture.
- Experiment with different types of mango for varying flavors and textures. Some mango varieties are sweeter, while others are more tart.
Storage Tips
- Leftover Filipino Sticky Rice with Mango can be stored in the refrigerator for up to 3 days. It’s best to store it in a covered container to prevent drying out.
- For reheating, simply leave the dessert at room temperature for a few hours or reheat it gently in the microwave. Be cautious not to overheat, as this can make the coconut milk separate and the rice dry out.
- The dessert can also be frozen for up to a month. When freezing, it’s a good idea to press the sticky rice into a flat shape, top it with mango, and then freeze. Thaw overnight in the refrigerator before serving.
Gift Packaging Ideas
Filipino Sticky Rice with Mango can be a thoughtful and unique gift, especially for those interested in trying international desserts. Consider packaging it in decorative bowls or individual cups, wrapped with a clear plastic wrap and tied with a ribbon. You can also include a packet of toasted coconut flakes or sesame seeds on the side for the recipient to sprinkle on top. For a more rustic look, use bamboo or wooden molds to shape the sticky rice, then wrap each piece individually in banana leaves or parchment paper and secure with twine.
Flavor Variations
- Different spices: Add a pinch of salt or a sprinkle of cinnamon to the coconut milk mixture for added depth of flavor.
- Creative toppings: Besides mango, you can top the sticky rice with other fruits like strawberries, blueberries, or sliced bananas. Coconut cream, toasted nuts, or shredded coconut can also be used as toppings.
- Ingredient swaps: For a dairy version, you can substitute coconut milk with heavy cream or half-and-half, though this will change the flavor profile significantly. Other types of milk, like almond or soy milk, can be used for a non-dairy, vegan version.
Troubleshooting
- Texture problems: If the sticky rice turns out too dry, it might be due to overcooking or insufficient coconut milk. If it’s too soggy, it could be from too much coconut milk or undercooking the rice.
- Ingredient replacements: Always try to use the recommended ingredients for the best results. However, if you need to substitute, ensure the replacement ingredient has a similar consistency and flavor profile.
- Over/undercooking signs: The sticky rice should be cooked until it’s soft and chewy. Overcooking will make it dry and hard, while undercooking will leave it crunchy and raw.
FAQs
- Can I freeze it? Yes, Filipino Sticky Rice with Mango can be frozen for up to a month. Press the sticky rice flat, top with mango, and freeze. Thaw overnight in the refrigerator before serving.
- Is it gluten-free? Yes, this dessert is naturally gluten-free, making it a great option for those with gluten intolerance or sensitivity.
- Can I double the recipe? Yes, you can easily double or triple the recipe for larger gatherings. Just ensure you have enough molds or a large enough serving dish to accommodate the increased amount.
Conclusion
Filipino Sticky Rice with Mango is a versatile and delicious dessert that combines traditional flavors with easy preparation, making it perfect for both novice cooks and experienced chefs. With its creamy sticky rice and sweet, fresh mango, this dessert is sure to impress your family and friends. Feel free to experiment with different flavors and toppings to make it your own, and don’t hesitate to share your creations with others. Whether you’re cooking for a special occasion or just a weekday treat, Mango Biko is a dish that will bring joy and satisfaction to all who taste it.
Filipino Sticky Rice with Mango
A traditional Filipino dessert combining sticky rice with fresh mango, offering a balance of creamy and sweet flavors with a soft and slightly chewy texture.
🥘 Ingredients
👩🍳 Instructions
-
1Rinse the glutinous rice and soak it in water for at least 4 hours or overnight. Drain and set aside.
-
2Cook the glutinous rice with 2 cups of water in a pot over high heat until it boils, then reduce heat to low, cover, and simmer for 15-20 minutes or until the rice is cooked and sticky.
-
3In a separate saucepan, combine coconut milk, sugar, and salt. Heat over medium heat, stirring constantly, until the sugar is dissolved and the mixture is hot but not boiling.
-
4Mix the cooked sticky rice with the coconut milk mixture until well combined. Press the mixture into a serving dish or individual molds. Top with sliced mango and chill in the refrigerator for at least 30 minutes before serving.