What happens when red velvet cake meets creamy cheesecake and crunchy Oreos? A game-changing dessert with a homemade twist, featuring a quick and easy Oreo crust. Save this idea for your next family favorite treat to try soon.
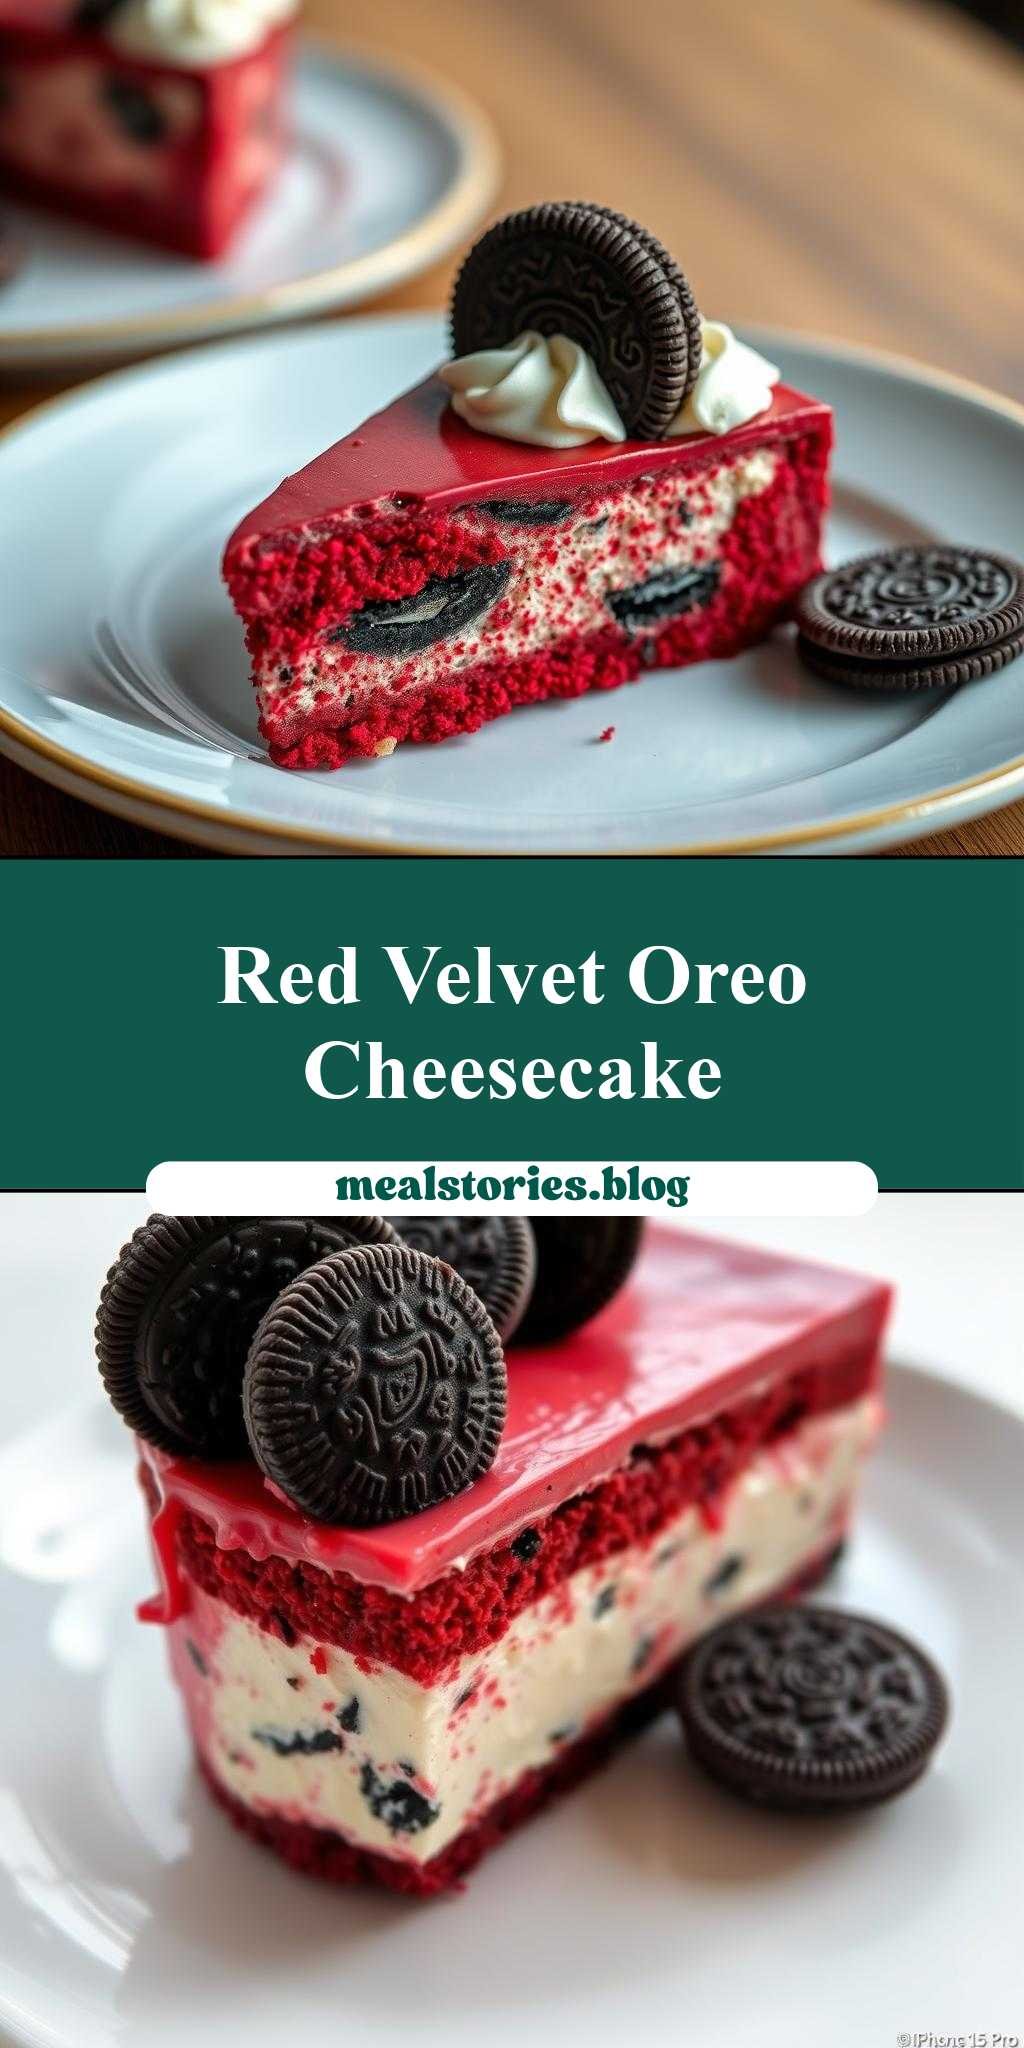
red velvet oreo cheesecake with oreos on top
Introduction
Imagine a dessert that combines the richness of cheesecake, the decadence of red velvet, and the crunch of Oreos. The red velvet oreo cheesecake with oreos on top is a masterpiece of flavors and textures, perfect for special occasions or simply to satisfy your sweet tooth. What’s more, this recipe is surprisingly easy to make, requiring minimal effort for a show-stopping result. Using everyday ingredients, you can create a dessert that’s both impressive and delicious, making it a perfect centerpiece for any gathering.
Why This Works
- Flavor balance and ingredient accessibility: The combination of red velvet and Oreos provides a unique and intriguing flavor profile that’s easy to achieve with commonly found ingredients.
- Ease of preparation: Despite its impressive appearance, this cheesecake is relatively simple to prepare, with straightforward steps that don’t require advanced culinary skills.
- Impressive results with minimal effort: The layering of the cheesecake batter, the red velvet flavor, and the topping of Oreos creates a visually stunning dessert that belies its simplicity, making it perfect for those who want to wow without too much fuss.
Key Ingredients
The main ingredients for this recipe include a classic cheesecake base made with cream cheese, eggs, and sugar, infused with the distinctive flavor of red velvet, achieved through the use of red food coloring and cocoa powder. The crust is made from crushed Oreos, adding a delightful crunch and a nod to the Oreo theme. The cheesecake is then topped with additional Oreos, either whole or crushed, depending on your preference. Practical substitutions can be made, such as using different types of cookies for the crust or adjusting the amount of red coloring to achieve the desired intensity of color.
Instructions
- Step 1: Begin by preparing your crust. Crush a package of Oreos in a food processor until they are finely ground. Mix the crushed Oreos with a small amount of melted butter until the mixture is evenly moistened. Press this mixture into the bottom of a springform pan. Bake the crust in a preheated oven at 350°F for about 10 minutes, then let it cool completely.
- Step 2: Next, prepare the cheesecake batter. In a large mixing bowl, beat the cream cheese until it’s smooth. Add eggs one at a time, beating well after each addition. Gradually add sugar and beat until combined. Add red food coloring and cocoa powder to give the cheesecake its distinctive red velvet color and flavor. Mix well to combine.
- Step 3: Pour the cheesecake batter over the cooled Oreo crust. Smooth the top and ensure the batter is evenly distributed. Bake the cheesecake in a preheated oven at 325°F for about 55-60 minutes, or until the edges are set and the center is just slightly jiggly. Avoid overbaking, as this can cause the cheesecake to dry out.
- Step 4: Once the cheesecake is baked, let it cool in the oven with the door ajar for 1 hour, then remove it and let it cool completely on a wire rack. Once cooled, refrigerate the cheesecake for at least 4 hours or overnight. Before serving, top the cheesecake with additional Oreos, either by placing them whole on top or crushing them and sprinkling them over the surface.
Handy Tips
- Avoid overmixing the cheesecake batter, as this can lead to a dense cheesecake. Stop mixing as soon as the ingredients are combined.
- Ensure the cheesecake cools slowly and evenly to prevent cracking. Rapid cooling can cause stress in the cheesecake, leading to cracks.
- Don’t overbake. The cheesecake is done when the edges are set and the center is slightly jiggly. Overbaking will result in a dry cheesecake.
Heat Control
Heat control is crucial when baking the cheesecake. The ideal temperature for baking the cheesecake is 325°F, which helps in cooking the cheesecake slowly and evenly. The baking time is approximately 55-60 minutes, but this can vary depending on your oven. The cheesecake is done when the edges are set, and the center is just slightly jiggly. If you’re unsure, it’s better to err on the side of underbaking than overbaking, as the cheesecake will continue to set as it cools.
Crunch Factor
The crunch factor in this dessert comes from the Oreo crust and the Oreos used as toppings. To achieve the perfect crunch, ensure that the Oreo crust is baked until it’s lightly firm to the touch, and avoid overbaking, which can make it too hard. For the toppings, you can either use whole Oreos for a more pronounced crunch or crush them for a lighter texture, depending on your preference.
Pro Kitchen Tricks
- Use a water bath to bake the cheesecake. This involves placing the springform pan in a larger pan filled with water, which helps in cooking the cheesecake evenly and prevents cracking.
- Let the cheesecake cool completely in the pan before attempting to remove it. This helps in preventing the cheesecake from breaking apart.
- For a clean release, run a knife around the edges of the cheesecake before removing the springform pan sides.
Storage Tips
- The cheesecake can be stored in the refrigerator for up to 5 days. It’s best to keep it in an airtight container to maintain freshness.
- For longer storage, the cheesecake can be frozen. Wrap it tightly in plastic wrap or aluminum foil and place it in a freezer-safe bag. Frozen cheesecake can be stored for up to 2 months. Thaw frozen cheesecake in the refrigerator overnight before serving.
- When reheating, avoid using the microwave, as this can cause the cheesecake to become too soft or unevenly heated. Instead, let it come to room temperature or heat it gently in a low-temperature oven.
Gift Packaging Ideas
This cheesecake makes a wonderful gift, especially for special occasions like birthdays or holidays. Consider packaging it in a decorative tin or a nicely wrapped box. You can also add a personal touch by including a handwritten note or a small bouquet of flowers. If you’re gifting a slice, wrap it individually in plastic wrap or aluminum foil and place it in a gift bag or a decorative container.
Flavor Variations
- Different spices: Consider adding a pinch of salt or a teaspoon of vanilla extract to the cheesecake batter for added depth of flavor.
- Creative toppings: While Oreos are a classic choice, you can also experiment with other toppings like chopped nuts, caramel sauce, or even candy pieces.
- Ingredient swaps: For a gluten-free version, use gluten-free cookies for the crust. You can also substitute the cream cheese with a vegan alternative for a non-dairy cheesecake.
Troubleshooting
- Texture problems: If your cheesecake turns out too dense, it might be due to overmixing. If it’s too soft, it could be underbaked. Adjust your mixing and baking times accordingly for future attempts.
- Ingredient replacements: If you’re missing an ingredient, consider what alternatives might provide a similar flavor or texture. For example, you could use chocolate sandwich cookies instead of Oreos.
- Over/undercooking signs: Keep an eye on your cheesecake while it’s baking. If the edges start to brown too quickly, cover the cheesecake with foil to prevent overbrowning. If the center is still very jiggly after the recommended baking time, give it a few more minutes and check again.
FAQs
- Can I freeze it? Yes, the cheesecake can be frozen for up to 2 months. Wrap it tightly and store it in a freezer-safe bag.
- Is it gluten-free? The original recipe uses Oreos, which contain gluten. However, you can make a gluten-free version by using gluten-free cookies for the crust.
- Can I double the recipe? Yes, you can double the recipe, but you’ll need to adjust the baking time accordingly. A larger cheesecake will take longer to bake, so keep an eye on it to ensure it doesn’t overcook.
Conclusion
The red velvet oreo cheesecake with oreos on top is a recipe that’s sure to impress. With its unique flavor combination and stunning appearance, it’s perfect for special occasions or just a sweet treat any time of the year. Don’t be afraid to experiment with different toppings or flavor variations to make the recipe your own. Whether you’re a seasoned baker or just starting out, this cheesecake is a great project that’s sure to yield delicious results. So go ahead, give it a try, and enjoy the oohs and aahs from your family and friends as you present this masterpiece.
red velvet oreo cheesecake with oreos on top
A rich and decadent cheesecake that combines the flavors of red velvet and Oreos, perfect for special occasions or satisfying your sweet tooth.
🥘 Ingredients
👩🍳 Instructions
-
1Preheat the oven to 325°F. Prepare the Oreo crust by mixing crushed Oreos with melted butter and pressing into a springform pan. Bake for 10 minutes and let cool.
-
2Prepare the cheesecake batter by beating the cream cheese until smooth, then adding sugar, eggs, vanilla extract, sour cream, cocoa powder, and red food coloring. Mix well to combine.
-
3Pour the cheesecake batter over the cooled Oreo crust and smooth the top. Bake for 55-60 minutes or until the edges are set and the center is slightly jiggly.
-
4Let the cheesecake cool in the oven with the door ajar for 1 hour, then remove and let cool completely on a wire rack. Refrigerate for at least 4 hours or overnight. Top with additional Oreos before serving.