What happens when red velvet cake and Oreos collide in a creamy cheesecake? This homemade dessert combines a quick cookie crust with a rich creamy filling and crunchy cookies on top, perfect for a family favorite weeknight treat, save this idea
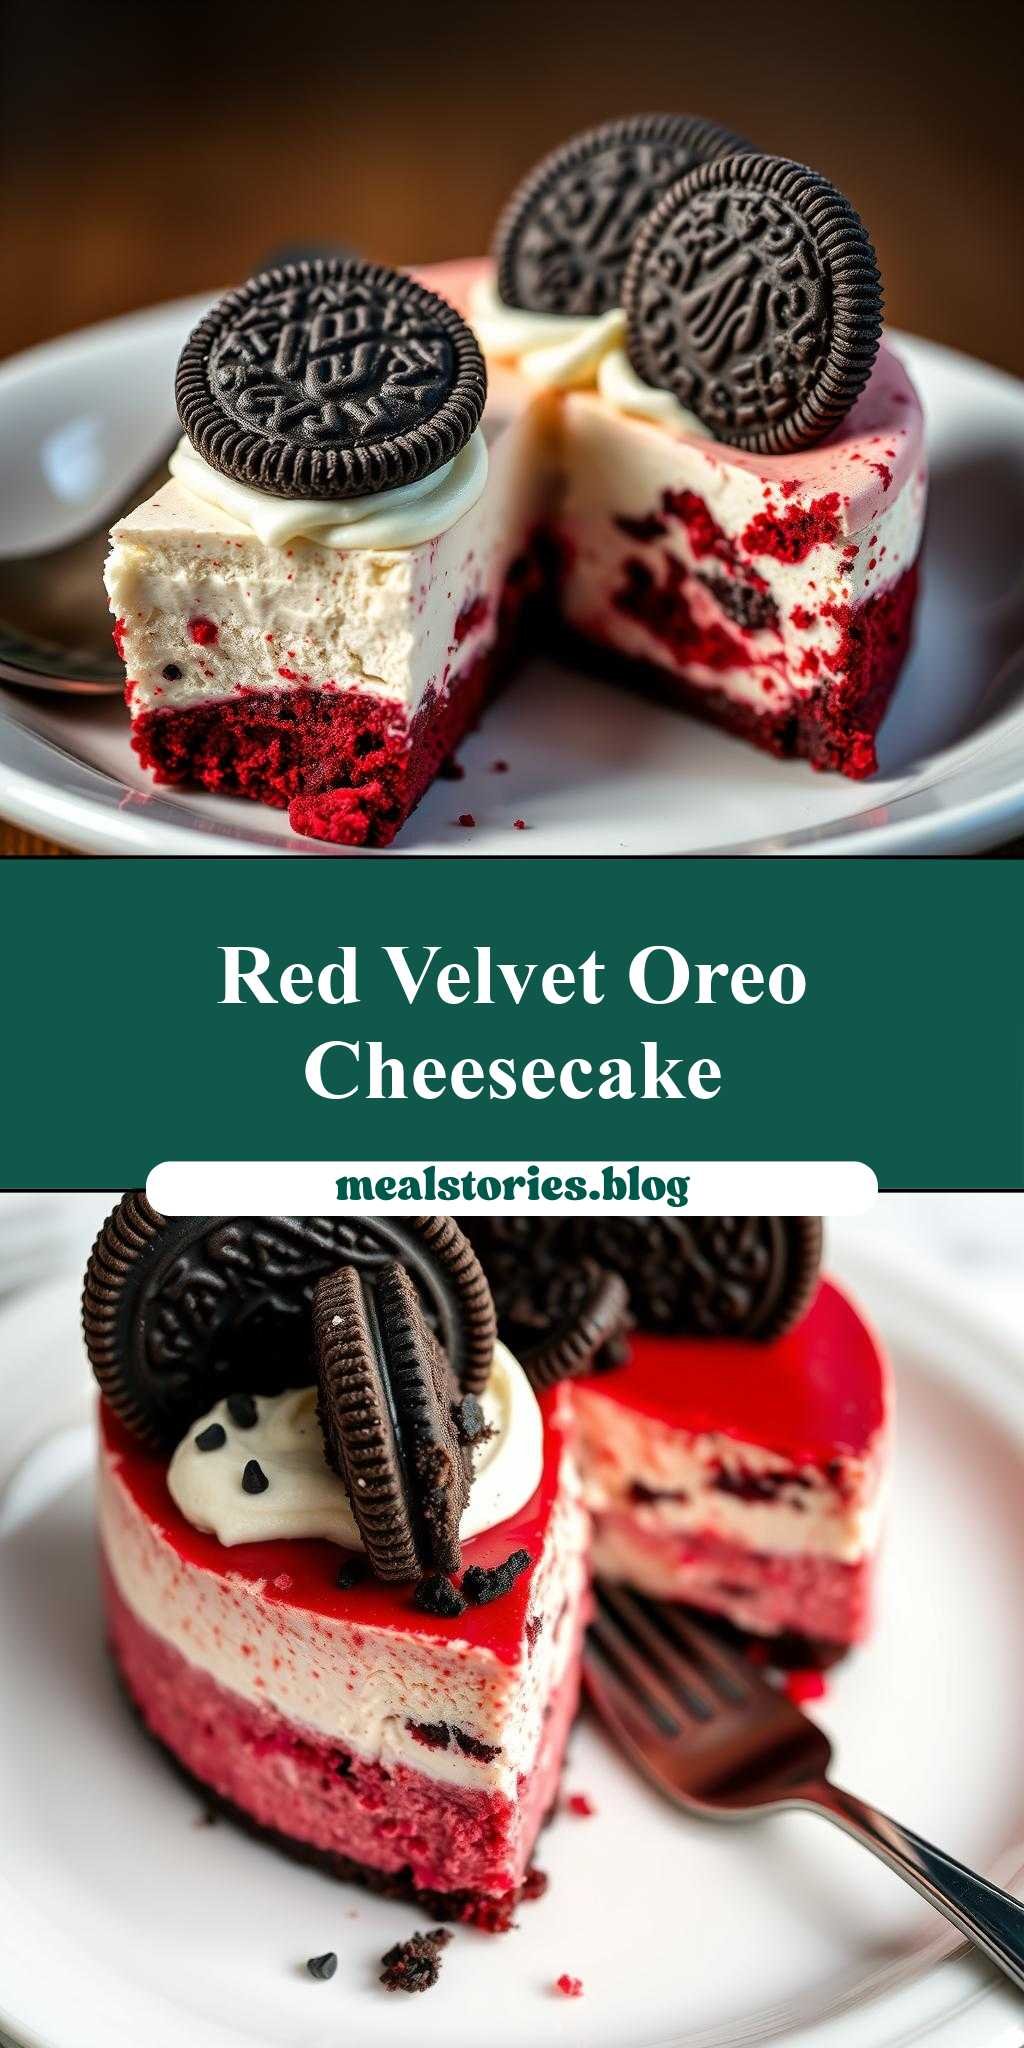
red velvet oreo cheesecake with cookies on top
Introduction
Imagine a dessert that combines the richness of cheesecake, the vibrant color of red velvet, and the crunch of Oreos, all topped with a layer of freshly baked cookies. This red velvet Oreo cheesecake with cookies on top is not just a dessert, it’s an experience. With its unique blend of flavors and textures, it’s sure to impress anyone who tries it. The best part? It’s surprisingly easy to make, using everyday ingredients that you might already have in your pantry. Whether you’re a seasoned baker or a beginner, this recipe is perfect for anyone looking to create something special and delicious.
Why This Works
- Flavor balance and ingredient accessibility: The combination of red velvet, Oreos, and cheesecake creates a perfect balance of flavors, and the ingredients are easily accessible at most grocery stores.
- Ease of preparation: Despite its impressive appearance, this dessert is relatively easy to prepare, requiring only a few hours of baking and cooling time.
- Impressive results with minimal effort: The end result is a stunning and delicious dessert that’s sure to impress your friends and family, with minimal effort required.
Key Ingredients
The key ingredients in this recipe include red velvet cake mix, Oreo cookies, cream cheese, eggs, and sugar. You’ll also need some basic baking supplies, such as a springform pan and a mixing bowl. If you don’t have red velvet cake mix, you can substitute it with a combination of flour, cocoa powder, and food coloring. Similarly, if you don’t have Oreos, you can use other types of cookies or wafers as a substitute.
Instructions
- Step 1: Begin by preheating your oven to 350°F (180°C). Prepare the crust by crushing 20-25 Oreos in a food processor and mixing them with 1/4 cup of melted butter. Press the mixture into the bottom of a 9-inch springform pan and bake for 10 minutes. Let it cool completely.
- Step 2: Prepare the cheesecake batter by mixing 16 ounces of cream cheese with 1/2 cup of granulated sugar, 2 large eggs, and 1 teaspoon of vanilla extract. Add 1 cup of sour cream and mix until well combined. Then, add 1 cup of red velvet cake mix and mix until smooth.
- Step 3: Pour the cheesecake batter into the prepared pan over the Oreo crust. Bake for 50-60 minutes or until the edges are set and the center is slightly jiggly. Let it cool completely in the pan.
- Step 4: Once the cheesecake is cool, prepare the cookie topping by mixing 1 cup of cookie dough with 1/2 cup of chopped Oreos. Drop spoonfuls of the dough onto the top of the cheesecake and bake for an additional 10-15 minutes or until the cookies are lightly golden brown.
Handy Tips
- Make sure to use room temperature ingredients, especially the cream cheese, to ensure a smooth and creamy cheesecake batter.
- Don’t overmix the batter, as this can cause the cheesecake to crack or become tough.
- Let the cheesecake cool completely in the pan to prevent it from cracking or breaking.
Heat Control
When baking the cheesecake, it’s essential to maintain a consistent oven temperature to ensure even cooking. Keep an eye on the cheesecake after 45 minutes of baking, and check it every 5 minutes until it’s done. The edges should be set, and the center should be slightly jiggly. If you’re unsure, you can always use a toothpick to check for doneness.
Crunch Factor
The crunch factor in this dessert comes from the Oreo crust and the cookie topping. To achieve the perfect crunch, make sure to not overbake the crust or the cookies. The crust should be lightly golden brown, and the cookies should be soft and chewy on the inside and lightly golden brown on the outside.
Pro Kitchen Tricks
- Use a water bath to prevent the cheesecake from cracking or becoming too brown around the edges.
- Let the cheesecake cool completely in the pan before refrigerating it to prevent it from sinking or becoming misshapen.
- Use a sharp knife to release the springform pan and prevent the cheesecake from breaking or cracking.
Storage Tips
- Store the cheesecake in an airtight container in the refrigerator for up to 5 days.
- Let the cheesecake come to room temperature before serving to ensure the best flavor and texture.
- Freeze the cheesecake for up to 2 months, wrapped tightly in plastic wrap or aluminum foil.
Gift Packaging Ideas
This dessert is perfect for gifting, especially during the holidays. Consider packaging it in a decorative tin or box, or wrapping it in plastic wrap or aluminum foil and tying it with a ribbon. You could also add a personal touch by including a handwritten note or a small gift, such as a bag of gourmet coffee or a box of chocolates.
Flavor Variations
- Try using different types of cookies, such as chocolate chip or peanut butter cookies, for a unique flavor combination.
- Add a teaspoon of espresso powder or a tablespoon of liqueur, such as Kahlua or Baileys, to the cheesecake batter for an adult twist.
- Use different types of cake mix, such as carrot or pumpkin, for a seasonal flavor variation.
Troubleshooting
- If the cheesecake cracks or becomes too brown around the edges, it may be due to overbaking or uneven oven temperature. Try reducing the baking time or using a water bath to prevent this.
- If the cookies become too hard or overcooked, it may be due to overbaking. Try reducing the baking time or using a lower oven temperature.
- If the cheesecake becomes too soft or runny, it may be due to underbaking or incorrect ingredient ratios. Try baking it for a few more minutes or adjusting the ingredient ratios.
FAQs
- Can I freeze it? Yes, you can freeze the cheesecake for up to 2 months, wrapped tightly in plastic wrap or aluminum foil.
- Is it gluten-free? No, this recipe contains gluten due to the use of cake mix and cookies. However, you can try substituting the cake mix with a gluten-free alternative and using gluten-free cookies.
- Can I double the recipe? Yes, you can double the recipe to make a larger cheesecake. Just keep in mind that you may need to adjust the baking time and temperature accordingly.
Conclusion
This red velvet Oreo cheesecake with cookies on top is a show-stopping dessert that’s sure to impress anyone who tries it. With its unique blend of flavors and textures, it’s perfect for special occasions or everyday indulgence. Don’t be afraid to experiment with different flavor combinations and ingredients to make it your own. And most importantly, have fun and enjoy the process of creating something delicious and beautiful!
red velvet oreo cheesecake with cookies on top
A rich and decadent cheesecake with a red velvet twist, topped with a layer of Oreos and freshly baked cookies.
🥘 Ingredients
👩🍳 Instructions
-
1Preheat oven to 350°F (180°C). Prepare the crust by crushing 20-25 Oreos in a food processor and mixing them with 1/4 cup of melted butter.
-
2Prepare the cheesecake batter by mixing 16 ounces of cream cheese with 1/2 cup of granulated sugar, 2 large eggs, and 1 teaspoon of vanilla extract.
-
3Pour the cheesecake batter into the prepared pan over the Oreo crust and bake for 50-60 minutes or until the edges are set and the center is slightly jiggly.
-
4Prepare the cookie topping by mixing 1 cup of cookie dough with 1/2 cup of chopped Oreos and dropping spoonfuls of the dough onto the top of the cheesecake. Bake for an additional 10-15 minutes or until the cookies are lightly golden brown.