What happens when red velvet cake meets Oreo cheesecake and a layer of creamy white frosting? This show-stopping dessert combines homemade cheesecake with crushed Oreo cookies for an easy and indulgent treat, perfect for a family favorite dessert. Save this idea for your next special occasion.
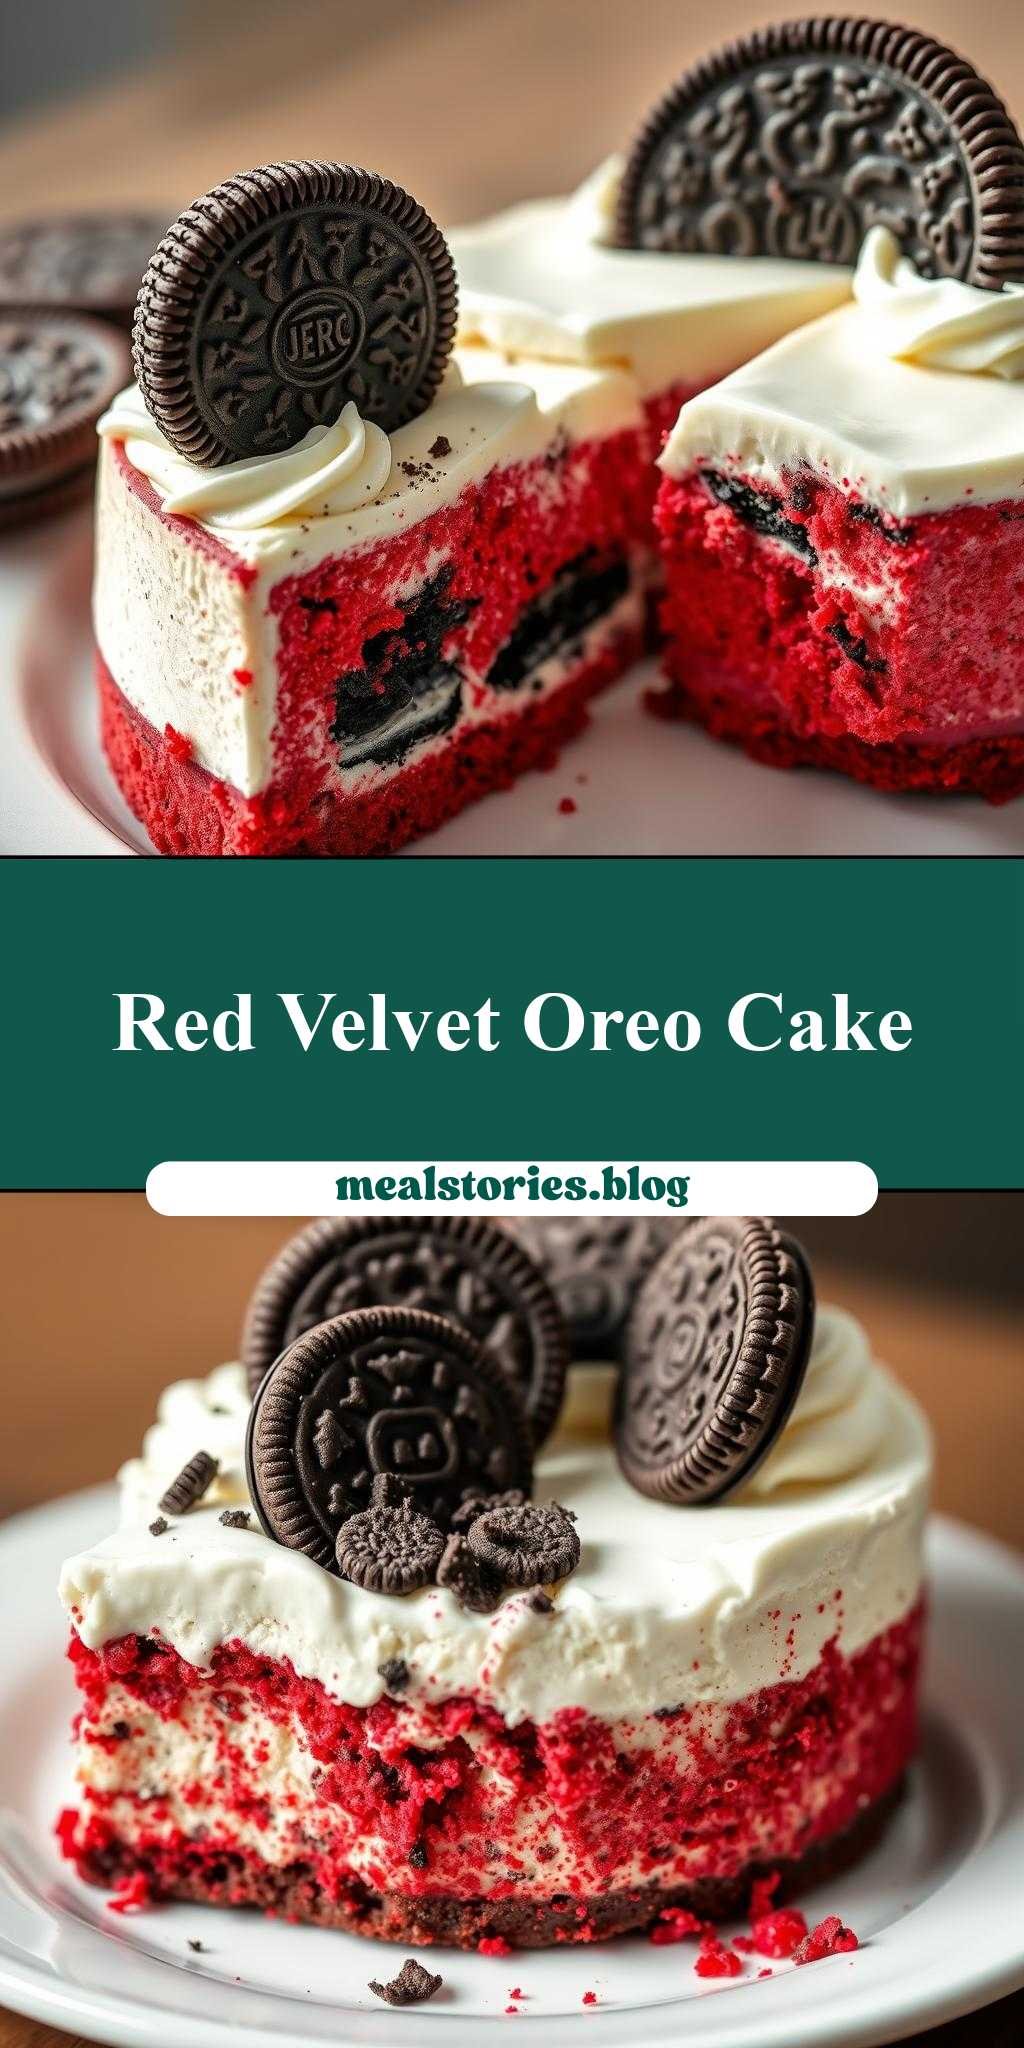
red velvet oreo cheesecake cake with oreo cookies on top and white frosting
Introduction
Imagine a dessert that combines the richness of cheesecake, the moistness of red velvet cake, and the crunch of Oreo cookies, all tied together with a creamy white frosting. This red velvet Oreo cheesecake cake is a masterpiece of flavors and textures, perfect for special occasions or simply to satisfy your sweet tooth. The best part? It’s surprisingly easy to make, using everyday ingredients that you might already have in your pantry. With its stunning appearance and decadent taste, this cake is sure to impress your friends and family, and it’s a great way to get creative in the kitchen.
Why This Works
- Flavor balance and ingredient accessibility: The combination of red velvet, Oreo, and white frosting creates a perfect balance of flavors, and the ingredients are easily found in most supermarkets.
- Ease of preparation: Despite its impressive appearance, this cake is relatively simple to prepare, with a straightforward recipe that’s hard to mess up.
- Impressive results with minimal effort: The end result is a show-stopping dessert that’s sure to impress, but it doesn’t require hours of tedious preparation or complicated techniques.
Key Ingredients
The main ingredients in this recipe include red velvet cake mix, Oreo cookies, cream cheese, sour cream, eggs, sugar, and white frosting. You can also use substitutions like gluten-free cake mix or vegan cream cheese to accommodate dietary restrictions. The Oreo cookies add a fun texture and flavor contrast to the cake, while the white frosting provides a creamy and sweet finishing touch. Practical substitutions for some ingredients include using vanilla extract instead of almond extract, or substituting heavy cream for sour cream.
Instructions
- Step 1: Begin by preheating your oven to 350°F (180°C). Prepare the red velvet cake mix according to the package instructions, and pour the batter into two 9-inch (23cm) round cake pans. Bake for 25-30 minutes, or until a toothpick inserted into the center comes out clean.
- Step 2: While the cakes are baking, prepare the cheesecake layer. Beat the cream cheese and sugar until smooth, then add the sour cream and eggs one at a time, beating well after each addition. Stir in the vanilla extract and crushed Oreo cookies.
- Step 3: Once the cakes are done, let them cool completely in the pans. Then, place one of the cake layers on a serving plate and spread the cheesecake mixture over the top. Place the second cake layer on top of the cheesecake layer, and frost the entire cake with white frosting.
- Step 4: To finish the cake, crush additional Oreo cookies and sprinkle them over the top of the frosting. You can also use a piping bag to create decorative borders or patterns with the frosting.
Handy Tips
- Make sure to not overmix the cake batter or cheesecake mixture, as this can result in a dense or tough texture.
- Use high-quality ingredients, like fresh eggs and real cream cheese, to ensure the best flavor and texture.
- Don’t overbake the cakes, as this can cause them to dry out. A toothpick inserted into the center should come out clean, but the cakes should still be slightly tender.
Heat Control
When baking the cakes, make sure to keep an eye on the temperature and timing. The ideal temperature is 350°F (180°C), and the cakes should be baked for 25-30 minutes, or until a toothpick inserted into the center comes out clean. You can also check for doneness by gently pressing on the top of the cake – it should feel firm and springy.
Crunch Factor
The crunch factor in this cake comes from the Oreo cookies, which add a fun texture contrast to the soft and creamy cheesecake and frosting. To achieve the right level of crunch, make sure to not overprocess the Oreo cookies when crushing them, as this can cause them to become too fine and lose their texture.
Pro Kitchen Tricks
- Use a kitchen scale to measure ingredients accurately, which can help ensure the best flavor and texture.
- Make the cheesecake mixture ahead of time and refrigerate it until you’re ready to assemble the cake, which can help the flavors meld together and the texture to set.
- Use a piping bag to create decorative borders or patterns with the frosting, which can add a professional touch to the cake.
Storage Tips
- Store the cake in an airtight container in the refrigerator for up to 3 days.
- Freeze the cake for up to 2 months, wrapped tightly in plastic wrap or aluminum foil.
- Reheat the cake at room temperature or in the microwave, but be careful not to overheat, as this can cause the frosting to melt or the cake to become dry.
Gift Packaging Ideas
This cake is perfect for gift-giving, especially for special occasions like birthdays or holidays. Consider packaging the cake in a decorative tin or box, or wrapping it in colorful paper or cellophane. You can also add a personal touch with a handwritten note or card, or by decorating the cake with fresh flowers or sprinkles.
Flavor Variations
- Try using different types of cake mix, like chocolate or carrot, to create a unique flavor combination.
- Add creative toppings, like chopped nuts or shredded coconut, to the frosting for added texture and flavor.
- Swap out the Oreo cookies for other types of cookies, like chocolate sandwich cookies or peanut butter cookies, for a different flavor profile.
Troubleshooting
- Texture problems: If the cake is too dense or dry, try adjusting the baking time or temperature. If the cheesecake is too soft or runny, try refrigerating it for a longer period of time.
- Ingredient replacements: If you don’t have cream cheese, try using sour cream or Greek yogurt as a substitute. If you don’t have Oreo cookies, try using other types of cookies or wafers.
- Over/undercooking signs: If the cake is overcooked, it may be dry or cracked. If the cake is undercooked, it may be soft or soggy. Check the cake frequently during the baking time to ensure it’s cooked to the right level of doneness.
FAQs
- Can I freeze it? Yes, you can freeze the cake for up to 2 months, wrapped tightly in plastic wrap or aluminum foil.
- Is it gluten-free? No, this cake contains gluten due to the cake mix and Oreo cookies. However, you can try using gluten-free substitutes to make a gluten-free version.
- Can I double the recipe? Yes, you can double the recipe to make a larger cake. Just keep in mind that you may need to adjust the baking time and temperature accordingly.
Conclusion
This red velvet Oreo cheesecake cake is a show-stopping dessert that’s sure to impress your friends and family. With its unique flavor combination and stunning appearance, it’s perfect for special occasions or simply to satisfy your sweet tooth. Don’t be afraid to get creative and experiment with different ingredients and flavor combinations – and most importantly, have fun and enjoy the process of making this delicious cake!
red velvet oreo cheesecake cake with oreo cookies on top and white frosting
A moist and decadent red velvet cake filled with a creamy cheesecake layer, topped with crushed Oreo cookies and white frosting.
🥘 Ingredients
👩🍳 Instructions
-
1Preheat oven to 350°F (180°C). Prepare the red velvet cake mix according to the package instructions.
-
2Bake the cakes for 25-30 minutes, or until a toothpick inserted into the center comes out clean.
-
3Prepare the cheesecake layer by beating the cream cheese and sugar until smooth, then adding the sour cream and eggs one at a time.
-
4Assemble the cake by placing one of the cake layers on a serving plate, spreading the cheesecake mixture over the top, and placing the second cake layer on top.
-
5Frost the entire cake with white frosting and decorate with crushed Oreo cookies.