What makes a dessert truly unforgettable? Rich red velvet cake mixed with cream cheese and transformed into bite-sized cake balls, perfect for a quick homemade treat that’s also an easy family favorite, especially when made with simple ingredients like melted chocolate. Save this idea
red velvet cake balls on a white plate
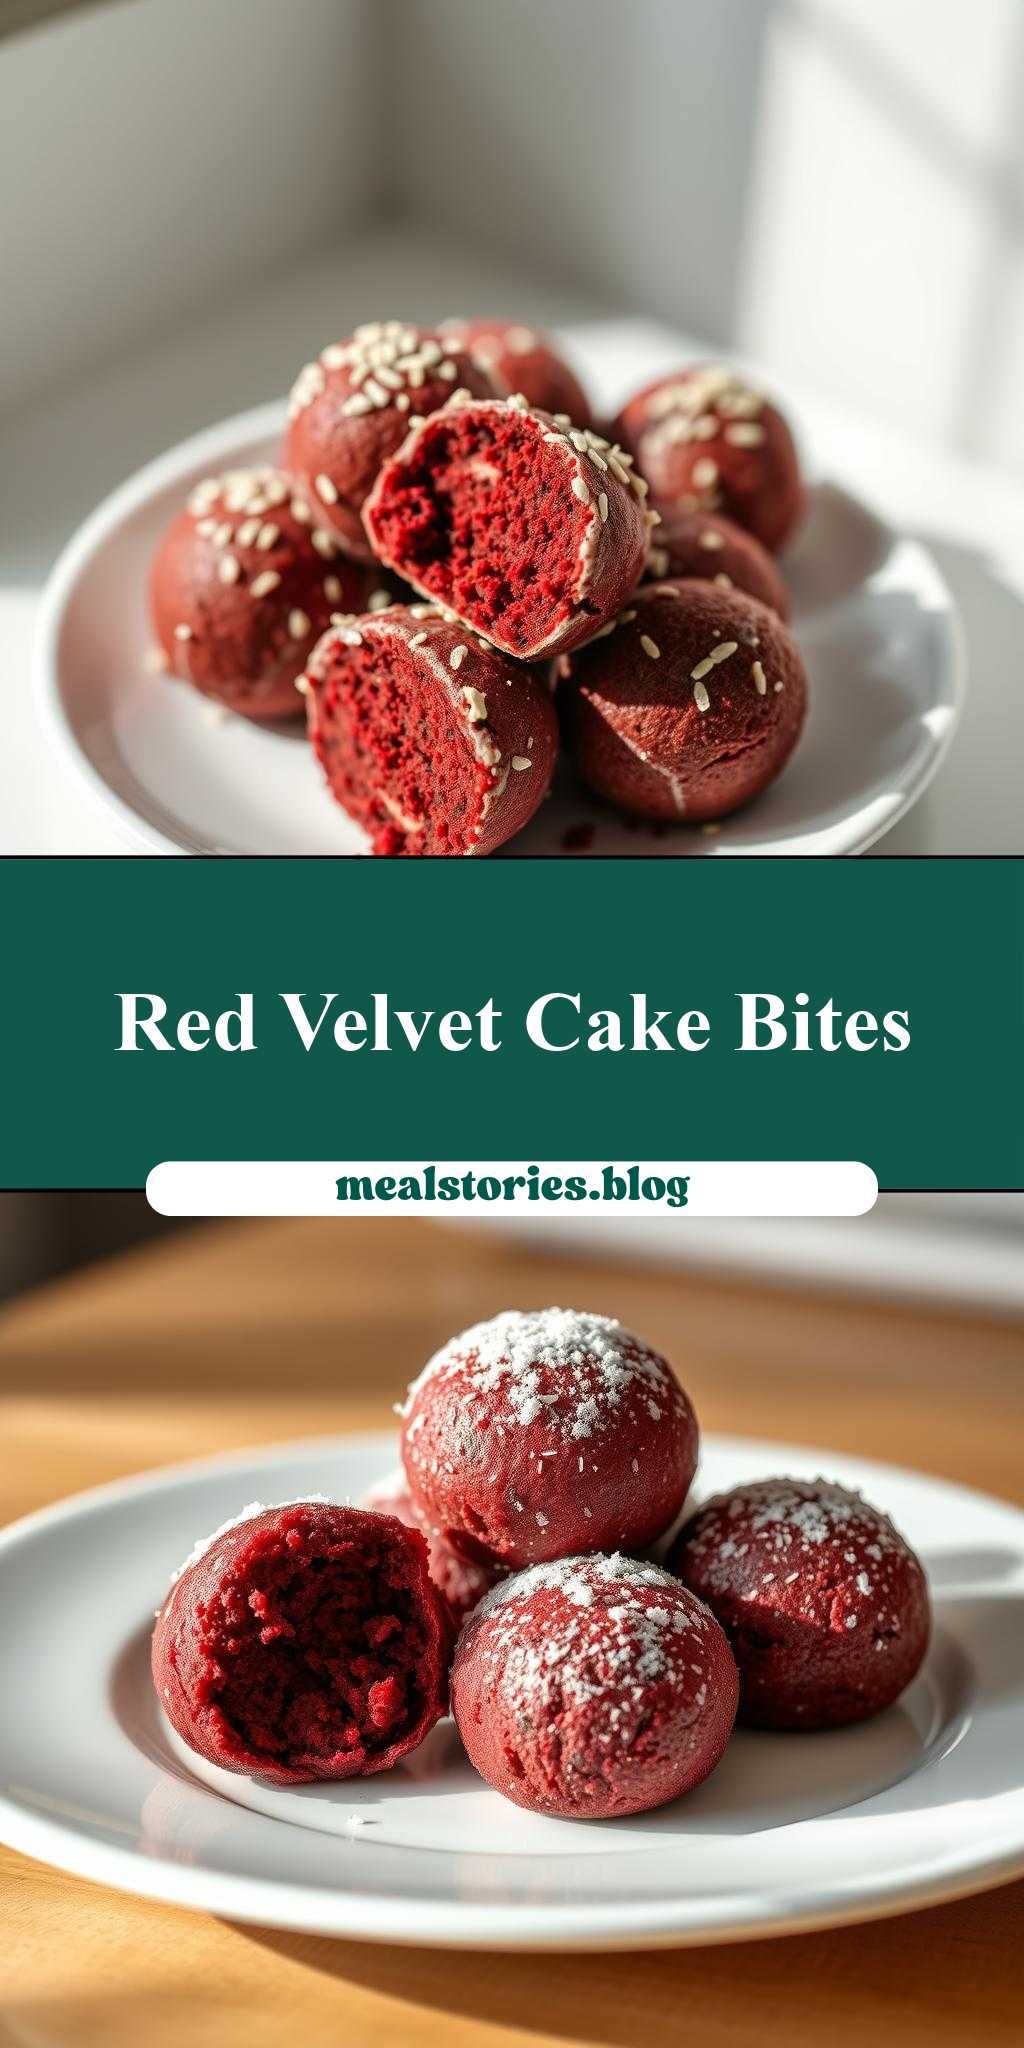
Introduction
Imagine indulging in a decadent treat that combines the richness of red velvet cake with the fun of bite-sized cake balls, all perfectly presented on a crisp white plate. This delightful dessert is not only a feast for the eyes but also a symphony of flavors that will leave you and your guests in awe. The best part? It’s surprisingly easy to make, using everyday ingredients that you might already have in your pantry. With a little creativity, you can turn a simple cake mix into an impressive dessert that’s perfect for any occasion, from casual gatherings to special celebrations. So, let’s dive into the world of red velvet cake balls and discover how to make this stunning dessert.
Why This Works
- Flavor balance and ingredient accessibility: The combination of red velvet cake, cream cheese frosting, and chocolate coating creates a perfectly balanced flavor profile that’s both familiar and exciting. Plus, the ingredients are easy to find in most grocery stores.
- Ease of preparation: Despite its impressive appearance, this dessert is relatively simple to prepare. The cake balls can be made ahead of time, and the chocolate coating and decoration can be done just before serving.
- Impressive results with minimal effort: The presentation of these cake balls on a white plate is stunning, making it perfect for special occasions or as a centerpiece for your dessert table. The best part is that it requires minimal effort to achieve this impressive look.
Key Ingredients
To make these delicious red velvet cake balls, you’ll need a few key ingredients. First, you’ll need a red velvet cake mix, which can be found in most grocery stores. You’ll also need cream cheese frosting, which can be made from scratch or store-bought. For the chocolate coating, you’ll need melting chocolate or candy melts. Additionally, you’ll need some shortening, like Crisco, to thin out the chocolate and make it easier to coat the cake balls. If you want to add some extra flavor, you can also use vanilla extract or other flavorings of your choice. Practical substitutions can be made for some of these ingredients, such as using a different type of frosting or chocolate, but the basic ingredients will give you the best results.
Instructions
- Step 1: Begin by baking the red velvet cake according to the package instructions. Let it cool completely before crumbling it into a large bowl.
- Step 2: Mix the crumbled cake with cream cheese frosting until it forms a sticky dough. You can add a little vanilla extract or other flavorings at this stage if you like.
- Step 3: Use a small cookie scoop or your hands to form the cake mixture into balls, about 1 inch in diameter. Place the balls on a baking sheet lined with parchment paper and refrigerate for at least 30 minutes to firm up.
- Step 4: Melt the chocolate or candy melts in a double boiler or in the microwave in 30-second increments, stirring between each interval until smooth. Add a little shortening to thin out the chocolate and make it easier to coat the cake balls. Dip each cake ball into the melted chocolate, using a fork or dipping tool to fully coat the ball. Tap off any excess chocolate by gently tapping the fork or dipping tool against the side of the bowl. Place the chocolate-covered cake ball on a piece of parchment paper or a silicone mat. Repeat with the remaining cake balls.
Handy Tips
- Make sure to chill the cake balls before coating them in chocolate, as this will help the chocolate set faster and prevent it from pooling at the bottom of the ball.
- If you find that your chocolate is too thick, you can thin it out with a little shortening or vegetable oil. If it’s too thin, you can refrigerate it for a few minutes to firm it up.
- Experiment with different types of chocolate or candy melts to find the flavor and color that you like best. You can also add a little flavoring, like mint or orange extract, to the chocolate for an extra twist.
Heat Control
If you’re using a double boiler to melt your chocolate, make sure to keep the water at a simmer and not a full boil. This will help prevent the chocolate from seizing up or becoming too hot. If you’re using the microwave, be careful not to overheat the chocolate, as this can cause it to become grainy or separate. Stir the chocolate between each heating interval and check its temperature to ensure it’s not too hot.
Crunch Factor
The crunch factor in these cake balls comes from the outer layer of chocolate, which provides a nice textural contrast to the soft cake inside. To achieve the perfect crunch, make sure to chill the cake balls before coating them in chocolate, and use a high-quality chocolate that will set well. You can also experiment with adding different toppings, like chopped nuts or sprinkles, to the top of the cake ball before the chocolate hardens for an extra crunchy texture.
Pro Kitchen Tricks
- Use a thermometer to ensure that your chocolate is at the perfect temperature for coating. This will help it set faster and prevent it from becoming too hot or too cold.
- Experiment with different types of cake and frosting to create unique flavor combinations. For example, you could use a lemon cake mix with a raspberry frosting for a bright and citrusy flavor.
- Use a fork or dipping tool to coat the cake balls in chocolate, as this will help you achieve a smooth and even coating. Tap off any excess chocolate by gently tapping the fork or dipping tool against the side of the bowl.
Storage Tips
- Store the cake balls in an airtight container in the refrigerator for up to 5 days. Let them come to room temperature before serving.
- If you want to freeze the cake balls, place them on a baking sheet lined with parchment paper and put them in the freezer until frozen solid. Then, transfer them to an airtight container or freezer bag and store for up to 2 months. Let them thaw at room temperature or in the refrigerator before serving.
- When storing the cake balls, make sure to keep them away from strong-smelling foods, as they can absorb odors easily. You can also store them in a single layer in an airtight container to prevent them from sticking together.
Gift Packaging Ideas
These cake balls are perfect for gift-giving, and can be packaged in a variety of creative ways. You could place them in a decorative tin or jar, or wrap them individually in cellophane bags and tie with a ribbon. You could also create a gift basket filled with cake balls, along with other sweet treats like chocolates or candies. Whatever packaging you choose, make sure to include a personalized note or card to make it extra special.
Flavor Variations
- Different spices: Try adding a pinch of cinnamon or nutmeg to the cake mix for a warm and spicy flavor.
- Creative toppings: Experiment with different toppings, like chopped nuts or sprinkles, to add texture and color to the cake balls.
- Ingredient swaps: Try using a different type of cake mix, like lemon or carrot, to create a unique flavor combination. You could also use a different type of frosting, like whipped cream or buttercream, for a lighter or richer flavor.
Troubleshooting
- Texture problems: If the cake balls are too dense or dry, try adding a little more frosting to the mixture. If they’re too crumbly, try adding a little more cake mix.
- Ingredient replacements: If you don’t have cream cheese frosting, you could try using a different type of frosting, like whipped cream or buttercream. If you don’t have melting chocolate, you could try using candy melts or chocolate chips.
- Over/undercooking signs: If the cake is overcooked, it may be dry or crumbly. If it’s undercooked, it may be too moist or raw-tasting. Make sure to check the cake frequently while it’s baking to ensure it’s cooked to perfection.
FAQs
- Can I freeze it? Yes, you can freeze the cake balls for up to 2 months. Simply place them on a baking sheet lined with parchment paper and put them in the freezer until frozen solid. Then, transfer them to an airtight container or freezer bag and store in the freezer.
- Is it gluten-free? No, this recipe uses a traditional cake mix that contains gluten. However, you could try using a gluten-free cake mix to make a gluten-free version of the cake balls.
- Can I double the recipe? Yes, you can easily double or triple the recipe to make more cake balls. Simply multiply the ingredients and follow the same instructions as before.
Conclusion
Making red velvet cake balls is a fun and creative process that’s perfect for anyone who loves baking and decorating. With these simple steps and tips, you can create a stunning dessert that’s sure to impress your friends and family. So don’t be afraid to get creative and experiment with different flavors and toppings – and most importantly, have fun! Whether you’re making these cake balls for a special occasion or just for a sweet treat, they’re sure to be a hit. So go ahead, give them a try, and enjoy the ooohs and ahhhs as you present your beautiful red velvet cake balls on a white plate.
red velvet cake balls on a white plate
A decadent dessert that combines the richness of red velvet cake with the fun of bite-sized cake balls, all perfectly presented on a crisp white plate.
🥘 Ingredients
👩🍳 Instructions
-
1Bake the red velvet cake according to the package instructions and let it cool completely.
-
2Mix the crumbled cake with cream cheese frosting until it forms a sticky dough.
-
3Form the cake mixture into balls, about 1 inch in diameter, and place them on a baking sheet lined with parchment paper.
-
4Melt the chocolate or candy melts in a double boiler or in the microwave in 30-second increments, stirring between each interval until smooth.
-
5Dip each cake ball into the melted chocolate, using a fork or dipping tool to fully coat the ball.