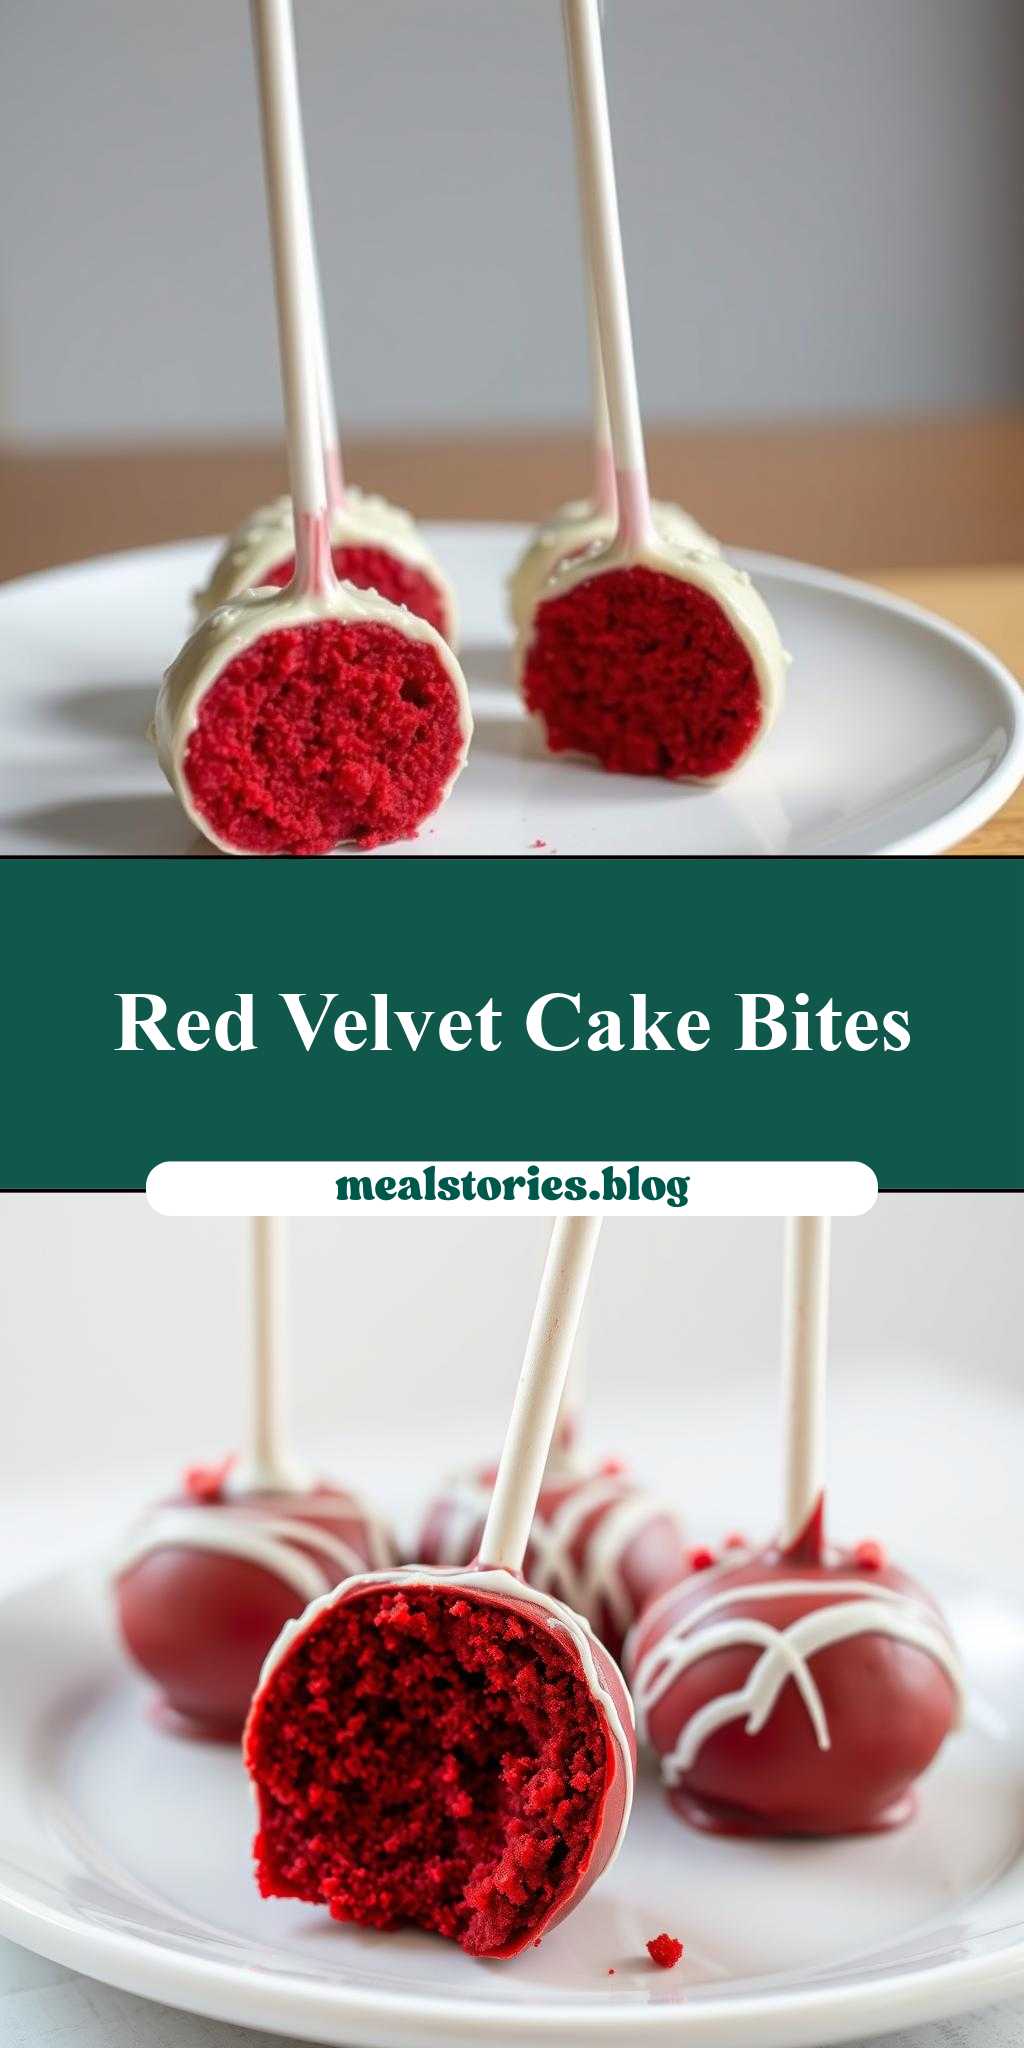
What makes a party truly unforgettable – is it the decadent red velvet cake pops that steal the show? Made with moist buttermilk cake and cream cheese frosting, these easy homemade treats are a quick favorite at any gathering. Save this idea for your next family favorite dessert night.
red velvet cake pops on a white plate
Introduction
Imagine the vibrant red of velvet cake, the crunch of a perfectly coated shell, and the whimsy of a treat on a stick, all presented elegantly on a white plate. Red velvet cake pops are not just a dessert; they’re an experience that combines ease, flavor, and creativity, using everyday ingredients that you might already have in your pantry. Whether you’re a seasoned baker or a novice in the kitchen, these bite-sized wonders are sure to impress. With their distinctive red color and creamy white chocolate coating, they’re perfect for any occasion, from birthdays and weddings to simple gatherings with friends and family. In this article, we’ll guide you through the process of making these delightful treats, highlighting their unique flavor, the simplicity of their preparation, and the impressive results you can achieve with minimal effort.
Why This Works
- Flavor balance and ingredient accessibility: The combination of red velvet cake, cream cheese frosting, and white chocolate creates a flavor balance that’s both familiar and exciting. Plus, the ingredients are readily available in most supermarkets, making this recipe accessible to everyone.
- Ease of preparation: Despite their elegant appearance, red velvet cake pops are surprisingly easy to make. The process involves baking a cake, crumbling it, mixing it with frosting, shaping into balls, and dipping in chocolate – steps that are straightforward and fun to execute.
- Impressive results with minimal effort: The end result of your labor is a batch of beautifully coated, bite-sized cake pops that look like they were purchased from a professional bakery. They’re perfect for impressing your guests or as a unique gift for loved ones.
Key Ingredients
To make red velvet cake pops, you’ll need a few key ingredients. First, you’ll need a red velvet cake mix or the ingredients to make one from scratch, including flour, sugar, cocoa powder, and food coloring. You’ll also need cream cheese frosting, which can be made with cream cheese, butter, vanilla extract, and powdered sugar. For the coating, white chocolate or candy melts are ideal, and you’ll need lollipop sticks or cake pop sticks to create the pops. Optional ingredients include sprinkles, chopped nuts, or shredded coconut for decorating. Practical substitutions can be made for some ingredients; for example, you can use buttercream frosting instead of cream cheese frosting, or milk chocolate instead of white chocolate for a different flavor profile.
Instructions
- Step 1: Begin by preparing your ingredients. If making the cake from scratch, sift together the flour, sugar, cocoa powder, and salt. If using a mix, follow the package instructions for preparation. Bake the cake according to your recipe or package instructions, then let it cool completely.
- Step 2: Crumble the cooled cake into a large mixing bowl. Prepare your cream cheese frosting by beating the cream cheese and butter until smooth, then adding the vanilla extract and powdered sugar. Mix the frosting into the crumbled cake until you have a consistent, moist mixture.
- Step 3: Use your hands to shape the cake mixture into small balls, about 1.5 inches in diameter. Melt your white chocolate or candy melts in a double boiler or in the microwave in 30-second increments, stirring between each interval until smooth. Dip the end of a lollipop stick into the melted chocolate and then into each cake ball, to help the chocolate adhere. Then, dip each cake ball into the melted chocolate, using a fork or dipping tool to fully coat the cake pop. Tap off any excess chocolate by gently tapping the fork or dipping tool against the side of the bowl.
- Step 4: Place the coated cake pops on a piece of parchment paper or a silicone mat. If decorating, now is the time to add sprinkles, chopped nuts, or shredded coconut before the chocolate hardens. Allow the chocolate to set completely at room temperature or in the refrigerator for about 10-15 minutes. Serve the cake pops on a white plate for a stunning presentation.
Handy Tips
- Make sure your cake is completely cool before crumbling it, as this will help prevent the mixture from becoming too wet. If your mixture is too dry, you can add a bit more frosting. If it’s too wet, you can add a bit more cake crumbs.
- Experiment with different types of chocolate or candy melts for the coating, and consider adding a teaspoon of shortening like Crisco to the melted chocolate to make it smoother and easier to work with.
- To avoid the chocolate from pooling at the bottom of the cake pop, make sure to tap off excess chocolate properly after coating each pop.
Heat Control
When melting the chocolate, it’s crucial to control the heat to avoid burning the chocolate. If using a double boiler, make sure the water doesn’t touch the bottom of the bowl containing the chocolate. If melting in the microwave, use short intervals and stir well between each heating, as the chocolate can quickly go from perfectly melted to burnt.
Crunch Factor
The crunch factor of your red velvet cake pops comes from the outer shell of chocolate. To achieve a perfectly crunchy shell, make sure the chocolate is at the right temperature for coating – not too hot, not too cold. If the chocolate is too hot, it will be too thin and might not set properly, leading to a soft shell. If it’s too cold, it won’t coat the cake pop smoothly. The ideal consistency is when the chocolate is smooth and fluid but still holds its shape when dropped from a spoon.
Pro Kitchen Tricks
- Use a candy thermometer to ensure the chocolate reaches the ideal working temperature, usually between 86°F and 90°F for dark chocolate and 82°F to 86°F for milk and white chocolate.
- For a glossy finish on your cake pops, add a small amount of shortening like Crisco or coconut oil to the melted chocolate before coating.
- Consider using a turntable or a piece of parchment paper on a cake stand to display your finished cake pops, making them easier to access and admire.
Storage Tips
- Store your cake pops in an airtight container in the refrigerator for up to 5 days. Let them come to room temperature before serving for the best flavor and texture.
- If you plan to store them for a longer period, you can freeze the cake pops without the sticks for up to 2 months. Dip the frozen cake balls in chocolate and decorate once thawed.
- For best results, keep the cake pops away from direct sunlight and heat sources, as this can cause the chocolate to melt or become discolored.
Gift Packaging Ideas
Red velvet cake pops make wonderful gifts, especially when beautifully packaged. Consider placing each cake pop in a cellophane bag and tying the top with a ribbon. You can also arrange them in a gift box or a tin, separated by parchment paper, and decorate the box with gift wrapping paper or a bow. For a more rustic look, you can place the cake pops in a mason jar, fill any gaps with decorative paper or candy, and tie a ribbon around the lid.
Flavor Variations
- Different spices: Add a pinch of cinnamon, nutmeg, or cayenne pepper to the cake mixture for a unique twist on the traditional red velvet flavor.
- Creative toppings: Instead of sprinkles, try using chopped nuts, shredded coconut, or even crushed cookies like Oreos or peanut butter cookies for a different texture and flavor.
- Ingredient swaps: Use different types of cake, like carrot cake or chocolate cake, and pair them with complementary frostings and coatings for entirely new flavor combinations.
Troubleshooting
- Texture problems: If your cake pops are too dense, you might have overmixed the cake and frosting mixture. If they’re too crumbly, the mixture might be too dry.
- Ingredient replacements: If you don’t have buttermilk for the cake recipe, you can make a substitute by mixing milk with white vinegar or lemon juice and letting it sit for a few minutes.
- Over/undercooking signs: Make sure to check your cake for doneness by inserting a toothpick into the center. If it comes out clean, the cake is done. If the toothpick is wet or has batter on it, bake for a few more minutes and check again.
FAQs
- Can I freeze it? Yes, you can freeze the cake pops for up to 2 months. It’s best to freeze them before coating with chocolate.
- Is it gluten-free? The traditional recipe for red velvet cake includes gluten, but you can make a gluten-free version by substituting the flour with a gluten-free flour blend.
- Can I double the recipe? Yes, you can easily double or triple the recipe to make more cake pops. Just ensure you have enough frosting and chocolate to accommodate the increased amount of cake.
Conclusion
Making red velvet cake pops is a fun and rewarding experience that allows you to express your creativity in the kitchen. With their vibrant color, delicious flavor, and elegant presentation, they’re perfect for any occasion. Don’t be afraid to experiment with different flavors and decorations to make the recipe your own. Whether you’re a beginner or an experienced baker, the process of creating these bite-sized treats is sure to bring joy and satisfaction. So, go ahead, get baking, and share your beautiful red velvet cake pops with friends and family on a stunning white plate!