What makes a perfect sweet treat, a delicate balance of crunch and flavor, like these cookies smothered in creamy pink icing, made with simple homemade techniques and easy baking methods, highlighting the richness of butter and sugar, Save this idea
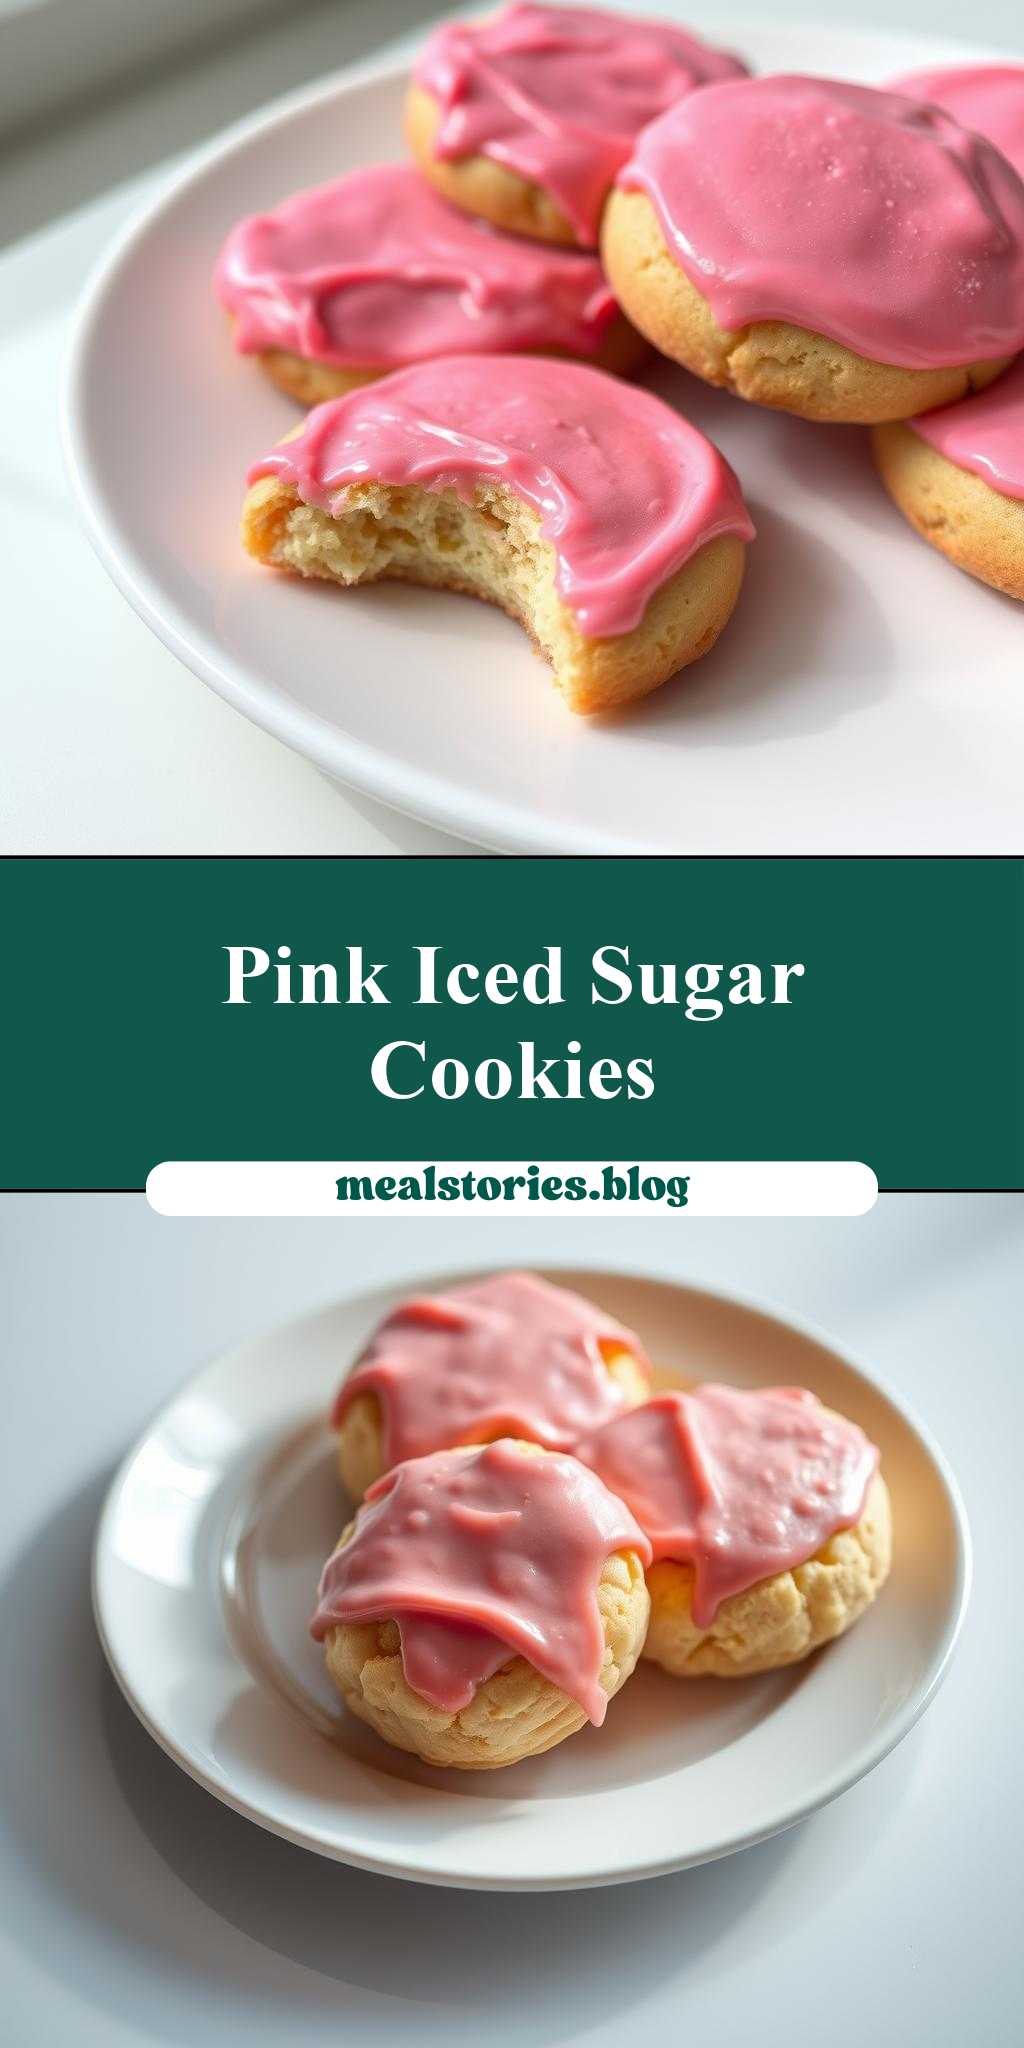
a white plate topped with cookies covered in pink icing
Introduction
Baking and decorating cookies is an art form that brings joy to both the creator and the consumer. The simplicity of a white plate topped with cookies covered in pink icing is a masterpiece of minimalism, requiring only a few ingredients but yielding a dessert that is both visually stunning and deliciously satisfying. This recipe is perfect for those looking to indulge in a sweet treat without spending hours in the kitchen. It’s a testament to the magic that can happen with everyday ingredients, a bit of creativity, and some love.
Why This Works
- The flavor balance between the sweetness of the cookies and the icing creates a delightful harmony that is not too overpowering, making it accessible to everyone.
- The ease of preparation is a significant advantage, as it requires minimal cooking skills and can be ready in no time, perfect for spontaneous dessert cravings or last-minute party preparations.
- Despite the simplicity, the presentation is impressive, especially when arranged beautifully on a white plate, making it a great option for gatherings or as a gift.
Key Ingredients
The main ingredients for this delightful dessert include sugar cookies, which can be homemade or store-bought depending on your preference and time availability, and pink icing, which can be made from scratch using butter, icing sugar, and a few drops of pink food coloring, or store-bought. For the cookies, if you’re opting for a homemade route, you’ll need ingredients like butter, sugar, eggs, flour, and vanilla extract. For the icing, besides the aforementioned ingredients, you might want to have some milk on hand to adjust the consistency. Practical substitutions can include using different types of sugar or flavor extracts in the cookies, or experimenting with various food colorings for different hues of icing.
Instructions
- Step 1: Begin by preparing your cookies. If you’re baking them, preheat your oven to 375°F (190°C), and line a baking sheet with parchment paper. Mix your cookie dough according to your recipe, scoop out balls of dough onto the prepared baking sheet, and bake for about 10-12 minutes, or until the edges are lightly golden. Allow the cookies to cool completely on a wire rack.
- Step 2: While the cookies are cooling, prepare your pink icing. If making from scratch, beat the butter until it’s light and fluffy, then gradually add the icing sugar, beating well after each addition. Add a few drops of pink food coloring and mix until the color is evenly distributed. You may need to add a little milk to achieve the right consistency for spreading or piping.
- Step 3: Once your cookies are completely cool, it’s time to ice them. You can either spread a small amount of icing on top of each cookie with a knife or use a piping bag for more decorative effects. Be creative with your icing patterns, from simple dots to intricate designs.
- Step 4: Finally, arrange your iced cookies on a white plate. You can place them in a pattern or simply pile them high for a more rustic look. If desired, add some extra decorations like sprinkles or edible glitter on top of the icing for extra flair.
Handy Tips
- For the icing, start with a small amount of food coloring and add more as needed, as it’s easier to add color than it is to remove excess. Additionally, if your icing becomes too thin, refrigerate it for about 10 minutes to firm it up before using.
Heat Control
When baking the cookies, it’s crucial to keep an eye on them to avoid overcooking. The ideal temperature is 375°F (190°C), and the timing will depend on the size of your cookies, but generally, they’re done when the edges are lightly golden. Signs of doneness also include the cookies feeling firm to the touch and lightly springing back when pressed gently.
Crunch Factor
The crunch factor in this dessert comes from the texture of the cookies. For the best results, you want your cookies to be crisp on the edges and chewy in the center. Achieving this involves not overbaking them and possibly chilling the dough before baking to help the cookies retain their shape and texture better.
Pro Kitchen Tricks
- One expert tip is to use parchment paper or a silicone mat on your baking sheet to prevent the cookies from spreading too much and to make cleanup easier.
- For a professional finish on your icing, make sure to sift your icing sugar before using it to avoid any lumps, and use a high-quality food coloring for the best color.
Storage Tips
- Uniced cookies can be stored in an airtight container at room temperature for up to 5 days. If you’ve iced your cookies, it’s best to store them in a single layer in an airtight container in the refrigerator for up to 3 days.
Gift Packaging Ideas
If you’re considering gifting these beautifully iced cookies, there are several creative ways to package them. You can place them in decorative tins or jars, wrap them individually in cellophane bags and tie with a ribbon, or arrange them in a gift box lined with tissue paper. Adding a personal touch, like a handwritten note or a small decorative element that matches the icing color, can make the gift even more special.
Flavor Variations
- You can experiment with different spices in your cookie dough, like cinnamon, nutmeg, or cardamom, for unique flavor profiles.
- Creative toppings can include sprinkles, chopped nuts, or even shredded coconut added to the icing before it sets.
- Ingredient swaps can be fun too; consider using brown sugar instead of white sugar for a richer flavor or adding a teaspoon of espresso powder to the dough for a mocha twist.
Troubleshooting
- If your cookies spread too much, it might be due to the butter being too warm or the baking sheet being too hot. Try chilling the dough and using a cooler baking sheet.
- If your icing is too thin, refrigerate it for a bit to firm it up. If it’s too thick, add a small amount of milk or water.
- Overcooking can lead to hard cookies. Keep an eye on them, and remove them from the oven when they’re lightly golden.
FAQs
- Can I freeze it? Yes, you can freeze both the cookie dough and the baked cookies. However, it’s best to ice them after thawing for the best results.
- Is it gluten-free? Depending on the type of flour used in the cookie recipe, it can be adapted to be gluten-free by using gluten-free flours.
- Can I double the recipe? Absolutely, just keep in mind that you might need to adjust the baking time slightly if you’re making a larger batch of cookies.
Conclusion
In conclusion, creating a white plate topped with cookies covered in pink icing is a fun and rewarding baking project that’s perfect for any occasion. With its ease of preparation, impressive results, and endless possibilities for creativity, it’s a recipe that’s sure to become a favorite. Don’t be afraid to experiment with different flavors and decorations, and most importantly, enjoy the process and share your delightful creations with loved ones.
a white plate topped with cookies covered in pink icing
A simple yet impressive dessert featuring cookies covered in pink icing, perfect for any occasion with its ease of preparation and delightful flavor.
🥘 Ingredients
👩🍳 Instructions
-
1Preheat oven to 375°F (190°C).
-
2Prepare cookie dough and scoop onto a baking sheet lined with parchment paper.
-
3Bake for 10-12 minutes or until lightly golden.
-
4Prepare pink icing and decorate cooled cookies.
-
5Arrange iced cookies on a white plate for serving.