Pesto Grilled Cheese
Introduction
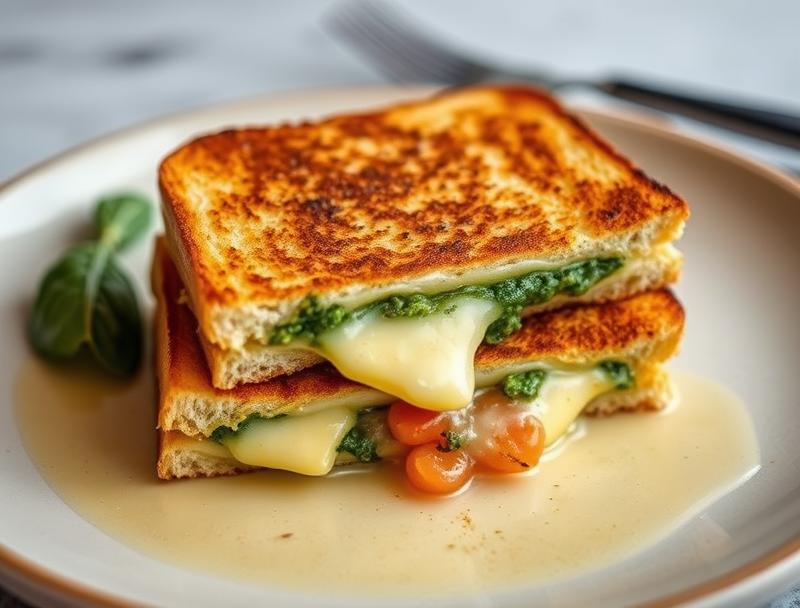
The Pesto Grilled Cheese is a creative twist on the classic grilled cheese sandwich, elevating it to a whole new level of flavor and sophistication. By combining the richness of melted cheese with the vibrant, herby taste of pesto, this dish is perfect for anyone looking to add a bit of excitement to their lunch or dinner routine. The best part? It’s incredibly easy to make, requiring only a few ingredients and some basic kitchen tools. Whether you’re a busy professional looking for a quick meal solution or an adventurous foodie eager to try new flavors, the Pesto Grilled Cheese is sure to delight.
Why This Works
- The balance of creamy cheese and aromatic pesto creates a flavor profile that is both comforting and refined, making it accessible to a wide range of tastes.
- The simplicity of the recipe means that it can be prepared in no time, perfect for those days when time is of the essence.
- Despite its ease of preparation, the Pesto Grilled Cheese presents impressively, making it a great option for serving to guests or as part of a special occasion meal.
Ingredients
- 2 tablespoons of freshly made or store-bought pesto
- 2 slices of artisanal bread (such as ciabatta or baguette)
- 2 slices of cheese (such as mozzarella, parmesan, or a combination of both)
- 1 tablespoon of unsalted butter, divided
- Salt and pepper, to taste
- Fresh basil leaves, chopped (for garnish)
Instructions
- Step 1: Begin by preheating a grill or grill pan to medium-low heat. While the grill is heating up, butter one side of each slice of bread.
- Step 2: Spread a layer of pesto on the unbuttered side of one slice of bread, leaving a small border around the edges. Place one or two slices of cheese on top of the pesto, depending on your preference for cheesiness.
- Step 3: Place the second slice of bread, buttered side up, on top of the cheese to complete the sandwich. Gently place the sandwich in the grill or grill pan and cook for about 2-3 minutes or until the bread is golden brown and the cheese starts to melt.
- Step 4: Carefully flip the sandwich over and cook for an additional 2-3 minutes or until the other side is also golden brown. Remove the sandwich from the grill and let it cool for a minute or two before serving. Garnish with chopped fresh basil and serve immediately.
Handy Tips
- For an extra crispy crust, grill the sandwich in a pan with a small amount of olive oil until it’s golden brown on both sides.
- Consider using different types of cheese or combinations thereof to find your perfect balance of flavors.
- Don’t overfill the sandwich with pesto, as it can make the bread soggy and difficult to handle.
Heat Control
When grilling the sandwich, it’s essential to keep an eye on the heat to prevent the bread from burning or the cheese from not melting properly. Ideal temperatures are between medium to medium-low heat. You’ll know the sandwich is ready when the bread is golden brown, and the cheese is melted and slightly oozing out of the sides.
Crunch Factor
The Pesto Grilled Cheese should have a nice crunch from the toasted bread on the outside, giving way to a gooey, cheesy interior. To achieve this, make sure not to overbutter the bread, and grill the sandwich just until it reaches the perfect golden brown color.
Pro Kitchen Tricks
- Use a panini press or a George Foreman grill for a more evenly cooked and crisped sandwich.
- Add some sliced meats like ham or turkey for added protein and texture.
- Experiment with different pesto recipes, such as sun-dried tomato pesto or spinach and feta pesto, for unique flavor twists.
Storage Tips
- The Pesto Grilled Cheese is best served immediately, but if you need to store it, consider wrapping it tightly in plastic wrap or aluminum foil and keeping it in the refrigerator for up to a day.
- To reheat, simply place the sandwich in a toaster oven or under the broiler for a few minutes until the cheese is melted and the bread is crispy again.
- For longer storage, consider making the pesto ahead of time and freezing it in ice cube trays for easy access later.
Gift Packaging Ideas
If you’re considering gifting the Pesto Grilled Cheese, a thoughtful presentation can make all the difference. Wrap the sandwich in a decorative paper or bag, and include a side of tomato soup or a green salad for a complete meal. You could also package the ingredients separately, including a jar of homemade pesto, a loaf of artisanal bread, and a block of cheese, along with instructions for assembly and grilling.
Flavor Variations
- 🌟 Add some heat with red pepper flakes or sliced jalapeños.
- 🌟 Incorporate some caramelized onions or bell peppers for a sweet and savory twist.
- 🌟 Swap out the pesto for another herby spread, such as hummus or tapenade, for a different flavor profile.
Troubleshooting
- Texture problems, such as a soggy bread or unmelted cheese, can often be resolved by adjusting the grill time or heat.
- Ingredient replacements, such as using different types of cheese or bread, can affect the final flavor and texture of the sandwich.
- Over/undercooking signs, such as a burnt crust or a cold center, can be avoided by keeping a close eye on the sandwich while it’s grilling.
FAQs
- Can I freeze it? While it’s possible to freeze the sandwich, it’s not recommended, as the bread and cheese can become soggy and unappetizing. Instead, consider freezing the pesto or the cheese separately for later use.
- Is it gluten-free? Depending on the type of bread used, the Pesto Grilled Cheese may not be gluten-free. Consider using a gluten-free bread option for a gluten-free version.
- Can I double the recipe? Absolutely! Simply multiply the ingredients and cook the sandwiches in batches if necessary, to ensure they all have enough room to grill evenly.
Conclusion
The Pesto Grilled Cheese is a delicious and easy-to-make sandwich that’s perfect for anyone looking to elevate their lunch or dinner game. With its rich, herby flavor and gooey, cheesy texture, it’s sure to become a favorite. Don’t be afraid to experiment with different ingredients and flavor combinations to make the recipe your own, and consider sharing it with friends and family for a fun and impressive meal. Happy cooking!