What makes the perfect dessert even better? Adding peanut butter to rich chocolate chip cookie bars, of course. These easy homemade treats are made with melted butter and loaded with chocolate chips. Save this idea for a quick weeknight family favorite recipe to try soon
Peanut Butter Chocolate Chip Cookie Bars
Introduction
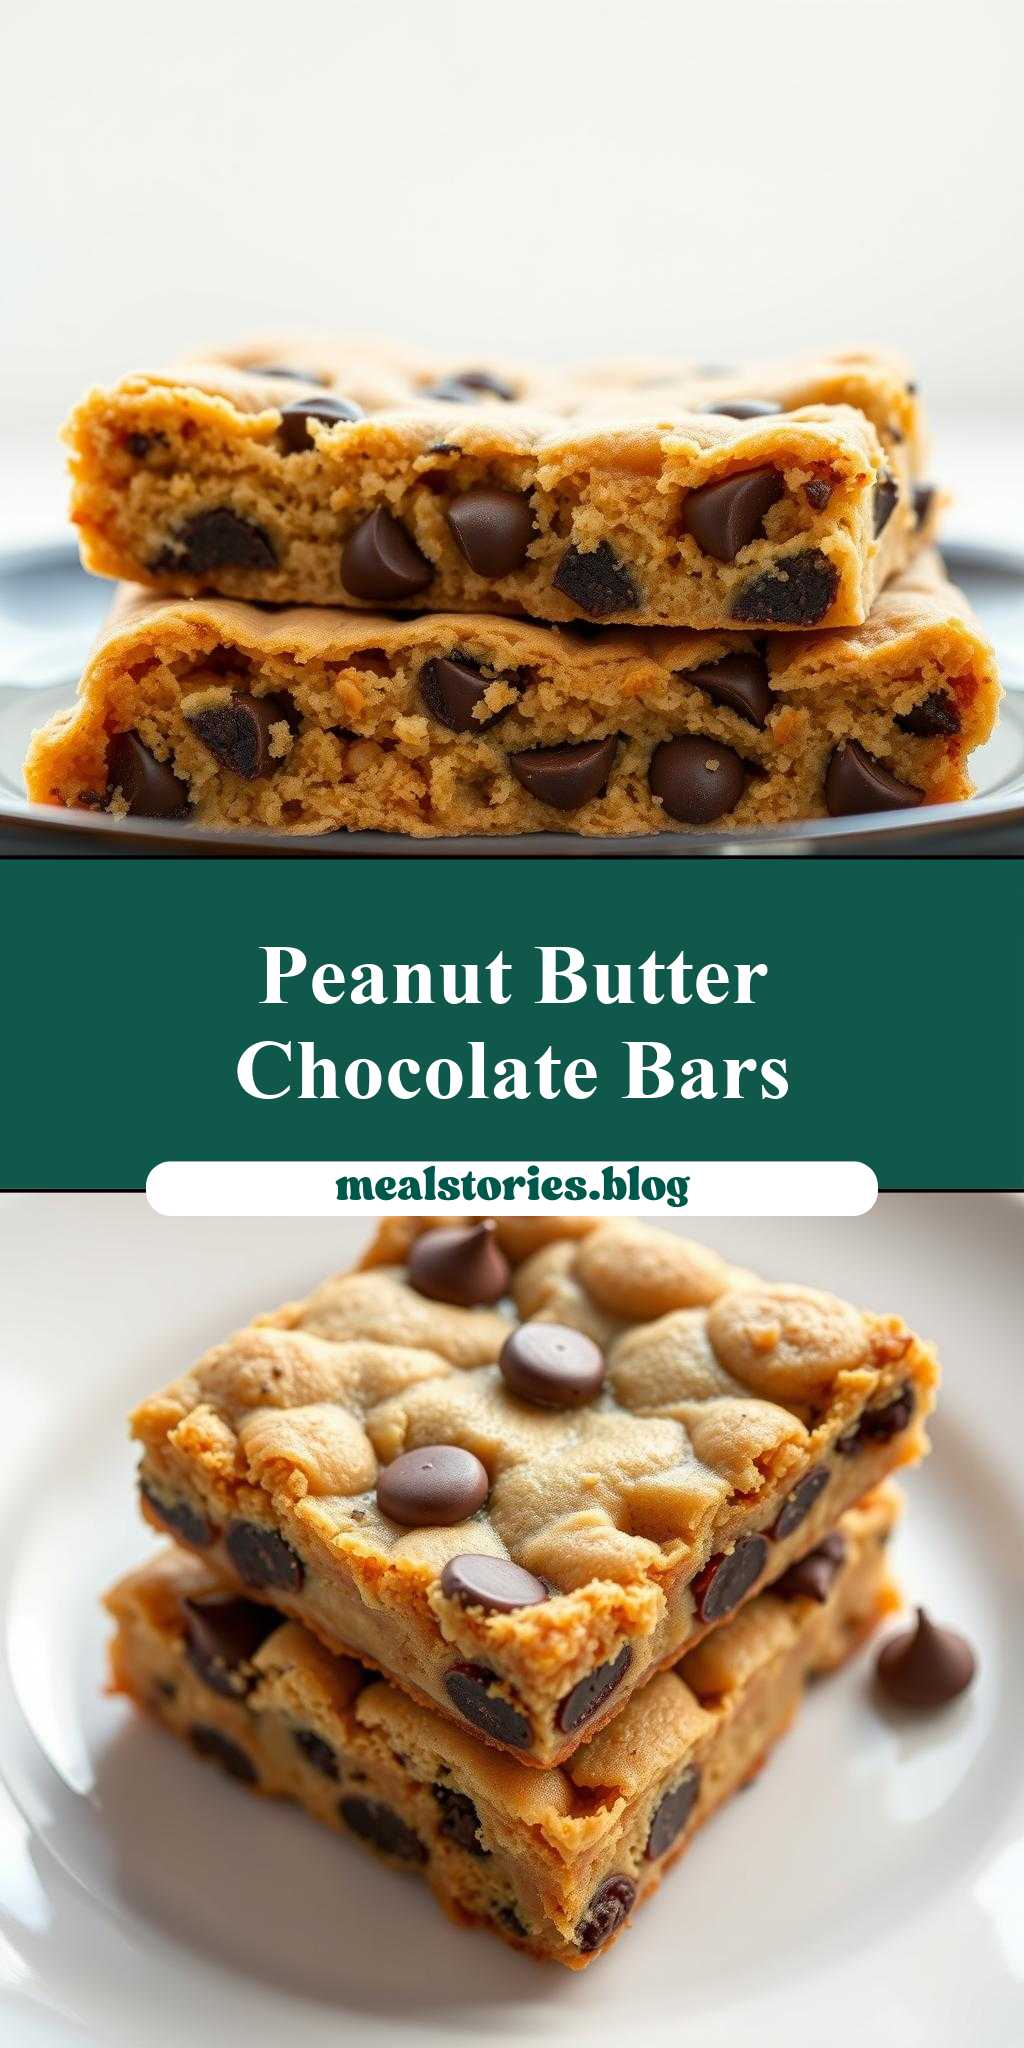
Imagine sinking your teeth into a rich, chewy bar that combines the deep flavors of peanut butter and the sweetness of chocolate chips, all in one deliciously easy-to-make treat. Peanut Butter Chocolate Chip Cookie Bars are the perfect solution for anyone looking for a dessert that’s both a crowd-pleaser and incredibly simple to prepare. Using everyday ingredients, these bars bring together the best of both worlds – the comfort of a homemade cookie and the convenience of a bar dessert. Whether you’re a busy parent looking for a quick dessert to impress the kids, a college student seeking a sweet study break, or just someone with a sweet tooth, these bars are sure to hit the spot.
Why This Works
- Flavor balance and ingredient accessibility: The combination of peanut butter and chocolate chips creates a perfectly balanced flavor profile that’s hard to resist. Plus, the ingredients are likely already in your pantry, making this a convenient option for last-minute dessert needs.
- Ease of preparation: The beauty of these bars lies in their simplicity. With a straightforward recipe that requires minimal effort, you can have a delicious dessert ready in no time.
- Impressive results with minimal effort: Despite the ease of preparation, these bars are sure to impress. They’re perfect for potlucks, bake sales, or as a gift for friends and family.
Key Ingredients
The main ingredients in Peanut Butter Chocolate Chip Cookie Bars include creamy peanut butter, semi-sweet chocolate chips, all-purpose flour, granulated sugar, brown sugar, eggs, and vanilla extract. For those looking for substitutions, almond butter or cashew butter can be used in place of peanut butter for a different flavor profile. Additionally, dark or milk chocolate chips can be used depending on your preference for a deeper or sweeter chocolate taste.
Instructions
- Step 1: Begin by preheating your oven to 350°F (180°C). Line an 8-inch square baking pan with parchment paper or aluminum foil, leaving some overhang for easy removal. In a medium bowl, whisk together the flour, baking soda, and salt. Set aside.
- Step 2: In a large bowl, use an electric mixer to cream together the peanut butter, granulated sugar, and brown sugar until smooth and creamy. Beat in the eggs one at a time, followed by the vanilla extract.
- Step 3: Gradually mix in the flour mixture until just combined, being careful not to overmix. Stir in the chocolate chips.
- Step 4: Press the dough evenly into the prepared baking pan. Bake for 25-30 minutes or until the edges are lightly golden brown. Remove from the oven and let cool completely in the pan before cutting into bars.
Handy Tips
- For chewier bars, bake for 23-25 minutes. For firmer bars, bake for 30-32 minutes.
- Don’t overbake, as this can lead to dry bars.
- Consider using a combination of dark and semi-sweet chocolate chips for a deeper flavor profile.
Heat Control
When baking the Peanut Butter Chocolate Chip Cookie Bars, it’s crucial to maintain the right temperature and baking time. The ideal temperature is 350°F (180°C), and the bars should be baked for 25-30 minutes. Signs of doneness include lightly golden brown edges and a set center. Avoid overbaking, as this can result in dry, unpleasant bars.
Crunch Factor
The crunch factor in these bars comes from the chocolate chips, which retain some of their texture even when baked. For an added crunch, consider sprinkling some chopped peanuts or sea salt on top of the bars before baking. This adds a delightful textural element and enhances the peanut butter flavor.
Pro Kitchen Tricks
- To ensure the bars cut cleanly, refrigerate them for about 30 minutes before cutting.
- For cleaner edges, use a sharp knife to cut the bars.
- Consider making these bars in a larger pan for thinner bars or in a smaller pan for thicker, chewier bars.
Storage Tips
- Store the bars in an airtight container at room temperature for up to 5 days.
- For longer storage, wrap the bars individually in plastic wrap or aluminum foil and freeze for up to 2 months. Thaw at room temperature when ready to serve.
- Reheat frozen bars in the microwave for a few seconds or until warmed through.
Gift Packaging Ideas
These bars are perfect for gifting, especially during holidays or as a thank-you gesture. Consider packaging them in decorative tins, jars, or boxes lined with parchment paper. You can also wrap individual bars in cellophane bags and tie with a ribbon for a more personalized touch. Adding a handwritten note or a sprinkle of holiday-themed sprinkles can make the gift even more special.
Flavor Variations
- Different spices: Add a pinch of cinnamon, nutmeg, or sea salt to give the bars a unique twist.
- Creative toppings: Sprinkle chopped nuts, shredded coconut, or candy pieces on top of the bars before baking for added texture and flavor.
- Ingredient swaps: Use almond butter instead of peanut butter for a nutty flavor, or add dried cranberries for a fruity twist.
Troubleshooting
- Texture problems: If the bars turn out too dry, they may have been overbaked. If they’re too chewy, they may not have been baked long enough.
- Ingredient replacements: Always replace ingredients with similar alternatives to maintain the flavor and texture balance.
- Over/undercooking signs: Keep an eye on the bars while they’re baking. Overcooked bars will be dry and possibly cracked, while undercooked bars will be too soft and chewy.
FAQs
- Can I freeze it? Yes, these bars can be frozen for up to 2 months. Wrap them individually and thaw at room temperature when ready to serve.
- Is it gluten-free? The recipe as stated includes all-purpose flour, which contains gluten. However, you can substitute the flour with a gluten-free flour blend to make the bars gluten-free.
- Can I double the recipe? Yes, you can double the recipe to make a larger batch. Just ensure you use a larger baking pan to accommodate the increased volume of dough.
Conclusion
Peanut Butter Chocolate Chip Cookie Bars are a delightful treat that’s sure to become a favorite. With their ease of preparation, rich flavor, and versatility, they’re perfect for any occasion. Whether you’re making them for a family gathering, a potluck, or just as a sweet treat for yourself, these bars are sure to impress. Don’t hesitate to experiment with different flavors and toppings to make the recipe your own, and enjoy the joy of baking and sharing these delicious bars with others.
Peanut Butter Chocolate Chip Cookie Bars
A simple and delicious dessert combining peanut butter and chocolate chips in a chewy bar form.
🥘 Ingredients
👩🍳 Instructions
-
1Preheat the oven to 350°F (180°C). Prepare an 8-inch square baking pan with parchment paper or aluminum foil.
-
2Whisk together the flour, baking soda, and salt in a medium bowl. Set aside.
-
3Cream together the peanut butter, granulated sugar, and brown sugar in a large bowl until smooth. Beat in the eggs one at a time, followed by the vanilla extract.
-
4Gradually mix in the flour mixture until just combined, then stir in the chocolate chips.
-
5Press the dough evenly into the prepared baking pan and bake for 25-30 minutes or until the edges are lightly golden brown. Let cool completely before cutting into bars.