What makes homemade honey butter so irresistibly delicious? It’s the perfect blend of rich butter and pure honey, whipped to a smooth perfection. Whip up a batch using just a few simple ingredients like high-quality honey and creamy butter for an easy weeknight treat. Save this idea for your next family favorite spread.
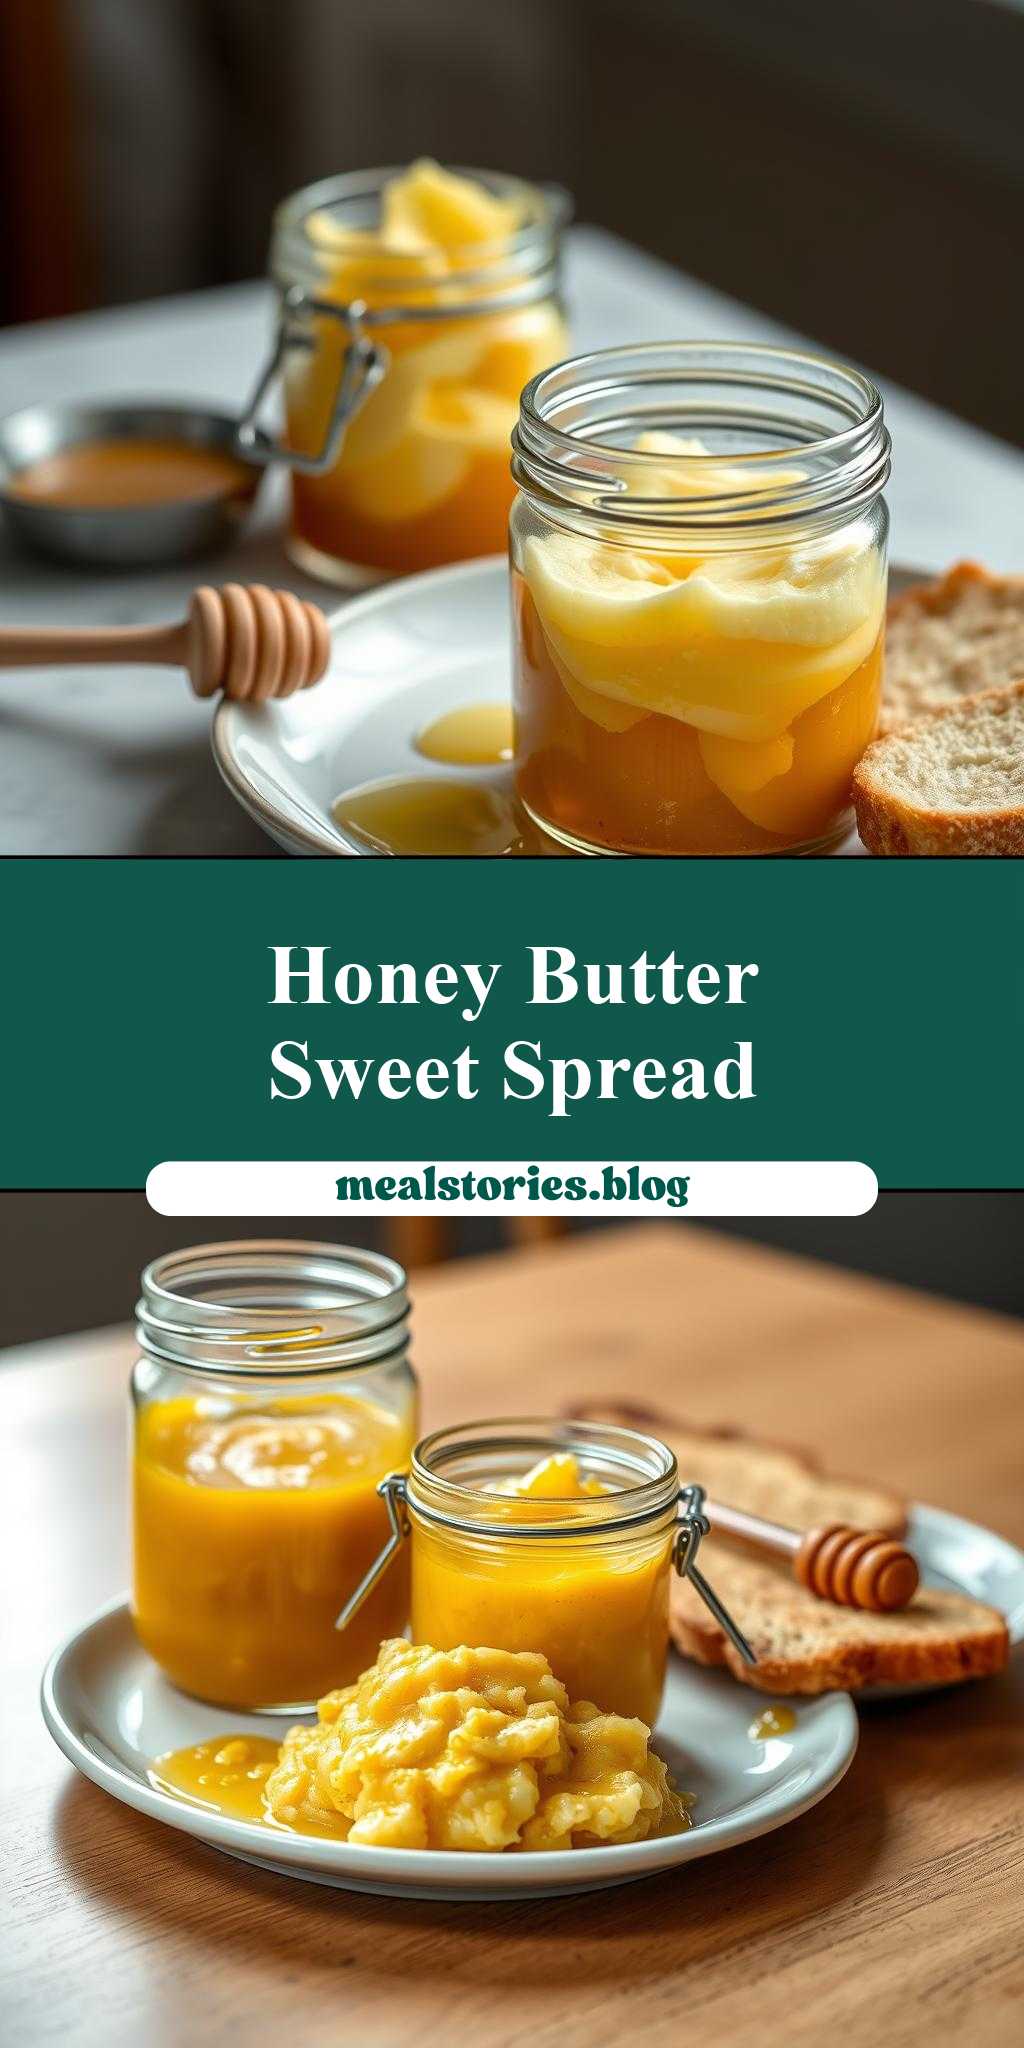
two jars filled with honey butter sitting on top of a table
Introduction
Imagine the warmth and comfort of having two jars filled with honey butter sitting on top of a table, ready to be enjoyed with your favorite bread, scones, or even as a sweet and savory addition to your morning toast. This delightful spread is not only a treat for the taste buds but also incredibly easy to make, requiring just a few everyday ingredients and minimal effort. The combination of creamy butter and pure, golden honey creates a flavor balance that is both soothing and indulgent, perfect for a cozy evening in or as a thoughtful gift for friends and family. In this article, we’ll explore the simplicity and creativity behind making honey butter, along with practical tips and variations to make it your own.
Why This Works
- Flavor balance and ingredient accessibility: The simplicity of using just honey and butter means that the quality of these two ingredients shines through, and they are easily accessible in most kitchens.
- Ease of preparation: With just a few minutes of mixing, you can create a delicious spread that’s perfect for various occasions.
- Impressive results with minimal effort: Despite its simplicity, homemade honey butter can impress with its rich flavor and the personal touch it adds to any meal or gift.
Key Ingredients
The foundation of this recipe lies in two main ingredients: high-quality butter and pure honey. For the butter, it’s best to use unsalted to control the salt content of your final product. When it comes to honey, the choice of type (e.g., clover, manuka, wildflower) can significantly affect the flavor profile of your honey butter. Practical substitutions can include using different types of honey for varying flavors or adding a pinch of salt to balance the sweetness, depending on your taste preferences.
Instructions
- Step 1: Begin by softening the butter to room temperature. This step is crucial as it makes the butter easier to mix with the honey.
- Step 2: In a mixing bowl, combine the softened butter and honey. Start with a small amount of honey and taste as you go, adding more until you achieve your desired balance of sweet and savory.
- Step 3: Mix the butter and honey until they are fully incorporated and the mixture is smooth. You can use a stand mixer, a hand mixer, or even just a whisk, depending on the quantity you’re making and your personal preference.
- Step 4: Transfer the honey butter into jars or containers. This is where you can get creative with layering flavors or textures by adding a sprinkle of sea salt, a drizzle of extra honey on top, or even some chopped nuts for added crunch.
Handy Tips
- When mixing, ensure that the butter is at room temperature for the best results. Cold butter won’t mix well with the honey, leading to an inconsistent texture.
- Don’t overmix, as this can lead to a too-smooth consistency that lacks character. A bit of texture can be appealing.
- Consider the flavor profile you want to achieve and adjust the honey quantity accordingly. Some honeys are stronger than others, so taste as you mix.
Heat Control
This recipe doesn’t require heat, making it perfect for a quick preparation without the need for cooking. However, if you’re looking to melt the butter slightly for easier mixing, be cautious not to heat it too much, as this can affect the texture and stability of the honey butter when it cools.
Crunch Factor
The texture of your honey butter can vary based on your preference. For a smoother spread, mix the ingredients until fully incorporated. For a bit of crunch, consider adding chopped nuts, seeds, or even a sprinkle of flaky sea salt on top of the honey butter before serving.
Pro Kitchen Tricks
- For a lighter, whipped honey butter, use a stand mixer with a whisk attachment and whip the mixture until it’s light and fluffy.
- Experiment with different flavor additions like cinnamon, vanilla powder, or citrus zest to create unique variations.
- Keep your honey butter fresh by storing it in airtight containers in the refrigerator and letting it come to room temperature before serving.
Storage Tips
- Store the honey butter in airtight containers to preserve freshness and flavor.
- Refrigerate the honey butter to prolong its shelf life. It can be stored for up to a week in the fridge.
- For gifting, consider decorative jars that can be sealed tightly to keep the honey butter fresh during transport.
Gift Packaging Ideas
Honey butter makes a thoughtful and delicious gift, especially when packaged with love. Consider using decorative jars, adding a ribbon or gift tag, and including a few suggestions for how the recipient can enjoy their honey butter, such as on toast, scones, or as a topping for yogurt or ice cream.
Flavor Variations
- Different spices: Add a pinch of cinnamon, nutmeg, or cardamom to create a warm, spicy flavor profile.
- Creative toppings: Consider adding chopped nuts, dried fruits, or even candy pieces to the top of the honey butter for added texture and flavor.
- Ingredient swaps: For a dairy-free version, you can experiment with vegan butter alternatives, though the flavor and texture may vary slightly.
Troubleshooting
- Texture problems: If your honey butter is too runny, refrigerate it for about 10 minutes to firm up. If it’s too hard, let it sit at room temperature for a bit to soften.
- Ingredient replacements: While honey is a key ingredient, you can experiment with other sweeteners like maple syrup for a different flavor, though the consistency might be slightly different.
- Over/undercooking signs: Since this recipe doesn’t involve cooking, the main concern is the texture and flavor balance, which can be adjusted by tasting and mixing accordingly.
FAQs
- Can I freeze it? Yes, honey butter can be frozen for up to 3 months. Simply thaw it in the fridge or at room temperature when you’re ready to use it.
- Is it gluten-free? Yes, honey butter is naturally gluten-free, making it a great option for those with gluten intolerance or sensitivity.
- Can I double the recipe? Absolutely, and it’s a good idea if you’re planning to give some away as gifts or want to have a larger supply on hand.
Conclusion
Making honey butter is a simple yet rewarding process that allows for creativity and personalization. Whether you’re looking for a delicious spread for your morning toast, a unique gift for friends, or just a fun project to try in the kitchen, honey butter is a versatile and enjoyable treat. Feel free to experiment with different flavors and ingredients to make it your own, and don’t hesitate to share your creations with others. The joy of cooking and sharing food is in the love and effort we put into making something special, and honey butter is no exception.
Honey Butter
A simple and delicious spread made from honey and butter, perfect for toast, scones, and more.
🥘 Ingredients
👩🍳 Instructions
-
1Softening the butter to room temperature.
-
2Mixing the softened butter and honey until fully incorporated.
-
3Transferring the honey butter into jars or containers.
-
4Adding optional toppings or flavorings, such as sea salt or chopped nuts.