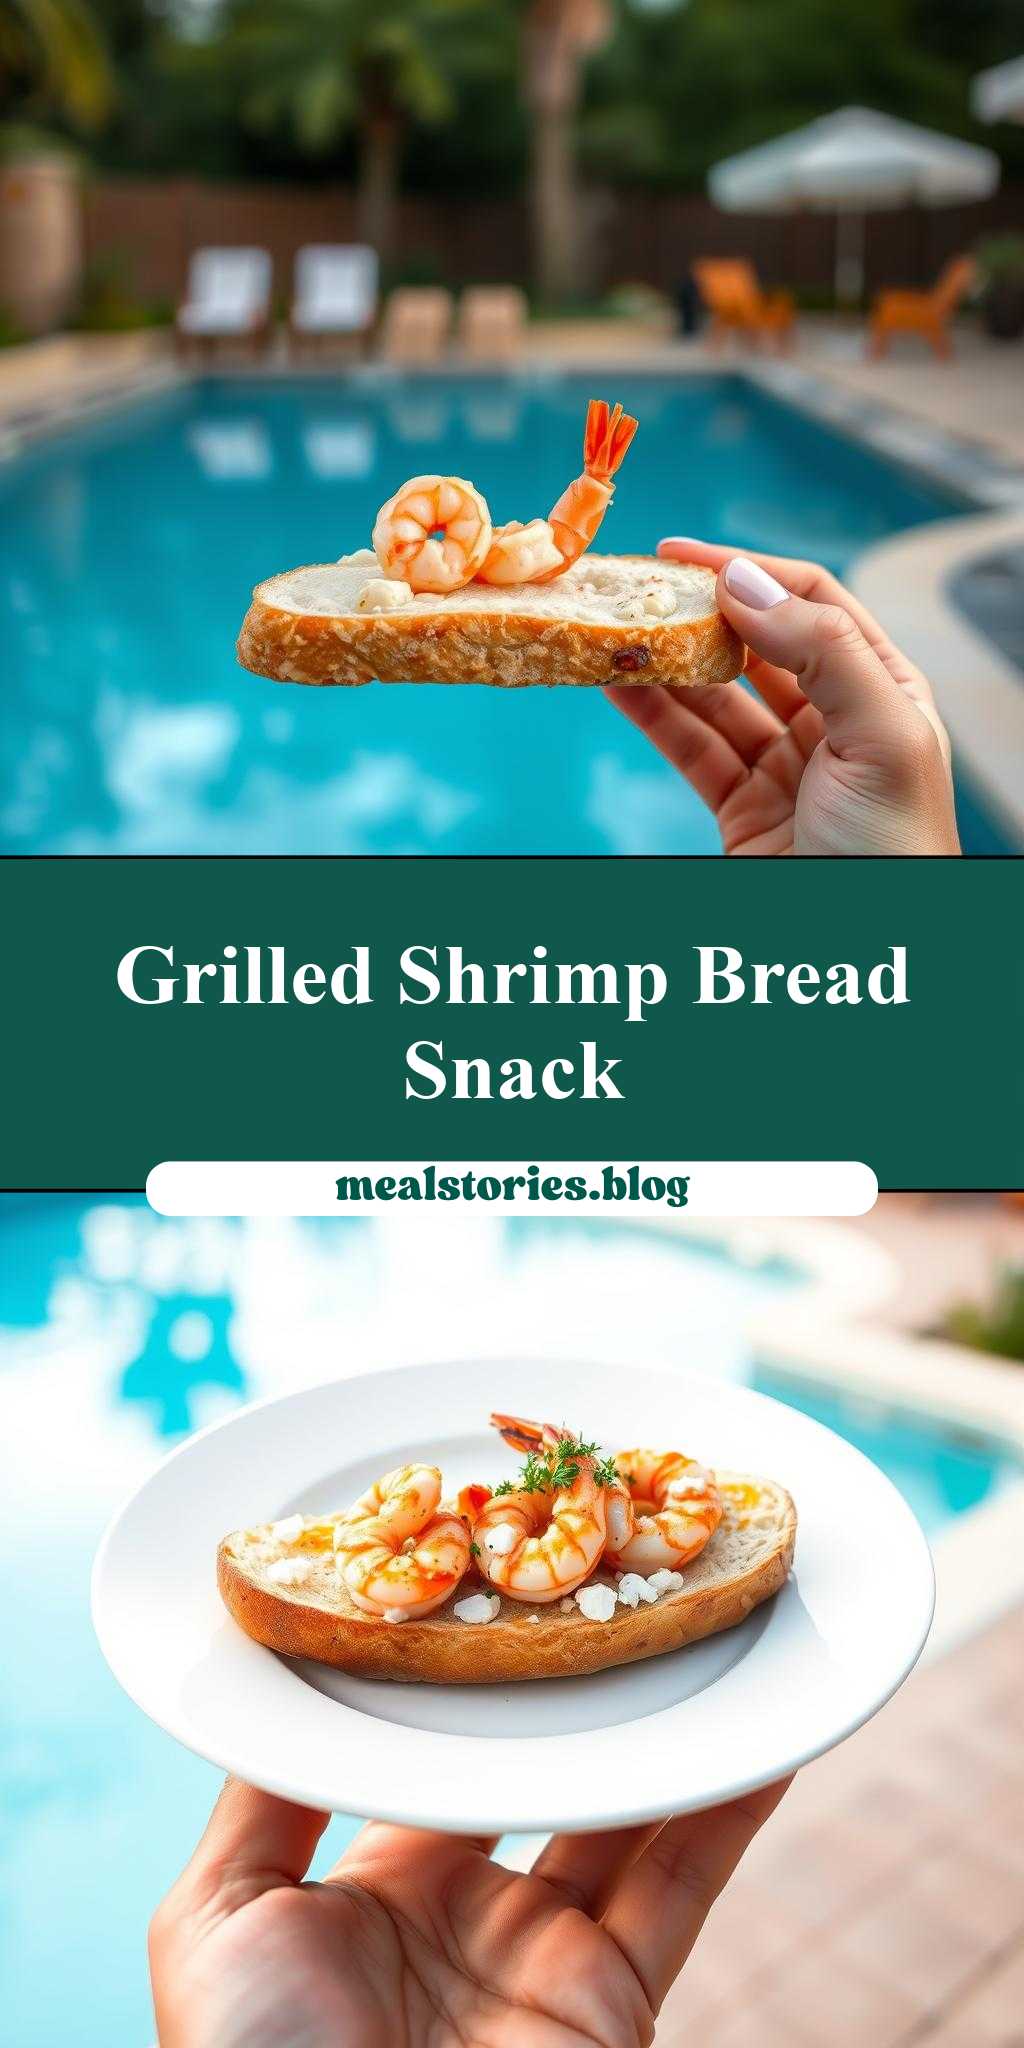
What’s the perfect poolside snack to beat the heat? This easy shrimp bread is a weeknight dinner favorite, loaded with succulent shrimp and toasted to perfection – try grilling it for a smoky flavor. Save this idea for your next outdoor gathering, it’s sure to be a hit.
a person holding a piece of bread with shrimp on it in front of a pool
Introduction
Imagine the perfect summer scene: a warm sun, a cool pool, and a deliciously simple dish that combines the freshness of shrimp with the comfort of bread. This recipe for a shrimp-topped bread snack is not only easy to make but also packed with flavor, using everyday ingredients that you might already have in your pantry. The beauty of this dish lies in its simplicity and versatility, making it perfect for a quick lunch, a snack by the pool, or even as a light dinner. The combination of succulent shrimp, crispy bread, and a hint of your favorite seasonings will transport you to a place of culinary bliss, all without requiring a lot of fuss or specialized cooking skills.
Why This Works
- Flavor balance and ingredient accessibility: This dish strikes a perfect balance between the savory taste of shrimp, the crunch of fresh bread, and the zest of your chosen seasonings, all of which are easily found in most supermarkets.
- Ease of preparation: With a preparation time of just a few minutes, this snack is quicker to make than a trip to the store for pre-packaged alternatives.
- Impressive results with minimal effort: Despite its simplicity, the presentation and taste of this dish are impressive enough to serve at gatherings or special occasions, making it a great option for those who want to wow their guests without spending hours in the kitchen.
Key Ingredients
The main ingredients for this recipe include fresh or frozen shrimp, a loaf of bread (which can be any type you prefer, from baguette slices to ciabatta), olive oil, garlic, lemon juice, salt, pepper, and any additional seasonings you like. For practical substitutions, you can use different types of seafood like scallops or mussels if shrimp isn’t available, and you can also experiment with various types of bread and seasonings to find your favorite combination. Remember, the key to this dish is freshness and simplicity, so don’t be afraid to get creative and make it your own.
Instructions
- Step 1: Begin by prepping your ingredients. If using frozen shrimp, thaw them according to the package instructions. Chop any additional ingredients you plan to use, such as garlic or parsley. Slice your bread into the desired thickness for serving.
- Step 2: Cook your shrimp. This can be done by sautéing them in a pan with some olive oil, garlic, and a squeeze of lemon juice until they’re pink and fully cooked. Season with salt and pepper to taste. Alternatively, you can grill or bake the shrimp for a different texture and flavor.
- Step 3: Prepare your bread. You can toast the bread slices lightly to give them a crunchy base for your shrimp. Drizzle with olive oil and sprinkle with any additional seasonings you’re using.
- Step 4: Assemble your snack. Place a cooked shrimp on each bread slice, and garnish with any additional ingredients you like, such as chopped parsley or a slice of lemon. Serve immediately and enjoy.
Handy Tips
- For an extra crispy bread base, try baking the bread slices in the oven for a few minutes before topping them with shrimp. Keep an eye on them to prevent burning.
- Experiment with different seasonings and marinades for your shrimp to find the flavor combination that you enjoy the most. Soy sauce, chili flakes, and dill are all interesting options to try.
- Consider the presentation of your dish. A simple but elegant way to serve this snack is on a platter or individual plates, garnished with fresh herbs and lemon wedges.
Heat Control
If you’re cooking your shrimp in a pan, make sure to keep the heat at a medium to prevent burning. The ideal internal temperature for cooked shrimp is 120°F – 145°F (49°C – 63°C). You’ll know they’re done when they turn pink and opaque. For baking, preheat your oven to 400°F (200°C) and cook the shrimp for about 8-10 minutes, or until they’re fully pink and cooked through.
Crunch Factor
Achieving the right texture is key to this dish. For a crunchy base, toasting or lightly baking the bread is essential. You can also add some crunch on top with chopped nuts, crispy bacon bits, or even a sprinkle of crispy fried onions. The shrimp should be cooked until they’re firm and springy to the touch, indicating they’re done to perfection.
Pro Kitchen Tricks
- To ensure your shrimp are evenly cooked, pat them dry with a paper towel before cooking to remove excess moisture.
- Use a cast-iron or non-stick pan for cooking the shrimp, as these retain heat well and can achieve a nice sear on the shrimp.
- For easier cleanup, line your baking sheet with parchment paper if you’re baking the bread or shrimp.
Storage Tips
- Leftover shrimp can be stored in an airtight container in the refrigerator for up to 2 days. Reheat them gently in the microwave or in a pan with a little oil until warmed through.
- Bread is best stored at room temperature in a cool, dry place. If you won’t be using it within a day or two, consider freezing it. Frozen bread can be thawed at room temperature or reheated in the oven or toaster.
- Assembled shrimp on bread is best consumed fresh, but you can prepare the components separately and store them until you’re ready to serve.
Gift Packaging Ideas
If you’re considering gifting this dish, perhaps for a picnic or as part of a gift basket, presentation is everything. Consider packaging the bread and shrimp separately in decorative containers or bags. A wicker basket filled with freshly baked bread, a container of chilled shrimp, and a bottle of wine or lemon juice makes for a lovely and thoughtful gift. Don’t forget to include some fresh herbs or edible flowers for garnish to add a personal touch.
Flavor Variations
- Different spices: Try adding some cumin for a smoky flavor, paprika for a smoky depth, or chili flakes for a spicy kick.
- Creative toppings: In addition to parsley, consider using diced tomatoes, sliced olives, or crumbled feta cheese to add texture and flavor.
- Ingredient swaps: For a vegetarian version, you could use grilled or roasted portobello mushrooms instead of shrimp. For a vegan version, marinated and baked tofu could be a interesting substitute.
Troubleshooting
- Texture problems: If your shrimp are tough, they may have been overcooked. Try cooking them for a shorter time or checking on them more frequently. If your bread is soggy, it may have been exposed to too much moisture. Try toasting it more lightly next time or using a different type of bread that holds up better to toppings.
- Ingredient replacements: If you can’t find shrimp, scallops or mussels make good substitutes. For bread, any type will do, but some will hold up better to toppings than others.
- Over/undercooking signs: Shrimp are done when they’re pink and firm to the touch. If they’re still translucent or soft, they need more cooking time. Bread is toasted when it’s lightly browned and crispy. Be careful not to burn it.
FAQs
- Can I freeze it? Yes, you can freeze both the bread and the cooked shrimp. Bread can be frozen for up to 3 months, and cooked shrimp can be frozen for up to 2 months. Simply thaw and reheat when you’re ready to serve.
- Is it gluten-free? This depends on the type of bread you use. If you choose a gluten-free bread, the dish will be gluten-free. Otherwise, it will contain gluten.
- Can I double the recipe? Absolutely. This recipe scales well, so simply double all the ingredients if you’re serving a larger crowd.
Conclusion
This simple yet impressive shrimp on bread recipe is a versatile dish that can be enjoyed in many settings, from a quick snack by the pool to a more formal gathering. With its emphasis on fresh ingredients, ease of preparation, and potential for customization, it’s a great addition to any cook’s repertoire. Don’t be afraid to experiment with different flavors and ingredients to make it your own, and enjoy the process of creating something delicious and satisfying with minimal effort. Whether you’re a seasoned chef or a beginner in the kitchen, this recipe is sure to delight and inspire, making it a perfect choice for anyone looking to elevate their mealtime experience.