What happens when you combine the sweetness of Hawaiian rolls with the savory taste of garlic bread? You get a show-stopping side dish perfect for weeknight dinner or a family favorite gathering, made easy with just a few quick steps and some melted butter. Save this idea for a delicious homemade treat that is sure to please.
Hawaiian Roll Garlic Bread
Introduction
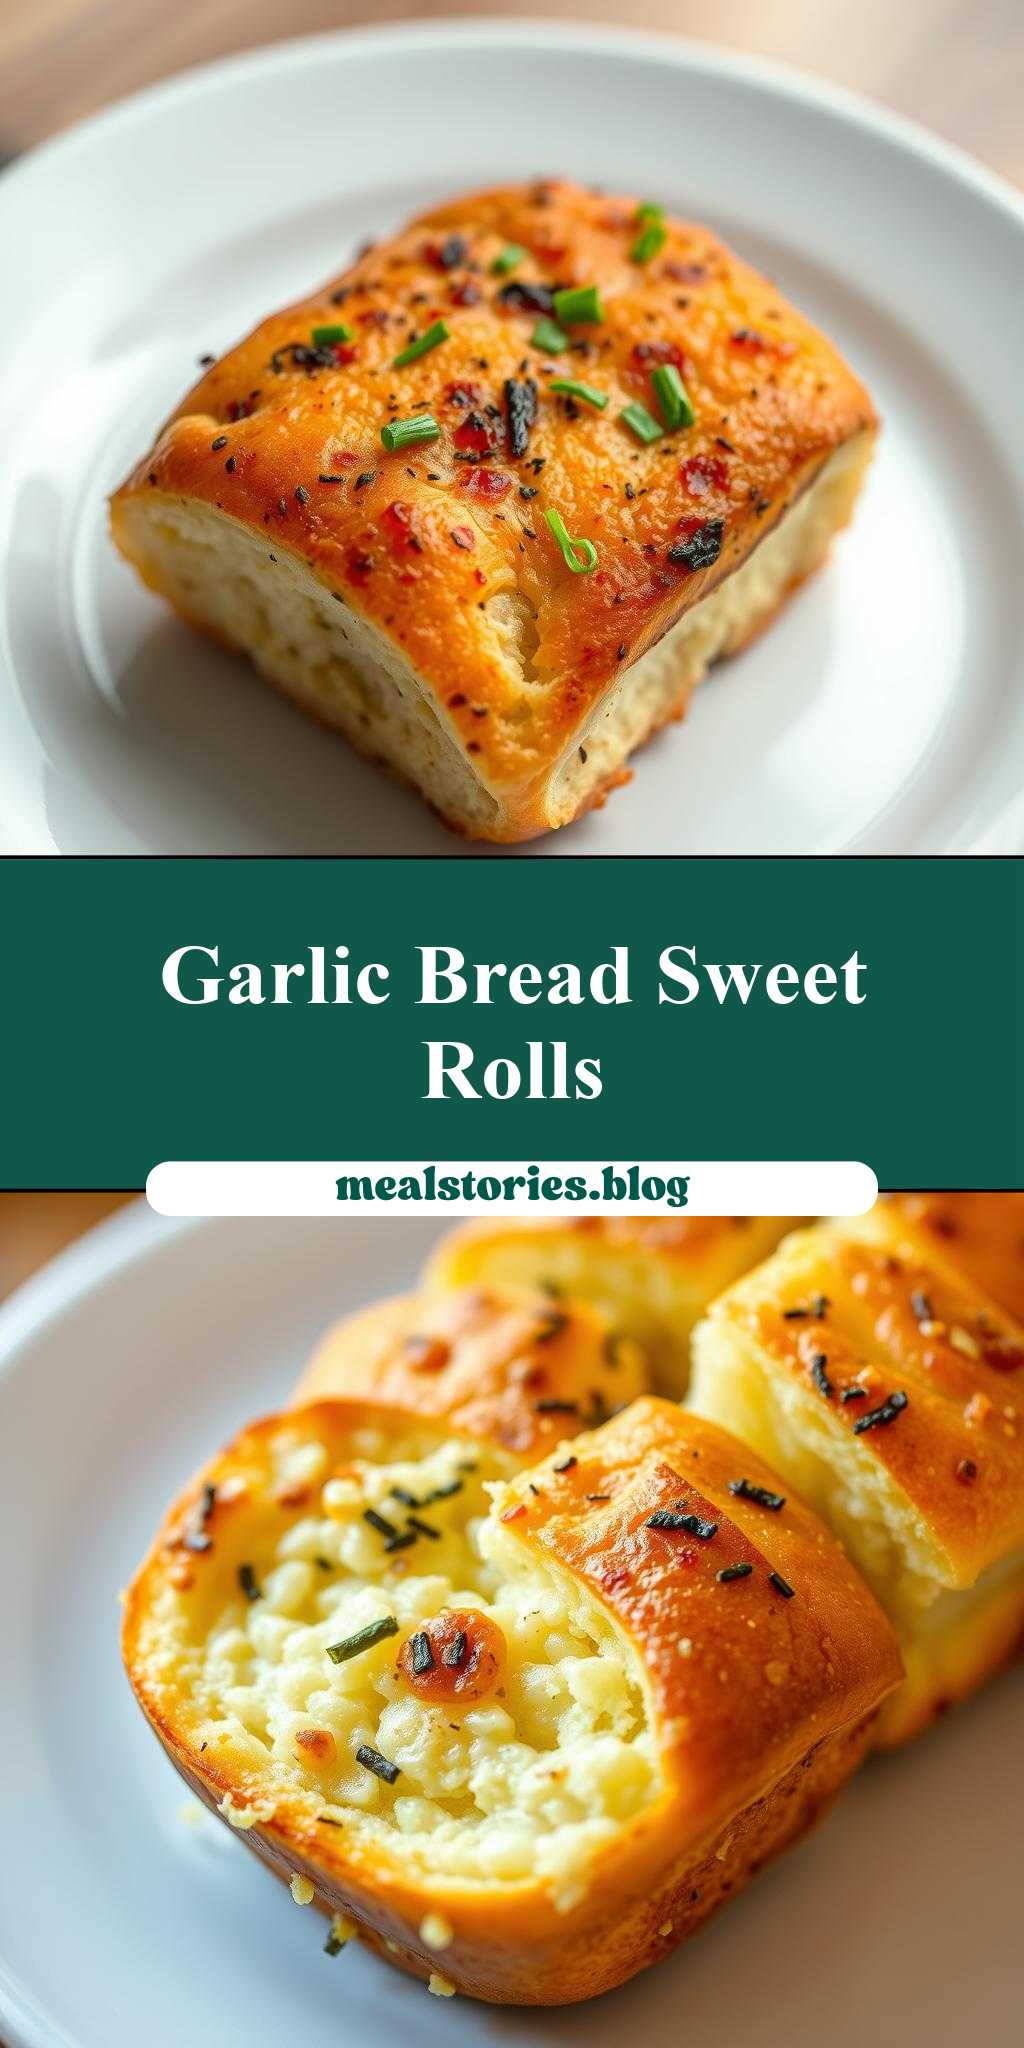
Imagine a sweet and savory fusion that brings the tropical flavors of Hawaii to your dinner table, all wrapped up in a deliciously aromatic garlic bread. This creative twist on traditional garlic bread uses Hawaiian rolls as its base, infusing them with a rich garlic butter flavor and a hint of sweetness. What makes this recipe truly special is its ease of preparation, requiring only a few everyday ingredients and minimal cooking skills. Whether you’re a seasoned chef or a culinary newbie, this Hawaiian Roll Garlic Bread is sure to impress your family and friends with its unique flavor balance and effortless preparation.
Why This Works
- Flavor balance and ingredient accessibility: The combination of garlic, butter, and the inherent sweetness of Hawaiian rolls creates a perfectly balanced flavor profile that is both savory and slightly sweet. All the ingredients are easily accessible in most supermarkets, making this dish highly approachable.
- Ease of preparation: With a preparation time of under 10 minutes and a cooking time of 20 minutes, this recipe is quick, straightforward, and requires minimal cooking expertise. The steps are simple, and the result is well worth the minimal effort.
- Impressive results with minimal effort: Despite its simplicity, the presentation and flavor of this garlic bread are impressive. It’s perfect for a quick weeknight meal, a dinner party, or even as a snack for a gathering. The fact that it looks and tastes like it requires much more effort than it actually does makes it a great choice for those wanting to wow their guests without spending hours in the kitchen.
Key Ingredients
The main ingredients for this recipe include Hawaiian rolls, garlic, butter, parsley, salt, and pepper. For the garlic butter, you will need softened butter, minced garlic, chopped fresh parsley, salt, and pepper. If you prefer a lighter version, you can use less butter or substitute some of it with olive oil. For a vegan version, consider using a vegan butter substitute. The beauty of this recipe lies in its simplicity and the flexibility of its ingredients, allowing for practical substitutions based on dietary preferences or ingredient availability.
Instructions
- Step 1: Begin by preheating your oven to 350°F (175°C). While the oven is heating up, prepare your garlic butter by mixing softened butter, minced garlic, chopped parsley, salt, and pepper in a bowl until well combined.
- Step 2: Slice the Hawaiian rolls in half lengthwise, creating a top and bottom half. Place the rolls on a baking sheet lined with parchment paper, with the cut side facing up. Spread the garlic butter mixture evenly onto the cut side of each roll half, making sure to get all the way to the edges for maximum flavor.
- Step 3: Once the rolls are buttered, place them in the oven and bake for 12-15 minutes, or until they are lightly toasted and the butter is melted and fragrant. Keep an eye on them to prevent burning, as oven times can vary.
- Step 4: Remove the rolls from the oven and let them cool for a minute or two before serving. You can serve them as is or paired with your favorite soup, salad, or main dish. For an extra touch, consider sprinkling some grated parmesan cheese on top of the garlic bread before serving.
Handy Tips
- For an extra crispy top, broil the garlic bread for an additional 1-2 minutes after baking. Keep a close eye to avoid burning.
- Consider using roasted garlic for a deeper, nuttier flavor. Consider using roasted garlic for a deeper, nuttier flavor. To roast garlic, preheat your oven to 400°F (200°C), cut the top off a whole head of garlic, drizzle with olive oil, and wrap in foil. Roast for 30-40 minutes, or until the garlic is tender and mashed. Let it cool, then squeeze the garlic out of its skin and mix with butter and other ingredients.
- Always use high-quality ingredients, especially the butter and garlic, as they will significantly impact the final flavor of your garlic bread.
Heat Control
When baking the garlic bread, it’s crucial to keep an eye on the temperature and timing. The ideal temperature is 350°F (175°C), and the bread should be baked for 12-15 minutes. Signs of doneness include a lightly toasted appearance and a fragrant aroma. If you choose to broil the bread for extra crispiness, do so for no more than 1-2 minutes, watching carefully to prevent burning.
Crunch Factor
The crunch factor in this recipe comes from the lightly toasted Hawaiian rolls and the potential crispy top if you choose to broil them. To achieve the perfect crunch, ensure that the oven is at the correct temperature and that the rolls are not overbaked. The slight crunch on the outside should beautifully contrast with the soft interior of the rolls, creating a delightful texture experience.
Pro Kitchen Tricks
- For easier spreading, make sure your butter is at room temperature. If you’re in a hurry, you can soften butter in the microwave by heating it for 10-15 second intervals, checking until it’s softened but not melted.
- Use high-quality, fresh garlic for the best flavor. Avoid using garlic that’s past its prime, as it can be bitter.
- Consider making the garlic butter ahead of time and storing it in the fridge for up to a week or freezing it for up to 3 months. This can be a great time-saving trick for future meals.
Storage Tips
- Leftover garlic bread can be stored in an airtight container at room temperature for up to 2 days. For longer storage, consider freezing the garlic bread after it has been baked. Simply place the cooled bread in a freezer-safe bag or container and store in the freezer for up to 2 months. To reheat, thaw overnight in the fridge and then reheat in the oven at 300°F (150°C) for about 5-10 minutes, or until warmed through.
- When reheating, make sure the bread is heated evenly to prevent some parts from becoming too crispy while others remain soft.
- Always check the bread for any signs of spoilage before consuming, such as an off smell or mold.
Gift Packaging Ideas
If you’re considering gifting this Hawaiian Roll Garlic Bread, it can be beautifully presented in a variety of ways. One idea is to place the cooled garlic bread in a decorative tin or basket, wrapped in parchment paper or a clean kitchen towel. You can also add a personal touch by including a small jar of homemade garlic butter or a packet of parmesan cheese. For a more rustic look, consider wrapping the bread in twine or a ribbon, adding a handwritten note with the recipe or serving suggestions.
Flavor Variations
- Different spices: Consider adding a pinch of red pepper flakes for a spicy kick or some dried herbs like thyme or rosemary for a more savory flavor.
- Creative toppings: Add some grated cheese, such as parmesan or mozzarella, on top of the garlic bread before baking for an extra burst of flavor. You can also sprinkle some chopped fresh herbs or diced tomatoes for added freshness.
- Ingredient swaps: For a gluten-free version, look for gluten-free Hawaiian rolls. You can also experiment with different types of bread, such as baguette slices or ciabatta, for a varied texture and flavor.
Troubleshooting
- Texture problems: If your garlic bread turns out too crispy, it may have been overbaked. Conversely, if it’s too soft, it might not have been baked long enough. Adjust the baking time as needed for your next batch.
- Ingredient replacements: If you’re out of a particular ingredient, don’t be afraid to get creative with substitutions. For example, if you don’t have parsley, you can use another fresh herb like basil or dill.
- Over/undercooking signs: Keep an eye out for the bread’s color and fragrance. A nicely toasted garlic bread will be lightly browned and fragrant. If it lacks color or smells burnt, adjust your baking time accordingly.
FAQs
- Can I freeze it? Yes, you can freeze the garlic bread after it has been baked. Simply cool it, place it in a freezer-safe bag or container, and store it in the freezer for up to 2 months. Reheat in the oven at 300°F (150°C) for about 5-10 minutes.
- Is it gluten-free? The original recipe uses Hawaiian rolls, which typically contain gluten. However, you can easily make a gluten-free version by substituting the rolls with gluten-free alternatives.
- Can I double the recipe? Absolutely! This recipe can be easily doubled or tripled to serve a larger crowd. Just remember to adjust the baking time slightly if you’re baking a larger batch, as it may take a few minutes longer to toast evenly.
Conclusion
This Hawaiian Roll Garlic Bread recipe is a game-changer for anyone looking to elevate their meals with minimal effort. Its unique blend of flavors, ease of preparation, and impressive presentation make it perfect for both casual weeknight dinners and special occasions. Feel free to experiment with the recipe, adding your own favorite herbs or spices to make it truly yours. Whether you’re a foodie, a busy parent, or just someone who loves good food, this garlic bread is sure to become a staple in your kitchen. So go ahead, give it a try, and enjoy the delightful fusion of Hawaiian sweetness and savory garlic in every bite!
Hawaiian Roll Garlic Bread
A sweet and savory fusion of Hawaiian rolls and garlic butter, perfect for any meal.
🥘 Ingredients
👩🍳 Instructions
-
1Preheat oven to 350°F (175°C).
-
2Prepare garlic butter by mixing softened butter, minced garlic, chopped parsley, salt, and pepper.
-
3Slice Hawaiian rolls in half lengthwise and spread garlic butter on the cut side of each roll half.
-
4Bake in the preheated oven for 12-15 minutes or until lightly toasted.