What’s the secret to indulgent fudge that’s simply irresistible? Rich dark chocolate and creamy heavy cream come together in this easy homemade treat, perfect for a quick weeknight dessert. Save this idea for a family favorite to enjoy later.
The BEST Decadent Gourmet Fudge
Introduction
Indulge in the richness of our decadent gourmet fudge, a treat that combines the simplicity of everyday ingredients with the luxury of deep, velvety flavors. This recipe is a masterclass in balance and creativity, allowing you to craft a truly gourmet experience with minimal effort. Whether you’re a seasoned chef or a beginner in the kitchen, this fudge is sure to impress with its ease of preparation and the impressive results it yields. So, let’s dive into the world of gourmet fudge and discover the secrets to making the best, most decadent treat you’ve ever tasted.
Why This Works
- Flavor balance and ingredient accessibility: Our recipe strikes the perfect balance between sweet and rich, using ingredients that are easily found in most grocery stores.
- Ease of preparation: With straightforward steps and minimal cooking required, this fudge is incredibly easy to make, even for those new to cooking or candy making.
- Impressive results with minimal effort: Despite its simplicity, the end result is a luxurious and decadent fudge that looks and tastes like it was made by a professional chocolatier.
Key Ingredients
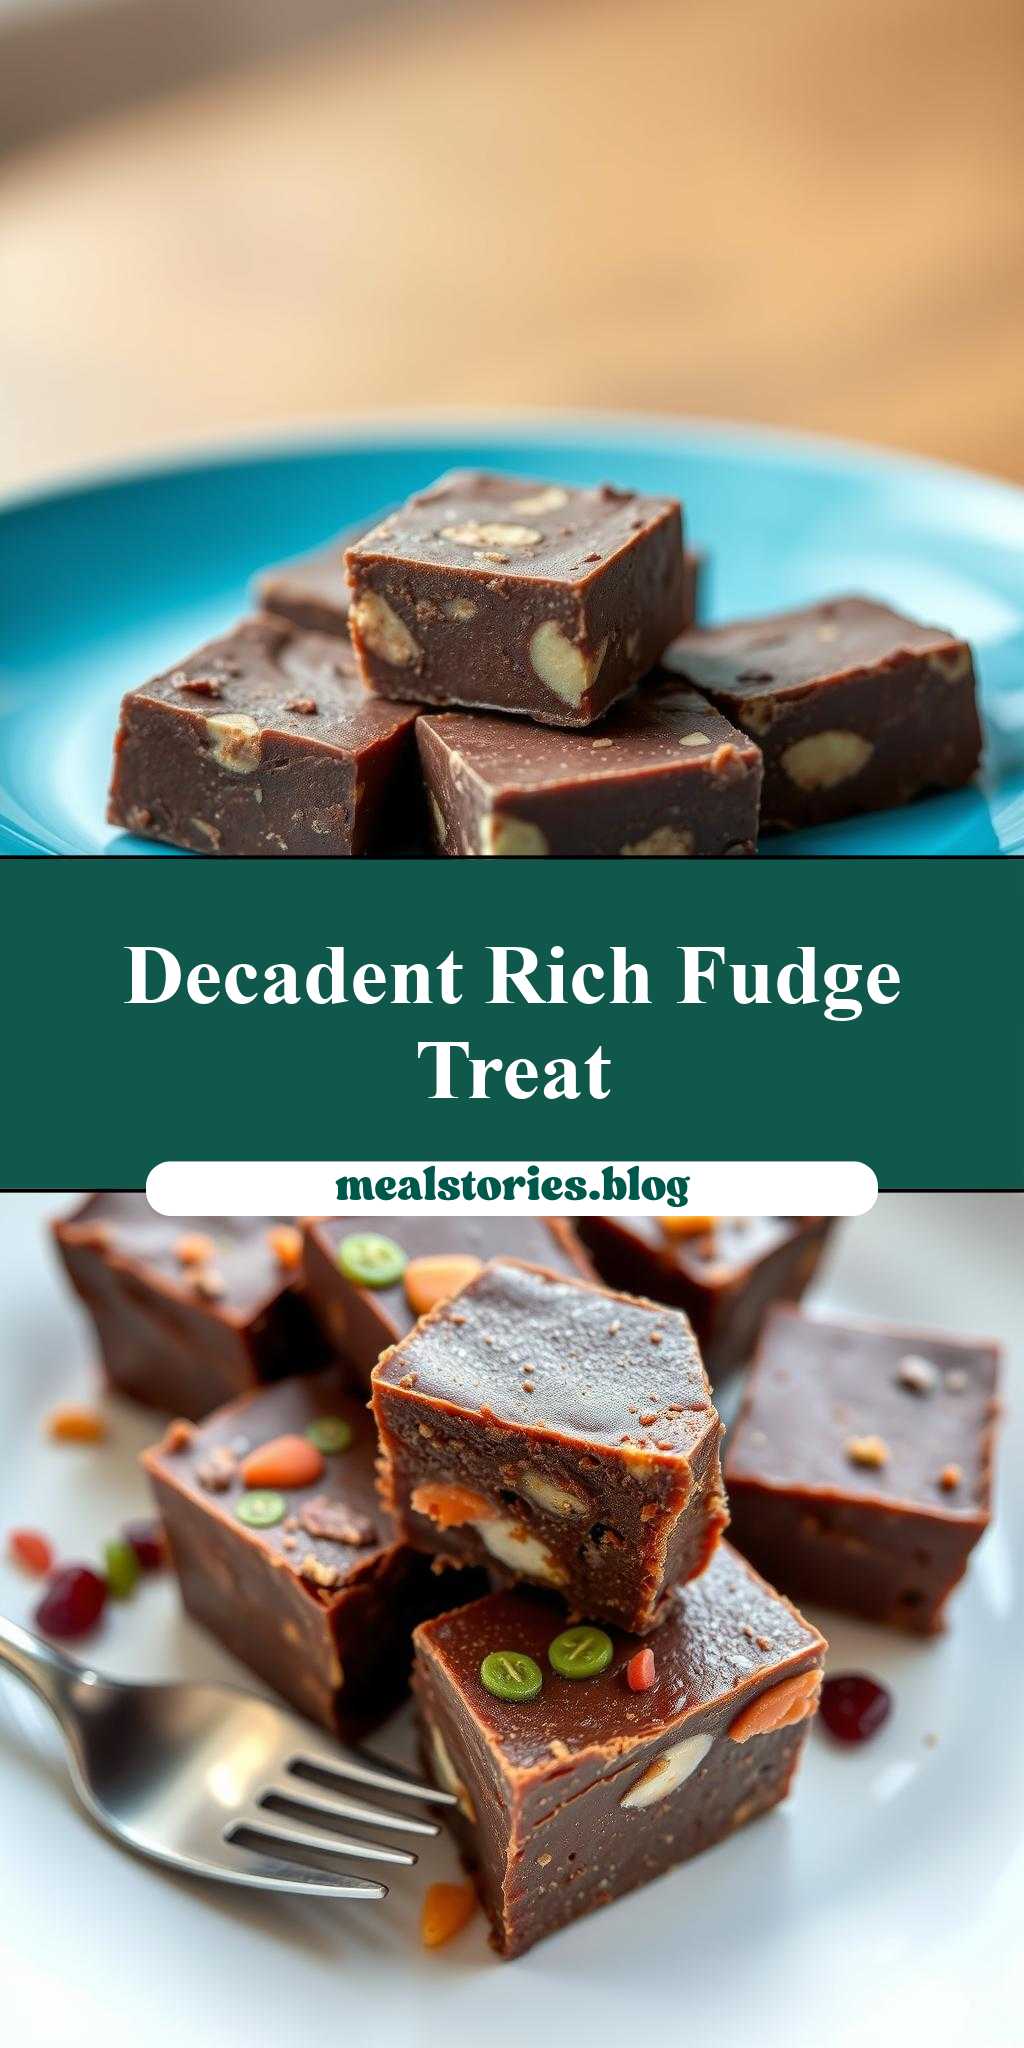
The foundation of our gourmet fudge includes high-quality chocolate (you can use dark, milk, or white chocolate, depending on your preference), heavy cream for a rich and creamy texture, and a touch of vanilla for depth of flavor. For those looking to substitute ingredients, you can use alternative milks (such as almond or coconut milk) for a dairy-free version, or different types of chocolate for varying flavor profiles. Additionally, nuts (like walnuts or pecans), dried fruits, or even a pinch of salt can be added to create unique and delicious variations.
Instructions
- Step 1: Begin by preparing your ingredients. Chop your nuts or dried fruits (if using), measure out your chocolate, cream, and vanilla, and line an 8-inch square baking dish with parchment paper.
- Step 2: In a medium saucepan over low heat, combine your chocolate, heavy cream, and vanilla. Stir occasionally until the chocolate has melted and the mixture is smooth and glossy. Be careful not to let it boil or burn.
- Step 3: Remove the saucepan from the heat and stir in any additional ingredients you’re using (like nuts or dried fruits). Pour the mixture into your prepared baking dish and smooth the top with a spatula.
- Step 4: Allow the fudge to cool to room temperature, then refrigerate it until it’s set. This should take about 2 hours, depending on the temperature of your refrigerator. Once set, remove the fudge from the dish using the parchment paper, cut it into squares, and serve.
Handy Tips
- For a smoother fudge, make sure to stir the chocolate mixture constantly as it heats and avoid overheating, which can cause the chocolate to seize up.
- Experiment with different flavor combinations to find your favorite. For example, adding a teaspoon of espresso powder can enhance the chocolate flavor, while a handful of dried cranberries can add a sweet and fruity twist.
- Don’t overmix the fudge once you’ve added your additional ingredients, as this can cause it to become grainy or separate.
Heat Control
When heating your chocolate mixture, it’s crucial to maintain a low heat to prevent the chocolate from burning or seizing up. Ideally, you want to heat the mixture until it reaches a temperature of about 105°F to 115°F (40°C to 46°C), which should take around 10 to 15 minutes, stirring occasionally. Signs that your fudge is ready include a smooth, glossy appearance and a texture that’s warm but not hot to the touch.
Crunch Factor
The crunch factor in your fudge can come from added ingredients like nuts or cookie pieces. To achieve the perfect crunch, make sure your added ingredients are evenly distributed throughout the fudge. If you’re using nuts, toasting them lightly in a 350°F oven for 5 to 10 minutes can enhance their flavor and texture, adding a delightful crunch to your fudge.
Pro Kitchen Tricks
- Use high-quality chocolate for the best flavor. While it might be more expensive, the difference in taste is noticeable.
- Don’t skip the step of lining your baking dish with parchment paper. This makes removing the fudge much easier and prevents it from sticking.
- For a professional finish, melt a small amount of chocolate and use it to glue any decorations (like nuts or sprinkles) onto the top of the fudge before it sets.
Storage Tips
- Store your fudge in an airtight container in the refrigerator to keep it fresh for up to 2 weeks.
- If you want to freeze your fudge, cut it into squares first, then place the squares in a single layer in a freezer-safe bag or container. Frozen fudge will keep for up to 3 months. To thaw, simply leave it at room temperature for a few hours or refrigerate it overnight.
- For the best texture, allow frozen fudge to come to room temperature before serving.
Gift Packaging Ideas
This gourmet fudge makes a wonderful gift, especially when packaged beautifully. Consider placing the fudge in decorative tins, glass jars, or even wrapping it in colored foil or paper. Adding a ribbon or a gift tag with a personal message can make the gift even more special. For a more rustic look, you can wrap the fudge in parchment paper or a brown paper bag and tie it with twine.
Flavor Variations
- Different spices: Try adding a pinch of cinnamon, nutmeg, or cayenne pepper to give your fudge a unique twist.
- Creative toppings: Use chopped nuts, dried fruits, or even candy pieces to add texture and flavor to the top of your fudge.
- Ingredient swaps: Substitute your chocolate with caramel, or use different types of milk to change the flavor profile of your fudge.
Troubleshooting
- Texture problems: If your fudge turns out too soft, it may not have cooled enough. If it’s too hard, it might have been overheated. Adjusting the cooling time or the heat can help achieve the perfect texture.
- Ingredient replacements: If you’re missing an ingredient, consider what else you have on hand that could serve a similar purpose. For example, if you don’t have heavy cream, you could use half-and-half or a combination of milk and butter.
- Over/undercooking signs: Overcooked fudge will be dry and crumbly, while undercooked fudge will be too soft. Adjust your cooking time and temperature as needed to achieve a smooth, set fudge.
FAQs
- Can I freeze it? Yes, you can freeze your fudge for up to 3 months. Simply cut it into squares, place them in a freezer-safe bag or container, and thaw at room temperature or in the refrigerator when you’re ready to serve.
- Is it gluten-free? Yes, this fudge recipe is naturally gluten-free, making it a great option for those with gluten intolerance or sensitivity.
- Can I double the recipe? Yes, you can easily double or even triple this recipe if you’re making it for a larger group. Just be sure to use a larger baking dish to accommodate the increased volume of fudge.
Conclusion
Making the best decadent gourmet fudge is a journey of discovery and creativity, allowing you to experiment with flavors, textures, and presentation. With its rich, velvety chocolate and endless possibilities for customization, this fudge is sure to become a favorite among friends and family. So, don’t be afraid to get creative, try new things, and most importantly, enjoy the process of making something truly special. Happy cooking, and we look forward to hearing about your gourmet fudge adventures!