What’s the secret to perfect Italian desserts in a flash? Mini Cannoli Cups Recipe is a game changer with its quick and easy homemade shell filling process using sweetened ricotta cheese. Save this idea for a family favorite treat to enjoy on a weeknight dinner. Pin for later and indulge in the goodness of these bite sized treats.
Mini Cannoli Cups Recipe
Introduction
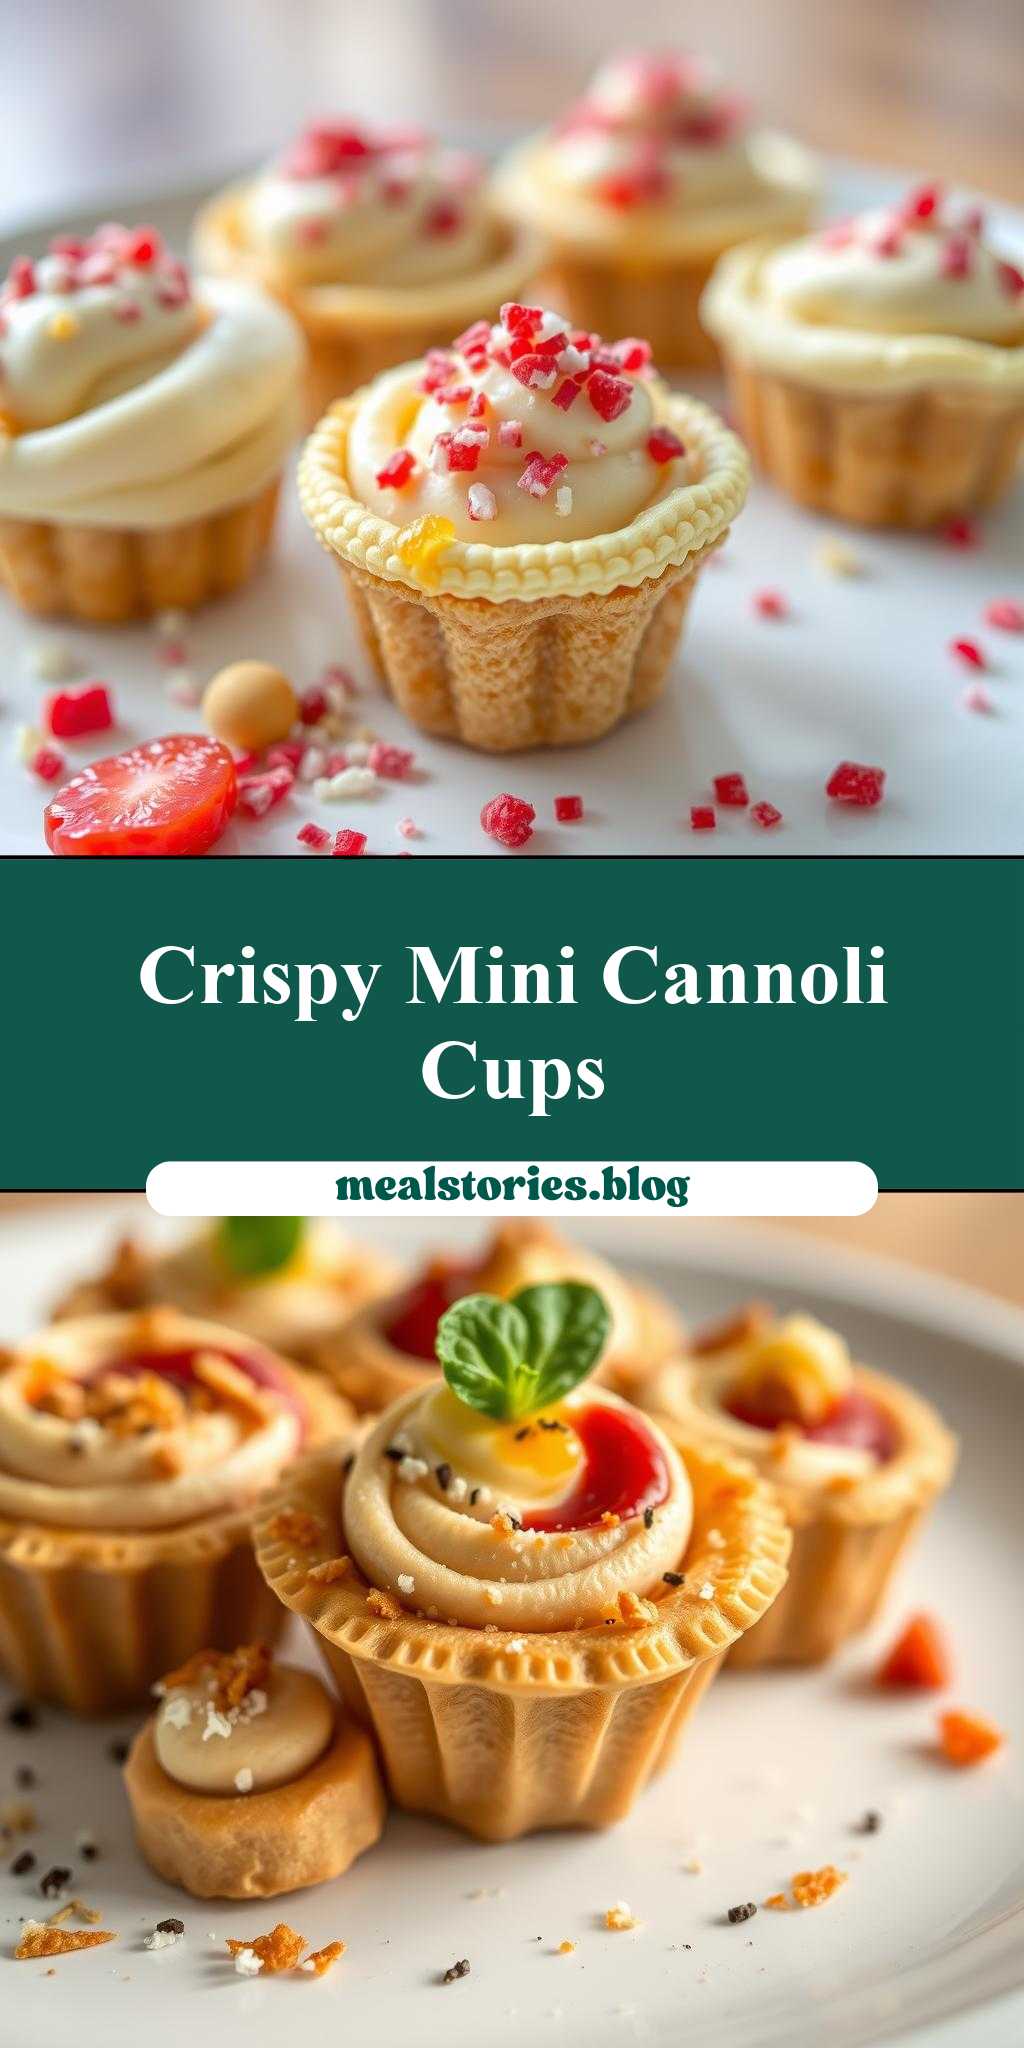
Indulge in the delight of Sicily with our Mini Cannoli Cups Recipe, a creative twist on the traditional Italian dessert. These bite-sized treats are not only easy to make but also offer a burst of flavors and textures that will impress your family and friends. Using everyday ingredients, you can create a dessert that’s both authentic and innovative, perfect for any occasion. The combination of crispy shells, creamy filling, and the freedom to customize with your favorite toppings makes this recipe a standout. Whether you’re a seasoned baker or a beginner in the kitchen, our Mini Cannoli Cups Recipe is sure to become a favorite.
Why This Works
- Flavor balance and ingredient accessibility: Our recipe strikes a perfect balance between the sweetness of the filling and the crunch of the cannoli shells, all made with ingredients easily found in most supermarkets.
- Ease of preparation: Despite its elegant presentation, this dessert is surprisingly simple to prepare. The filling can be made ahead of time, and the assembly is quick and fun.
- Impressive results with minimal effort: The mini cannoli cups are perfect for parties or special occasions. They look impressive and taste amazing, all without requiring extensive culinary skills.
Key Ingredients
The foundation of our Mini Cannoli Cups Recipe includes cannoli shells, which can be found in most Italian grocery stores or substituted with mini pastry cups for a similar effect. The filling is made with sweetened ricotta cheese, mixed with vanilla for depth of flavor and confectioners’ sugar for sweetness. Chocolate chips add an optional but delicious layer of flavor. For toppings, you can use anything from candied fruit to chopped nuts, allowing you to personalize each cannoli cup to your taste.
Instructions
- Step 1: Begin by preparing your filling. In a bowl, mix together the ricotta cheese, confectioners’ sugar, and vanilla extract until smooth. If using, melt the chocolate chips in a double boiler or in the microwave in 10-second increments, stirring between each interval until smooth, and fold into the ricotta mixture.
- Step 2: Chill the filling in the refrigerator for at least 30 minutes to allow the flavors to meld together.
- Step 3: Just before serving, fill each cannoli shell with the ricotta mixture. You can use a piping bag for a neat and easy fill, or simply spoon the filling into the shells.
- Step 4: Top each cannoli cup with your choice of toppings. This could be as simple as a sprinkle of confectioners’ sugar or as elaborate as a piece of candied fruit and a sprinkle of chopped nuts.
Handy Tips
- To ensure the cannoli shells stay crisp, fill them just before serving. If you’re preparing ahead, you can fill the shells with the ricotta mixture and refrigerate for up to 2 hours, but be aware that the shells may become slightly softer.
- Experiment with different flavors in your filling, such as adding a teaspoon of cinnamon or nutmeg for a warm spice flavor, or a tablespoon of liqueur like limoncello for an adult twist.
- For an extra crunchy topping, try caramelizing some chopped nuts in a pan with a little butter until golden brown before sprinkling over your cannoli cups.
Heat Control
Since the filling for our Mini Cannoli Cups Recipe does not require cooking, heat control is primarily relevant if you choose to melt chocolate for the filling or caramelize nuts for topping. For melting chocolate, it’s essential to do so gently to avoid seizing the chocolate. Using a double boiler or short increments in the microwave, stirring between each, helps maintain a smooth and creamy texture. For caramelizing nuts, cook over medium heat, stirring frequently, until the nuts are golden brown and fragrant.
Crunch Factor
Achieving the right crunch factor is key to the success of our Mini Cannoli Cups. The shells should be crispy, providing a satisfying crunch when bitten into. To maintain this texture, it’s crucial to fill the shells just before serving, as mentioned earlier. Additionally, toppings like chopped nuts or candy pieces can add an extra layer of crunch, enhancing the overall texture of the dessert.
Pro Kitchen Tricks
- To prevent the cannoli shells from becoming soggy, consider dusting them lightly with confectioners’ sugar before filling. This helps to absorb any moisture from the filling.
- For a professional finish, use a piping bag to fill the cannoli shells. This not only looks neat but also helps to fill the shells evenly and prevents overflowing.
- Keep your workspace clean and organized. Prepare all your ingredients and tools before starting, and clean as you go to make the process more enjoyable and less stressful.
Storage Tips
- Unfilled cannoli shells can be stored in an airtight container at room temperature for up to 2 weeks.
- The ricotta filling can be made ahead and stored in the refrigerator for up to 24 hours. Give it a good stir before using.
- Assembled cannoli cups are best served fresh but can be refrigerated for up to 2 hours before serving. Keep them away from strong-smelling foods, as the shells can absorb odors easily.
Gift Packaging Ideas
Our Mini Cannoli Cups make wonderful gifts, especially for special occasions like birthdays or holidays. Consider packaging them in decorative boxes or bags, perhaps with a ribbon or a gift tag. For a more rustic look, you could place the cannoli cups in a wooden crate or a basket lined with parchment paper. Adding a few extra touches like a sprinkle of confectioners’ sugar or a chocolate drizzle on top can make the gift even more appealing.
Flavor Variations
- Different spices: Try adding a pinch of cinnamon, nutmeg, or cardamom to the ricotta filling for a unique twist.
- Creative toppings: Experiment with various fruits, nuts, or even candy pieces to top your cannoli cups. Fresh berries, sliced almonds, or shaved chocolate are all great options.
- Ingredient swaps: For a lighter version, you could substitute the ricotta cheese with a mixture of cream cheese and sour cream. For a chocolate lover’s dream, add more cocoa powder or melted chocolate to the filling.
Troubleshooting
- Texture problems: If your filling becomes too runny, refrigerate it for about 10 minutes to firm up. If it’s too thick, you can thin it out with a little milk or cream.
- Ingredient replacements: If you can’t find cannoli shells, look for mini pastry cups or even ice cream cones as a fun substitute.
- Over/undercooking signs: Since this recipe doesn’t involve cooking, focus on the texture and consistency of your filling and the freshness of your toppings to ensure the best flavor and presentation.
FAQs
- Can I freeze it? Yes, you can freeze the assembled cannoli cups for up to 3 months. However, the shells might lose some of their crunch. It’s best to freeze the filling and the shells separately and assemble just before serving.
- Is it gluten-free? Traditional cannoli shells contain gluten, but you can find gluten-free alternatives in some stores or online. Be sure to check the ingredients of your specific shells.
- Can I double the recipe? Absolutely! This recipe is easy to scale up or down depending on your needs. Just keep in mind that you’ll need more cannoli shells and potentially a larger bowl for mixing the filling.
Conclusion
With our Mini Cannoli Cups Recipe, you’re not just making a dessert; you’re creating an experience. The combination of crispy shells, creamy filling, and customizable toppings offers endless possibilities for creativity and fun. Whether you’re a foodie looking to impress your guests or a parent seeking a special treat for your family, this recipe is sure to delight. So go ahead, get creative, and enjoy the process of making something truly special. Buon appetito!
Mini Cannoli Cups Recipe
A creative twist on the traditional Italian dessert, these Mini Cannoli Cups are easy to make, customizable, and perfect for any occasion.
🥘 Ingredients
👩🍳 Instructions
-
1Prepare the ricotta filling by mixing the ricotta cheese, vanilla extract, and confectioners' sugar in a bowl until smooth.
-
2If using chocolate, melt it in a double boiler or in the microwave in 10-second increments, stirring between each, until smooth, and fold into the ricotta mixture.
-
3Chill the filling in the refrigerator for at least 30 minutes.
-
4Just before serving, fill each cannoli shell with the ricotta mixture and top with your choice of toppings.