What makes a perfect summer appetizer? This coconut shrimp recipe is a quick and easy weeknight dinner solution, featuring succulent shrimp coated in toasted coconut and pan-seared to perfection. Save this idea for your next family favorite meal.
Coconut Shrimp
Introduction
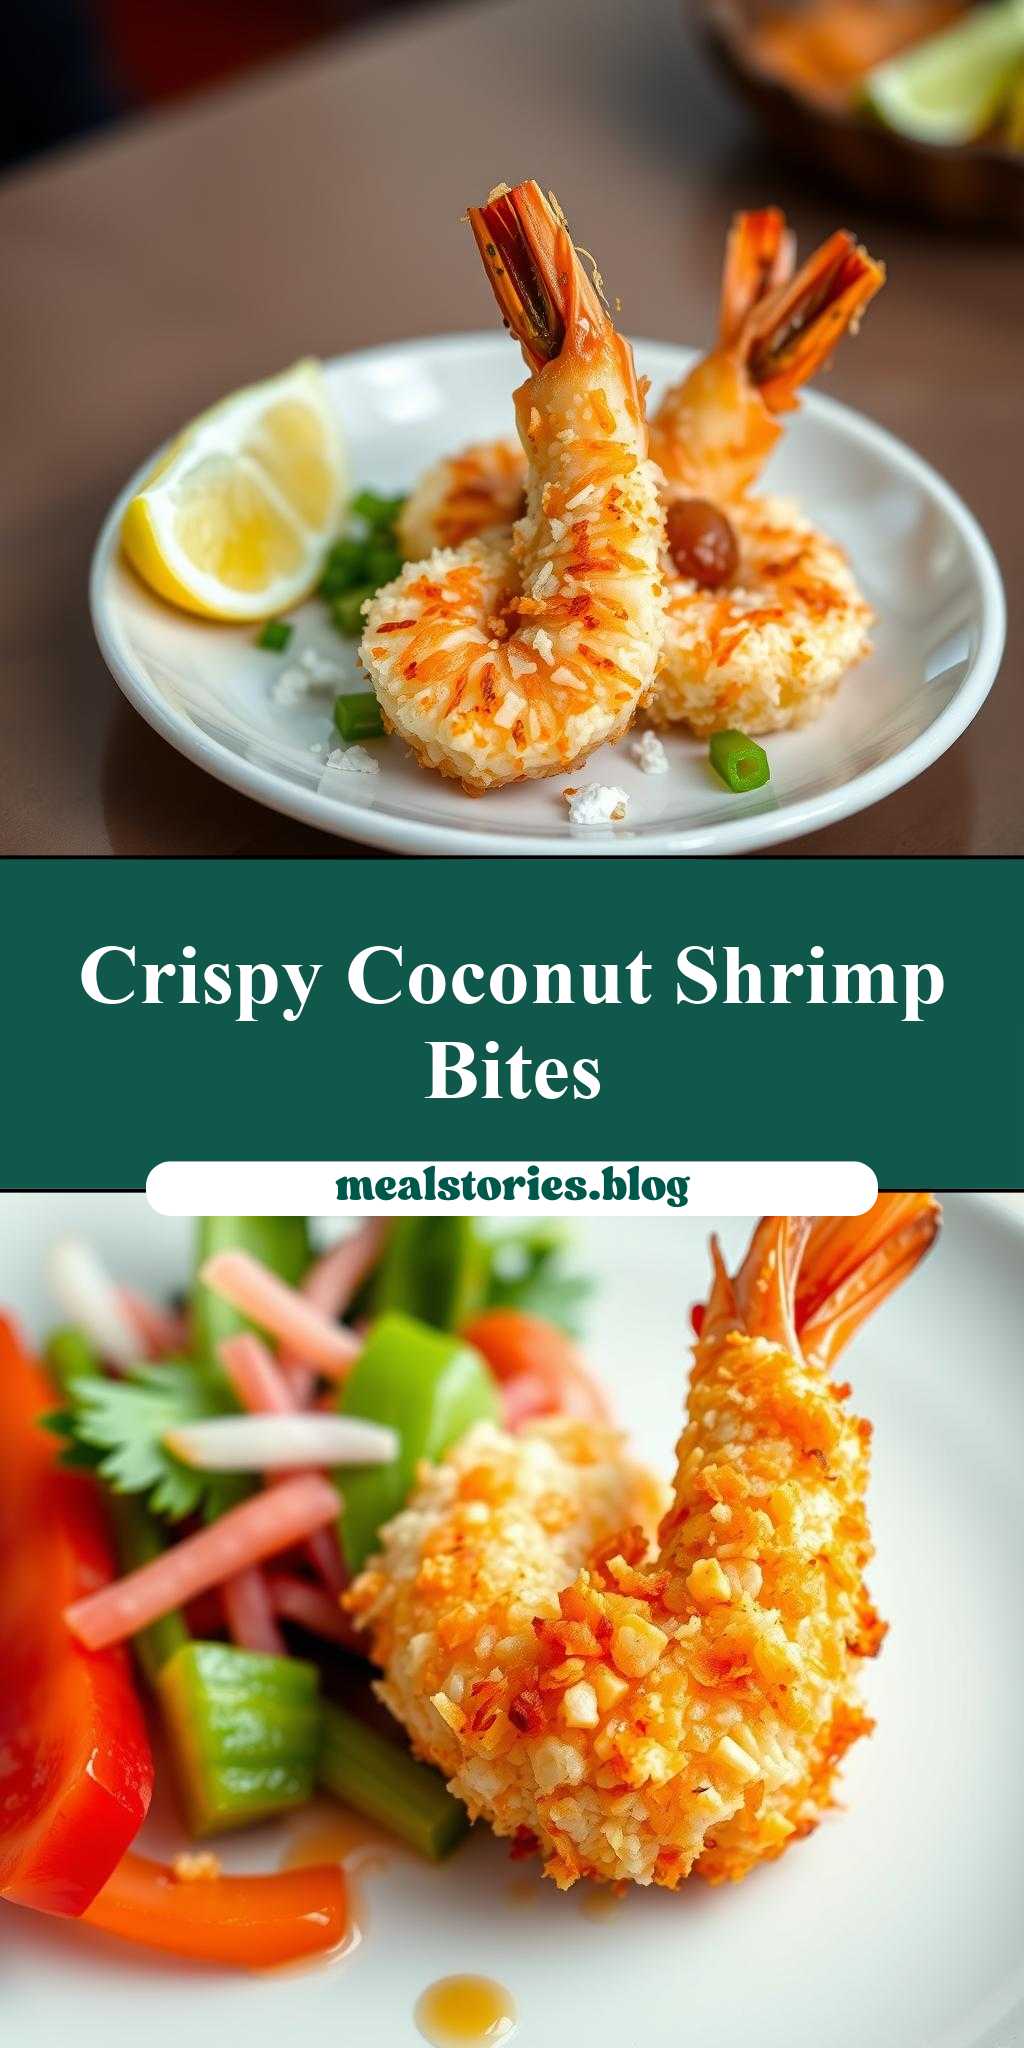
Imagine a dish that combines the succulent sweetness of shrimp, the rich flavor of coconut, and the crunch of a perfectly toasted exterior, all achievable with everyday ingredients and minimal effort. Coconut shrimp is not just a recipe; it’s an experience that transports your taste buds to a tropical paradise. This dish is incredibly easy to make, requiring only basic cooking skills and a few simple ingredients. The beauty of coconut shrimp lies in its balance of flavors and textures, making it a perfect appetizer, snack, or even main course for any occasion. Whether you’re a seafood lover, a fan of coconut, or just looking to spice up your meal routine, this recipe is sure to delight.
Why This Works
- Flavor balance and ingredient accessibility: The combination of shrimp, coconut flakes, and spices creates a harmonious balance of sweet, savory, and spicy flavors. Moreover, the ingredients are easily accessible in most supermarkets, making this dish convenient to prepare.
- Ease of preparation: The steps involved in making coconut shrimp are straightforward and simple, from preparing the shrimp to coating and frying them. This ease of preparation makes the recipe accessible to cooks of all skill levels.
- Impressive results with minimal effort: Despite its simplicity, coconut shrimp presents beautifully and tastes sophisticated, making it an impressive dish to serve at gatherings or special occasions with minimal effort required.
Key Ingredients
The main ingredients for coconut shrimp include large shrimp, coconut flakes, panko breadcrumbs, eggs, flour, salt, pepper, and any desired spices or seasonings. For the coconut flakes, you can use either sweetened or unsweetened depending on your preference for sweetness. Panko breadcrumbs are preferred for their lighter, crisper texture, but regular breadcrumbs can be used as a substitute. Eggs serve as the binding agent, while flour helps in creating a lighter coating. Seasonings can vary but typically include paprika, garlic powder, and onion powder for added depth of flavor. Practical substitutions can be made for dietary restrictions, such as using gluten-free flour for those with gluten intolerance.
Instructions
- Step 1: Begin by preparing your shrimp. Rinse them under cold water, peel, and de-vein. Pat the shrimp dry with paper towels to remove excess moisture, which helps the coating adhere better.
- Step 2: In one bowl, mix together your flour, salt, pepper, and any desired spices. In another, beat the eggs. And in a third, combine the coconut flakes and panko breadcrumbs. This setup allows for an efficient coating process.
- Step 3: Dip each shrimp into the flour mixture, coating it lightly, then into the eggs, making sure they’re fully moistened, and finally into the coconut-panko mixture, pressing the coconut flakes gently onto the shrimp to ensure they stick. Place the coated shrimp on a plate or tray.
- Step 4: Heat about 1/2 inch of oil in a large skillet over medium-high heat. When the oil is hot, add a few of the coated shrimp (do not overcrowd) and fry until they’re golden brown and cooked through, about 2-3 minutes per side. Repeat with the remaining shrimp. Drain the fried shrimp on paper towels and serve hot.
Handy Tips
- For an extra crispy coating, you can chill the coated shrimp in the refrigerator for 30 minutes before frying. This helps the coconut flakes adhere better and fry up crunchier.
- Do not overcrowd the skillet, as this can lower the oil temperature and result in a greasy or soggy coating. Fry in batches if necessary.
- If you’re looking for a healthier option, you can bake the coconut shrimp instead of frying. Simply place them on a baking sheet lined with parchment paper and bake in a preheated oven at 400°F (200°C) for about 10-12 minutes, or until pink and cooked through.
Heat Control
When frying the coconut shrimp, it’s crucial to maintain the right oil temperature. The ideal temperature for frying is between 350°F and 375°F (175°C to 190°C). If the oil is too hot, the exterior will burn before the shrimp is fully cooked. Conversely, if the oil is not hot enough, the shrimp will absorb too much oil and be greasy. Use a thermometer to monitor the temperature, and adjust the heat as needed. Also, do not leave the frying shrimp unattended, as the cooking time is short and they can quickly go from perfectly cooked to overcooked.
Crunch Factor
Achieving the right crunch is key to the appeal of coconut shrimp. The combination of panko breadcrumbs and coconut flakes provides a delightful texture contrast to the soft shrimp. To enhance the crunch, ensure that the coconut flakes are toasted lightly before coating the shrimp, and press the flakes gently onto the shrimp to secure them. If baking, you might need to broil the shrimp for an additional minute to get a crunchier top layer.
Pro Kitchen Tricks
- For an added layer of flavor, marinate the shrimp in your favorite seasonings mixed with a bit of oil or butter before coating and frying. This step can be done ahead of time and refrigerated overnight.
- Use high-quality coconut flakes that are fresh and have a good flavor. Old or stale coconut can impart an unpleasant taste to your dish.
- Experiment with different types of oil for frying, such as avocado oil or grapeseed oil, which have high smoke points and can add unique flavors to your coconut shrimp.
Storage Tips
- Leftover coconut shrimp can be stored in an airtight container in the refrigerator for up to 2 days. Reheat them in the oven at 350°F (175°C) for a few minutes until warmed through.
- For longer storage, coconut shrimp can be frozen after frying and cooling. Place them in a single layer in a freezer-safe bag or container and store in the freezer for up to 2 months. Reheat from frozen in the oven.
- When storing, it’s best to keep the coconut shrimp in a container that allows air to circulate to prevent moisture buildup, which can make the coating soggy.
Gift Packaging Ideas
Coconut shrimp can make a thoughtful and unique gift, especially when presented nicely. Consider packaging them in decorative tins or jars, lined with parchment paper or a decorative napkin. You can also include a side of dipping sauce, such as a tangy mango salsa or a spicy aioli, in a small jar. Finish the gift with a ribbon or a gift tag that includes the recipe or cooking instructions. For a more rustic look, you can place the coconut shrimp in paper cones or bags and tie them with twine.
Flavor Variations
- Different spices: Experiment with various spice blends, such as cajun seasoning for a spicy kick or lemon pepper for a bright, citrusy flavor.
- Creative toppings: Serve the coconut shrimp with a variety of toppings, such as diced mango, chopped cilantro, or toasted almonds, to add texture and flavor contrast.
- Ingredient swaps: For a vegan version, you can use tofu or portobello mushrooms instead of shrimp. Similarly, you can substitute the eggs with a flax egg or aquafaba for a vegan binding agent.
Troubleshooting
- Texture problems: If your coconut shrimp turns out too greasy, it might be due to overcrowding the skillet or not having the oil at the right temperature. If they’re too dry, the shrimp might have been overcooked.
- Ingredient replacements: If you can’t find panko breadcrumbs, regular breadcrumbs can be used, though the texture might be slightly different. For coconut flakes, shredded coconut can be used as a substitute, but be aware that it might not provide the same level of crunch.
- Over/undercooking signs: Shrimp are cooked through when they turn pink and opaque. If they’re undercooked, they will be translucent and soft to the touch. Overcooked shrimp are tough and rubbery.
FAQs
- Can I freeze it? Yes, coconut shrimp can be frozen after they have been fried and cooled. Simply place them in a freezer-safe bag or container and store in the freezer for up to 2 months.
- Is it gluten-free? The recipe as described is not gluten-free due to the use of flour and possibly the panko breadcrumbs, depending on the brand. However, you can easily make it gluten-free by using gluten-free flour and ensuring your panko breadcrumbs are gluten-free.
- Can I double the recipe? Yes, you can double or even triple the recipe as needed. Just be sure to fry the shrimp in batches to prevent overcrowding the skillet.
Conclusion
Making coconut shrimp is a rewarding culinary adventure that combines ease of preparation with impressive results. Whether you’re cooking for yourself, your family, or a crowd, this dish is sure to please. Feel free to experiment with different seasonings and ingredients to make the recipe your own, and don’t hesitate to reach out if you have any questions or need further clarification on any step. The beauty of cooking lies in its creativity and the joy of sharing meals with others, so go ahead, get cooking, and enjoy the delightful taste of coconut shrimp!
Coconut Shrimp
A tropical and flavorful dish made with succulent shrimp coated in coconut flakes and spices, perfect for any occasion.
🥘 Ingredients
👩🍳 Instructions
-
1Prepare the shrimp by rinsing, peeling, and de-veining them.
-
2Mix the flour, salt, pepper, paprika, garlic powder, and onion powder in one bowl. Beat the eggs in another, and combine the coconut flakes and panko breadcrumbs in a third.
-
3Coat each shrimp in the flour mixture, then the eggs, and finally the coconut-panko mixture, pressing the coconut flakes gently onto the shrimp.
-
4Heat about 1/2 inch of olive oil in a large skillet over medium-high heat. Fry the coated shrimp in batches until they're golden brown and cooked through, about 2-3 minutes per side.
-
5Drain the fried shrimp on paper towels and serve hot.
-
6Optional: For baking, place the coated shrimp on a baking sheet lined with parchment paper and bake in a preheated oven at 400°F (200°C) for about 10-12 minutes, or until pink and cooked through.