What’s the secret to a show-stopping dessert with minimal effort? This oreo icebox cake is a quick and easy homemade treat that layers cookies and creamy filling to perfection, using just a few key ingredients like Oreos and whipped cream. Save this idea for your next family favorite dessert.
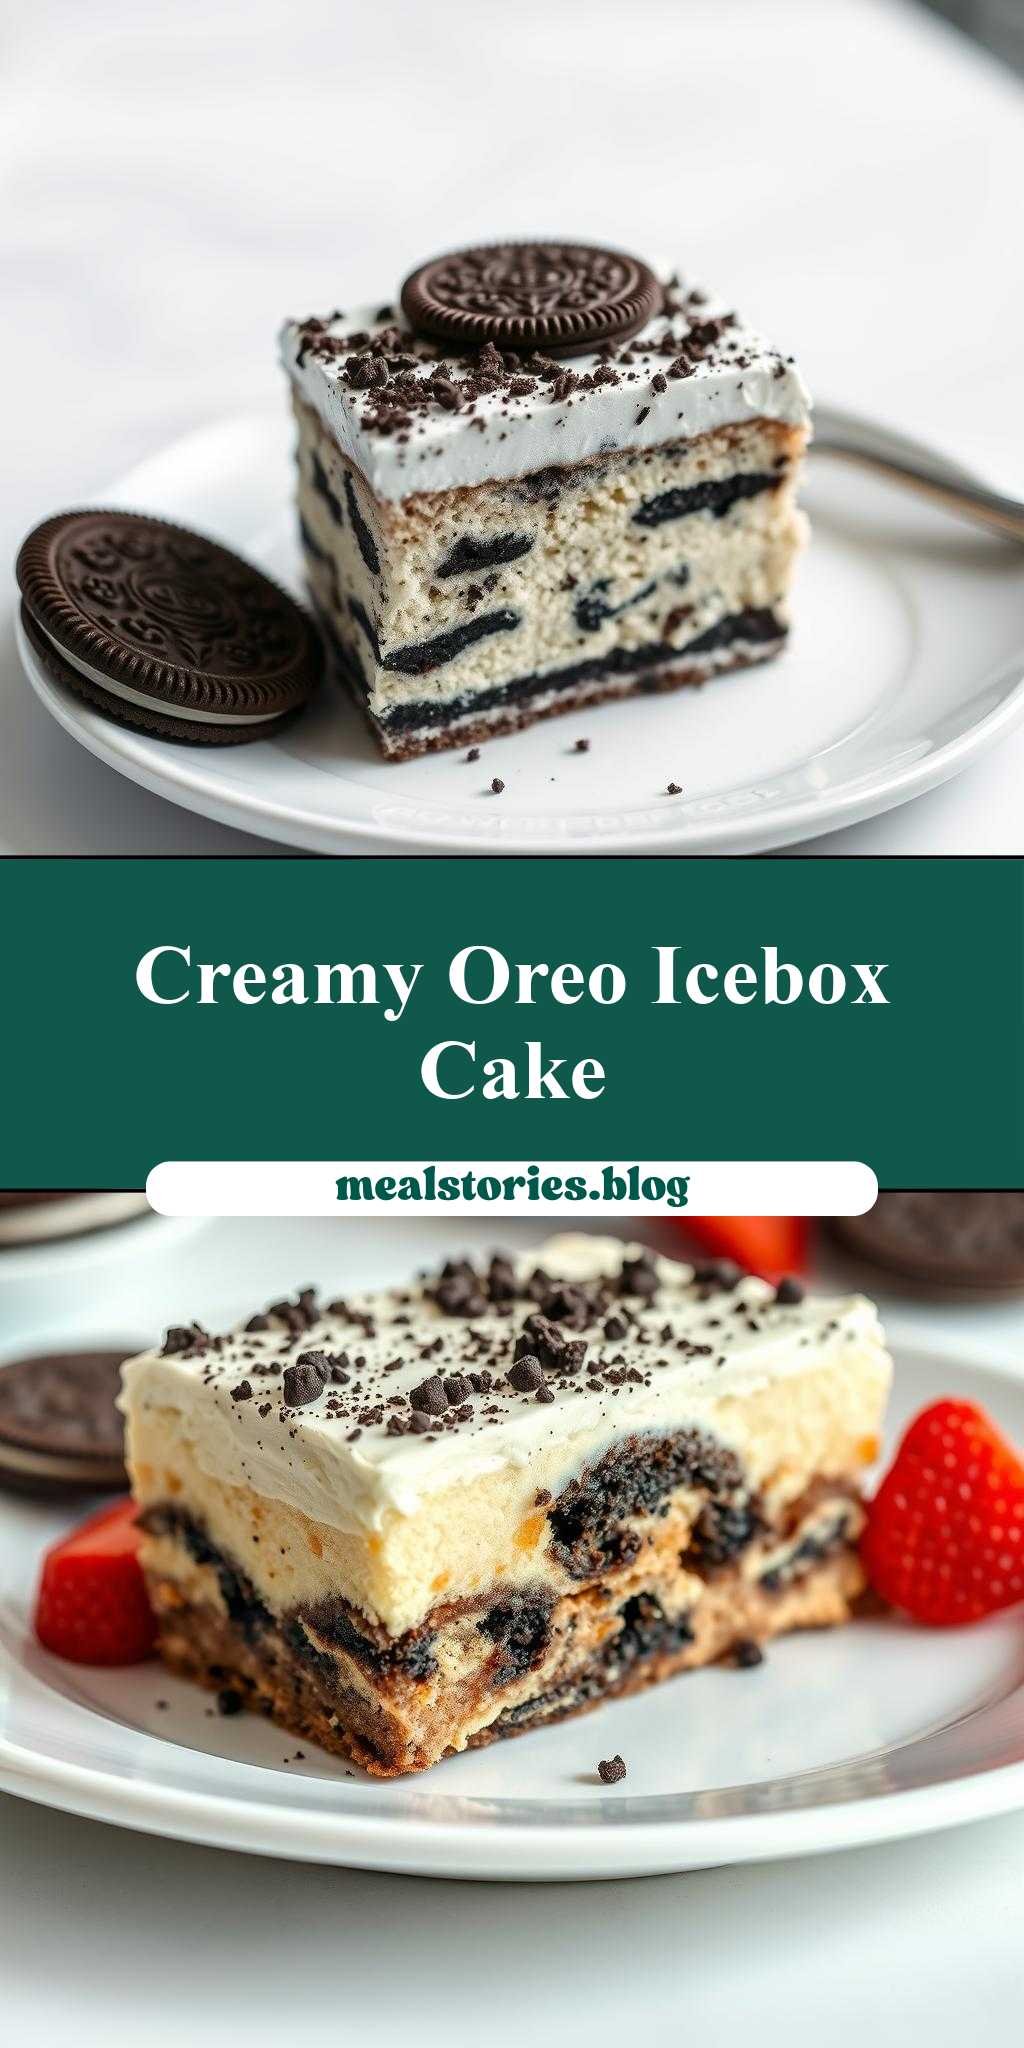
oreo icebox cake on a white plate
Introduction
The Oreo icebox cake is a timeless dessert that combines the simplicity of everyday ingredients with the elegance of a perfectly layered treat. This no-bake cake is a masterclass in ease and flavor, requiring minimal effort for a dessert that’s both impressive and delicious. By utilizing the iconic Oreo cookie as its base, this cake brings a level of creativity and nostalgia to the table, making it perfect for family gatherings, parties, or even a simple weeknight dessert. The best part? It’s incredibly easy to make and requires no baking, making it accessible to cooks of all skill levels.
Why This Works
- Flavor balance and ingredient accessibility: The combination of Oreo cookies, cream cheese, and whipped cream provides a perfect balance of flavors and textures that are easily found in most grocery stores.
- Ease of preparation: This cake requires no baking and can be prepared in under 30 minutes, making it an ideal choice for those short on time.
- Impressive results with minimal effort: Despite its simplicity, the Oreo icebox cake presents beautifully and is sure to impress friends and family with its elegant layers and delicious taste.
Key Ingredients
The main ingredients for this cake include Oreo cookies, cream cheese, powdered sugar, vanilla extract, and heavy whipping cream. For those looking for substitutions, you can use other types of cookies or even graham crackers as a base, and non-dairy whipped cream for a vegan alternative. The cream cheese can be substituted with mascarpone or ricotta for a slightly different flavor profile. The key is to maintain the balance of textures and flavors that make this cake so appealing.
Instructions
- Step 1: Begin by preparing your ingredients. Chop the Oreo cookies in half and set them aside. In a large mixing bowl, combine the cream cheese, powdered sugar, and vanilla extract. Mix until smooth and creamy.
- Step 2: In a separate bowl, whip the heavy whipping cream until stiff peaks form. Set aside.
- Step 3: To assemble the cake, start with a layer of whipped cream on the bottom of a serving dish. Arrange a layer of Oreo cookies on top of the whipped cream. You can trim the cookies to fit the dish if necessary. Spread half of the cream cheese mixture over the cookies, followed by another layer of whipped cream. Repeat this process, ending with a layer of whipped cream on top.
- Step 4: Decorate the top of the cake with additional Oreo cookies or whipped cream, if desired. Refrigerate for at least 4 hours or overnight to allow the flavors to meld together and the cake to set.
Handy Tips
- Make sure to chill the cake long enough to allow the flavors to meld together and the cake to set properly. This will help the cake hold its shape when sliced.
- Avoid overmixing the cream cheese mixture, as this can make it too stiff and separate.
- Experiment with different types of cookies or flavor extracts to create unique variations of the cake.
Heat Control
Since this is a no-bake cake, heat control is not a concern. However, it’s essential to chill the cake in the refrigerator to allow it to set properly. The ideal temperature for chilling is between 39°F and 41°F (4°C and 5°C), which is the standard temperature range for most home refrigerators.
Crunch Factor
The crunch factor in this cake comes from the Oreo cookies, which provide a nice textural contrast to the creamy whipped cream and cream cheese mixture. To maintain the crunch of the cookies, it’s best to assemble the cake just before serving. If you’re preparing the cake ahead of time, you can also try freezing the cookies before using them to help preserve their texture.
Pro Kitchen Tricks
- Use a high-quality vanilla extract to give the cake a deep, rich flavor.
- Don’t overwhip the cream, as this can make it too stiff and separate. Stop whipping once stiff peaks form.
- Consider using a cake stand or pedestal to display the cake, as this can add to its visual appeal.
Storage Tips
- Store the cake in the refrigerator at a temperature between 39°F and 41°F (4°C and 5°C).
- Cover the cake with plastic wrap or aluminum foil to prevent it from drying out.
- The cake can be stored for up to 3 days in the refrigerator. Allow it to come to room temperature before serving for the best flavor and texture.
Gift Packaging Ideas
This cake makes a wonderful gift for friends and family, especially during the holidays. Consider packaging it in a decorative tin or cake box, or even a mason jar for a more rustic look. You can also add a personal touch by including a handwritten note or a sprinkle of edible decorations on top of the cake.
Flavor Variations
- Try using different types of cookies, such as peanut butter cookies or chocolate sandwich cookies, for a unique twist on the classic Oreo flavor.
- Add a teaspoon of mint extract or a handful of chopped nuts to the cream cheese mixture for added depth of flavor.
- Use different types of milk or cream, such as almond milk or coconut cream, to create a non-dairy version of the cake.
Troubleshooting
- If the cake is too soft or falls apart when sliced, it may not have been chilled long enough. Try refrigerating it for a few more hours to allow it to set properly.
- If the cream cheese mixture is too stiff, try adding a tablespoon or two of milk or cream to thin it out.
- If the whipped cream is too stiff or separates, try whipping it for a few more seconds to reincorporate the ingredients.
FAQs
- Can I freeze it? Yes, you can freeze the cake for up to 2 months. Simply wrap it tightly in plastic wrap or aluminum foil and store it in the freezer. Allow it to thaw overnight in the refrigerator before serving.
- Is it gluten-free? The cake can be made gluten-free by using gluten-free cookies and being mindful of cross-contamination with gluten-containing ingredients.
- Can I double the recipe? Yes, you can easily double or triple the recipe to make a larger cake. Simply multiply the ingredients accordingly and adjust the chilling time as needed.
Conclusion
The Oreo icebox cake is a versatile and delicious dessert that’s perfect for any occasion. With its easy preparation, impressive presentation, and customizable flavor options, it’s a recipe that’s sure to become a staple in your kitchen. Whether you’re a seasoned baker or a beginner cook, this cake is a great way to impress friends and family with minimal effort. So go ahead, get creative, and enjoy the ooohs and ahhhs as you serve this stunning dessert on a white plate.
oreo icebox cake on a white plate
A no-bake dessert made with Oreo cookies, cream cheese, and whipped cream, perfect for any occasion.
🥘 Ingredients
👩🍳 Instructions
-
1Chop the Oreo cookies in half and set them aside.
-
2In a large mixing bowl, combine the cream cheese, powdered sugar, and vanilla extract. Mix until smooth and creamy.
-
3In a separate bowl, whip the heavy whipping cream until stiff peaks form. Set aside.
-
4To assemble the cake, start with a layer of whipped cream on the bottom of a serving dish. Arrange a layer of Oreo cookies on top of the whipped cream. Spread half of the cream cheese mixture over the cookies, followed by another layer of whipped cream. Repeat this process, ending with a layer of whipped cream on top.