What’s the ultimate dessert stack? Rich, fudgy cookies smothered in melted chocolate make for a decadent homemade treat that’s easy to whip up on a weeknight. With just a few key ingredients like dark chocolate and fresh baked cookies, you can create a show stopping dessert. Save this idea for your next family favorite dessert night.
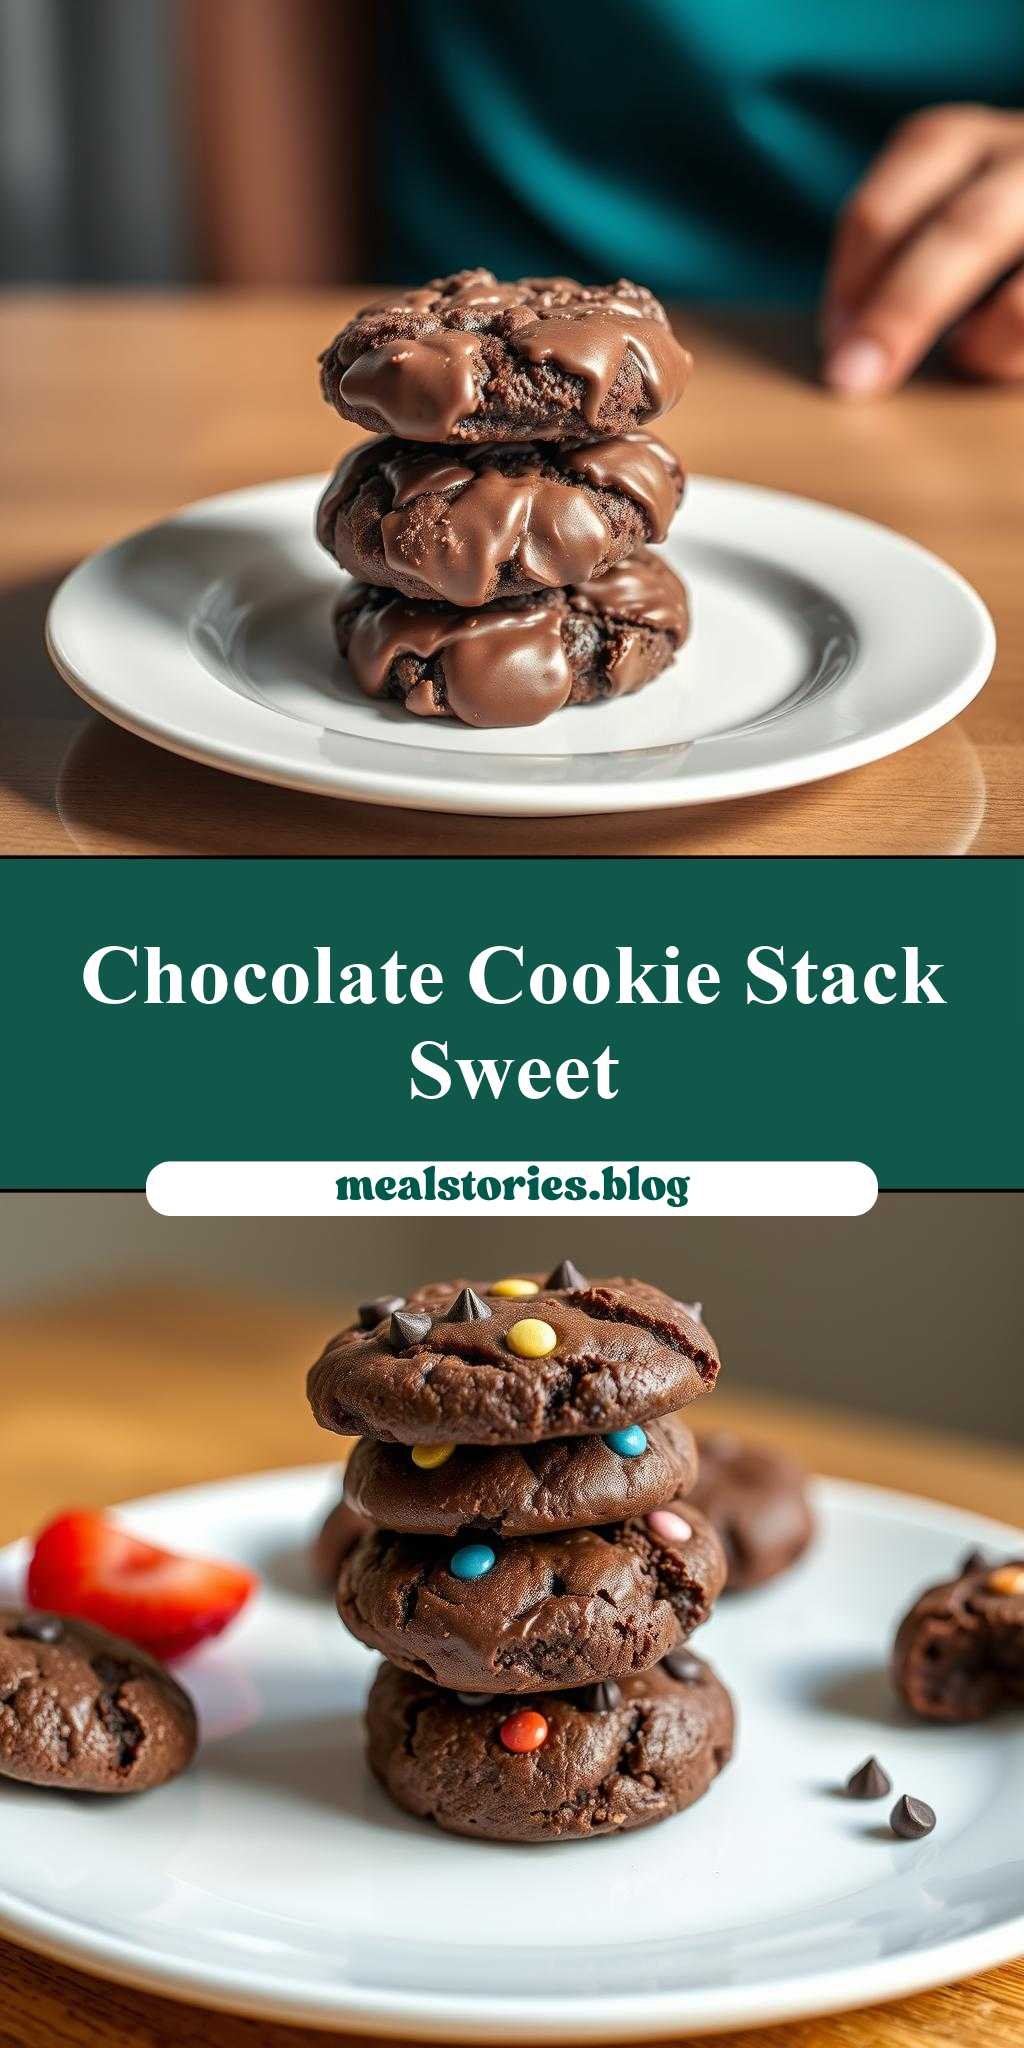
chocolate covered cookies are stacked on top of each other in the middle of a plate
Introduction
Imagine a delightful treat that combines the richness of chocolate with the crunch of cookies, all presented in a visually appealing stack on a plate. This dessert is not only a feast for the eyes but also a symphony of flavors and textures that will leave anyone craving for more. The best part? It’s incredibly easy to make, requiring just a few everyday ingredients and some basic kitchen skills. Whether you’re a seasoned baker or a beginner in the kitchen, this recipe is perfect for anyone looking to impress their family and friends with a creative and delicious dessert.
Why This Works
- Flavor balance and ingredient accessibility: The combination of chocolate and cookies provides a perfect balance of flavors, and the ingredients are easily accessible in most supermarkets.
- Ease of preparation: The recipe involves simple steps that can be completed in no time, making it perfect for those with busy schedules.
- Impressive results with minimal effort: Despite the simplicity of the recipe, the end result is a visually stunning and delicious dessert that’s sure to impress anyone.
Key Ingredients
To make this delicious dessert, you’ll need the following key ingredients: cookies of your choice (chocolate chip, oatmeal, or any other variety), high-quality chocolate (dark, milk, or white), and any optional toppings you’d like to add, such as nuts, sprinkles, or shredded coconut. You can also use different types of cookies or chocolate to create unique flavor combinations and textures.
Instructions
- Step 1: Begin by preparing your cookies. If you’re using store-bought cookies, you can skip this step. However, if you’re baking your own cookies, make sure to follow your recipe and let them cool completely before proceeding.
- Step 2: Melt your chocolate. You can do this using a double boiler or in the microwave in 30-second increments, stirring between each interval until smooth. Be careful not to overheat the chocolate, as it can become grainy and separate.
- Step 3: Dip each cookie into the melted chocolate, coating it completely. You can use a fork or dipping tool to fully coat the cookie and then tap off any excess chocolate by gently tapping the fork or tool against the side of the bowl.
- Step 4: Place the chocolate-covered cookies on a piece of parchment paper or a silicone mat. If desired, add any toppings before the chocolate hardens. Allow the chocolate to set at room temperature or speed up the process by placing the cookies in the refrigerator for a few minutes.
Handy Tips
- To ensure that your chocolate-covered cookies set properly, make sure the cookies are completely cool and the chocolate is at the right temperature. If the chocolate is too hot, it can melt the cookies or cause them to become soggy.
- Experiment with different types of chocolate and cookies to find your favorite combination. You can also add a sprinkle of salt or a pinch of cinnamon to the melted chocolate for an extra boost of flavor.
- Consider using a variety of toppings to add texture and visual appeal to your dessert. Chopped nuts, shredded coconut, and sprinkles are all great options.
Heat Control
If you’re melting your chocolate in the microwave, be careful not to overheat it. Start with short intervals (30 seconds) and check the chocolate after each heating, stirring until it’s smooth and melted. If you’re using a double boiler, make sure the water is simmering and not boiling, as high heat can cause the chocolate to seize up or become grainy.
Crunch Factor
The crunch factor in this dessert comes from the cookies and any toppings you might add, such as nuts or sprinkles. To achieve the perfect crunch, make sure your cookies are fresh and not too soft. If you’re using nuts or other toppings, sprinkle them on top of the chocolate before it hardens for the best results.
Pro Kitchen Tricks
- Use high-quality chocolate for the best flavor. While it might be more expensive, the end result will be well worth the extra cost.
- Experiment with different cookie flavors and textures to create unique combinations. For example, you could use peanut butter cookies with milk chocolate or oatmeal cookies with dark chocolate.
- Consider using a cookie scoop or spoon to portion out your cookies before baking. This will help ensure that they’re all uniform in size and shape, making them easier to stack and present.
Storage Tips
- Store your chocolate-covered cookies in an airtight container at room temperature for up to 5 days. You can also freeze them for up to 2 months and thaw at room temperature when you’re ready to serve.
- Keep your cookies away from direct sunlight and heat sources, as these can cause the chocolate to melt or become discolored.
- Consider using a piece of parchment paper or wax paper to separate the layers of cookies in your storage container. This will prevent them from sticking together and make them easier to serve.
Gift Packaging Ideas
If you’re looking to give your chocolate-covered cookies as a gift, consider packaging them in a decorative tin or jar. You could also wrap them individually in plastic wrap or cellophane bags and tie with a ribbon. For a more rustic look, try placing the cookies in a paper bag or cone and tying the top with twine or a ribbon.
Flavor Variations
- Different spices: Try adding a pinch of cinnamon, nutmeg, or cayenne pepper to your melted chocolate for an extra boost of flavor.
- Creative toppings: Experiment with different toppings, such as chopped nuts, shredded coconut, or sprinkles, to add texture and visual appeal to your dessert.
- Ingredient swaps: Consider using different types of cookies or chocolate to create unique flavor combinations. For example, you could use peanut butter cookies with milk chocolate or oatmeal cookies with dark chocolate.
Troubleshooting
- Texture problems: If your chocolate is too thick, try heating it for a few more seconds in the microwave. If it’s too thin, let it cool and thicken at room temperature.
- Ingredient replacements: If you don’t have a certain type of cookie or chocolate, feel free to substitute with something similar. Just be aware that the flavor and texture may be slightly different.
- Over/undercooking signs: If your cookies are too hard or crunchy, they may be overcooked. If they’re too soft or chewy, they may be undercooked. Adjust your baking time accordingly to achieve the perfect texture.
FAQs
- Can I freeze it? Yes, you can freeze your chocolate-covered cookies for up to 2 months. Simply place them in a single layer in a freezer-safe bag or container and thaw at room temperature when you’re ready to serve.
- Is it gluten-free? Depending on the type of cookies you use, this dessert may or may not be gluten-free. If you’re using gluten-free cookies, make sure to check the ingredients of your chocolate as well to ensure that it’s gluten-free.
- Can I double the recipe? Yes, you can easily double or triple this recipe to make more chocolate-covered cookies. Just be aware that you may need to adjust the melting time of your chocolate accordingly.
Conclusion
In conclusion, making chocolate-covered cookies is a fun and easy process that can be customized to your taste preferences. With a few simple ingredients and some basic kitchen skills, you can create a delicious and visually appealing dessert that’s perfect for any occasion. Whether you’re a seasoned baker or a beginner in the kitchen, this recipe is sure to become a favorite. So go ahead, get creative, and enjoy the process of making something truly special.
chocolate covered cookies are stacked on top of each other in the middle of a plate
A delicious dessert made with chocolate-covered cookies stacked on top of each other, perfect for any occasion
🥘 Ingredients
👩🍳 Instructions
-
1Melt the chocolate chips in a double boiler or in the microwave in 30-second increments, stirring between each interval until smooth.
-
2Dip each cookie into the melted chocolate, coating it completely.
-
3Place the chocolate-covered cookies on a piece of parchment paper or a silicone mat.
-
4Add any optional toppings before the chocolate hardens.
-
5Allow the chocolate to set at room temperature or speed up the process by placing the cookies in the refrigerator for a few minutes.