What makes a perfect ice cream topping – is it the simplicity of a homemade chocolate magic shell recipe made with just a few ingredients like melted chocolate and heavy cream, or the fun of eating it with spoons. This easy and quick treat is a family favorite and can be ready in no time, save this idea
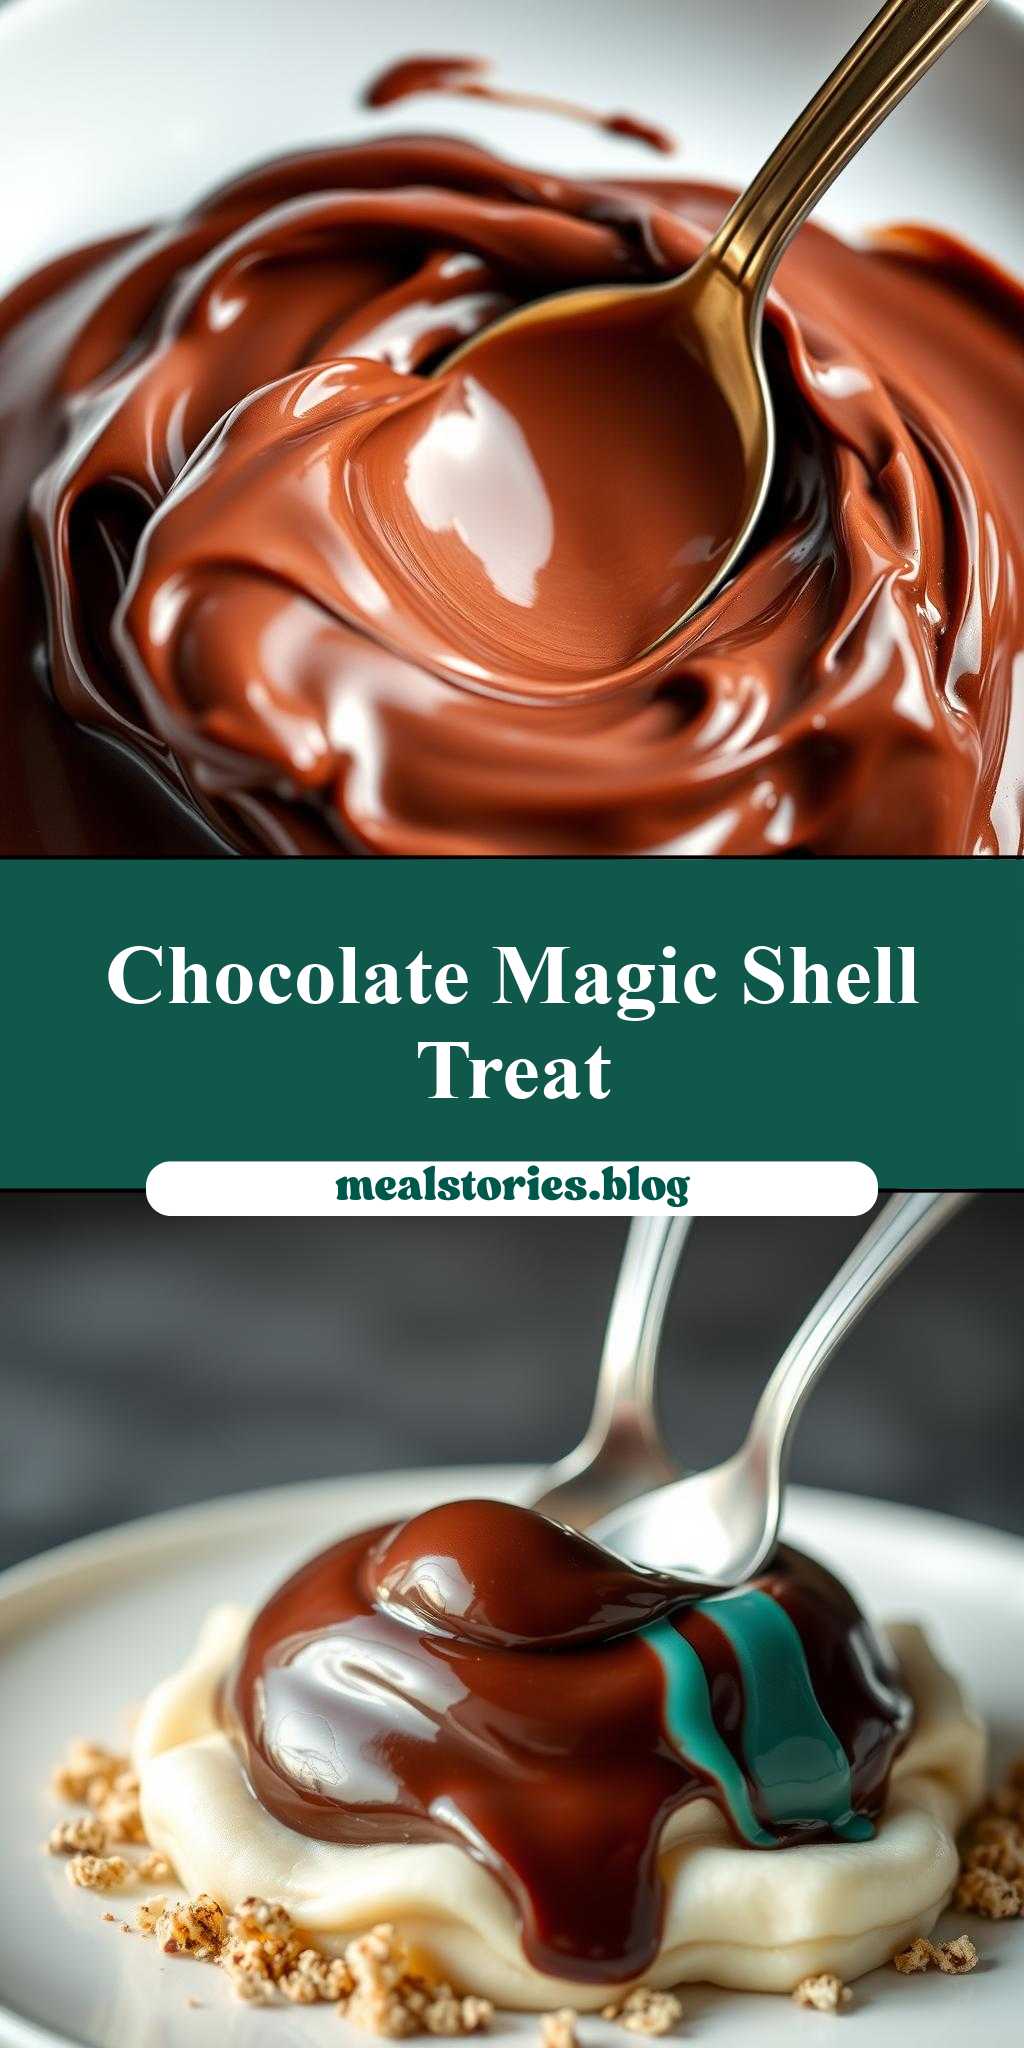
homemade chocolate magic shell recipe with spoons in it
Introduction
Indulge in the simplicity and delight of a homemade chocolate magic shell recipe, uniquely featuring spoons in it, perfect for a fun dessert or snack. This recipe stands out for its ease of preparation, rich flavor, and the creative twist of incorporating spoons, making it a standout treat for both kids and adults. Using everyday ingredients, you can create a dessert that’s not only delicious but also visually appealing and playful. The combination of melted chocolate, crunchy elements, and the surprise of finding a spoon in your dessert will make this a favorite among family and friends.
Why This Works
- Flavor balance and ingredient accessibility: This recipe balances sweetness with the fun of discovery, using ingredients that are easily found in most grocery stores.
- Ease of preparation: The process is straightforward, requiring minimal cooking and mostly involving mixing and chilling, making it accessible to cooks of all skill levels.
- Impressive results with minimal effort: Despite its simplicity, the end result is impressive, especially with the creative inclusion of spoons, making it perfect for special occasions or everyday treats.
Key Ingredients
The main ingredients for this homemade chocolate magic shell recipe include high-quality chocolate (dark, milk, or white, depending on your preference), heavy cream or coconut cream for a dairy-free alternative, and spoons (preferably plastic or candy spoons for safety and ease of use). Additional ingredients can include nuts, sprinkles, or small candies for added texture and flavor. When choosing your chocolate, consider the flavor profile you want to achieve: dark chocolate for a deeper, richer taste, milk chocolate for a sweeter and creamier taste, or white chocolate for a vanilla and sweet flavor. For those looking for substitutions, carob can be used as a chocolate alternative, and non-dairy milks can replace heavy cream for a vegan version.
Instructions
- Step 1: Begin by preparing your spoons. If using candy spoons, you can skip to the next step. For plastic spoons, you might want to decorate them with sprinkles or wraps to make them more colorful and appealing. Set them aside.
- Step 2: Melt your chosen chocolate in a double boiler or in a microwave-safe bowl in 30-second increments, stirring between each interval until smooth. Be cautious not to overheat the chocolate.
- Step 3: Once the chocolate is melted, stir in your heavy cream or coconut cream until well combined. This will give your chocolate a creamy and smooth consistency. Add any additional ingredients like nuts or sprinkles and fold them into the chocolate mixture.
- Step 4: Pour the chocolate mixture into individual serving cups or a large serving dish. Immediately place a spoon into each serving, pressing it gently into the chocolate. If using a large dish, you can arrange multiple spoons in a decorative pattern. Refrigerate until the chocolate is set, which should take about 20-30 minutes depending on the size of your servings.
Handy Tips
- For a crunchier shell, you can add a layer of chopped nuts or cookie crumbs at the bottom of your serving cups before pouring in the chocolate mixture.
- Experiment with different types of chocolate and mix-ins to create unique flavor combinations. For example, adding a teaspoon of mint extract can give your chocolate a refreshing twist.
- Consider using edible gold or silver dust to give your spoons a luxurious look, perfect for special occasions or gifts.
Heat Control
When melting chocolate, it’s crucial to control the heat to prevent the chocolate from seizing up or becoming too thin. Using a double boiler is ideal as it provides a gentle heat. If using a microwave, be sure to check and stir the chocolate every 30 seconds to avoid overheating.
Crunch Factor
The crunch factor in this recipe comes from the spoons and any additional ingredients like nuts or cookie crumbs you might add. To enhance the crunch, ensure that your mix-ins are evenly distributed throughout the chocolate. For a tender spoon, you can dip the spoon in melted chocolate and let it set before placing it in the dessert, creating a chocolate-covered spoon.
Pro Kitchen Tricks
- Tempering your chocolate can give it a professional finish. This involves heating and cooling the chocolate to create a stable crystal structure that sets with a smooth, glossy finish.
- For easier removal of the chocolate shell from the spoons, lightly grease the spoons with cooking spray before inserting them into the chocolate mixture.
- Use high-quality chocolate for the best flavor. While it might be more expensive, the difference in taste and texture is noticeable.
Storage Tips
- Store your chocolate magic shell in an airtight container in the refrigerator for up to 3 days. Let it come to room temperature before serving for the best taste and texture.
- For longer storage, consider freezing. Place the servings in a freezer-safe bag or container and freeze for up to 2 months. Thaw in the refrigerator overnight before serving.
- When storing, keep the chocolate away from direct sunlight and heat sources to prevent melting or softening.
Gift Packaging Ideas
This dessert makes for a unique and thoughtful gift, especially for chocolate lovers. Consider packaging each serving in decorative cups or jars, topped with a ribbon or gift tag. For a more personalized touch, you can add a handwritten note or a small decorative spoon on top of each serving. If gifting a large serving, a beautifully decorated bowl or platter can make the presentation even more appealing.
Flavor Variations
- Different spices: Add a pinch of cinnamon, nutmeg, or cayenne pepper to give your chocolate a unique twist.
- Creative toppings: Use different types of nuts, dried fruits, or even candy pieces to add texture and flavor contrast.
- Ingredient swaps: Replace heavy cream with a non-dairy milk for a vegan version, or use carob for a chocolate-free alternative.
Troubleshooting
- Texture problems: If your chocolate becomes too thin, it may be due to overheating. Try cooling it down and re-whipping it. If it’s too thick, you can warm it slightly.
- Ingredient replacements: Always consider the flavor and texture you’re replacing when substituting ingredients. For example, if replacing nuts with seeds, choose seeds that provide a similar crunch.
- Over/undercooking signs: Since this recipe involves melting chocolate, be careful not to overheat it. Undercooking won’t be an issue with chocolate, but ensure your mix-ins are evenly distributed for the best texture.
FAQs
- Can I freeze it? Yes, you can freeze your chocolate magic shell for up to 2 months. Thaw in the refrigerator overnight before serving.
- Is it gluten-free? Yes, this recipe is naturally gluten-free, making it suitable for those with gluten intolerance or sensitivity.
- Can I double the recipe? Absolutely, you can double or even triple the recipe if you’re serving a larger crowd. Just ensure you have enough spoons and serving cups.
Conclusion
Creating a homemade chocolate magic shell recipe with spoons in it is a fun and creative project that can be enjoyed by the whole family. With its ease of preparation, rich flavors, and the excitement of discovering a spoon in your dessert, this recipe is sure to become a favorite. Feel free to experiment with different flavors and ingredients to make it your own, and don’t hesitate to share your creations with friends and family. Whether it’s for a special occasion or just a sweet treat, this dessert is sure to bring smiles and joy to all who try it.