What’s the secret to making Christmas cookies truly unforgettable? It’s all about the details, like using fresh butter and high-quality sugar to create a tender, homemade treat. This easy recipe is a family favorite and perfect for a weeknight baking session. Save this idea for your holiday cookie exchange.
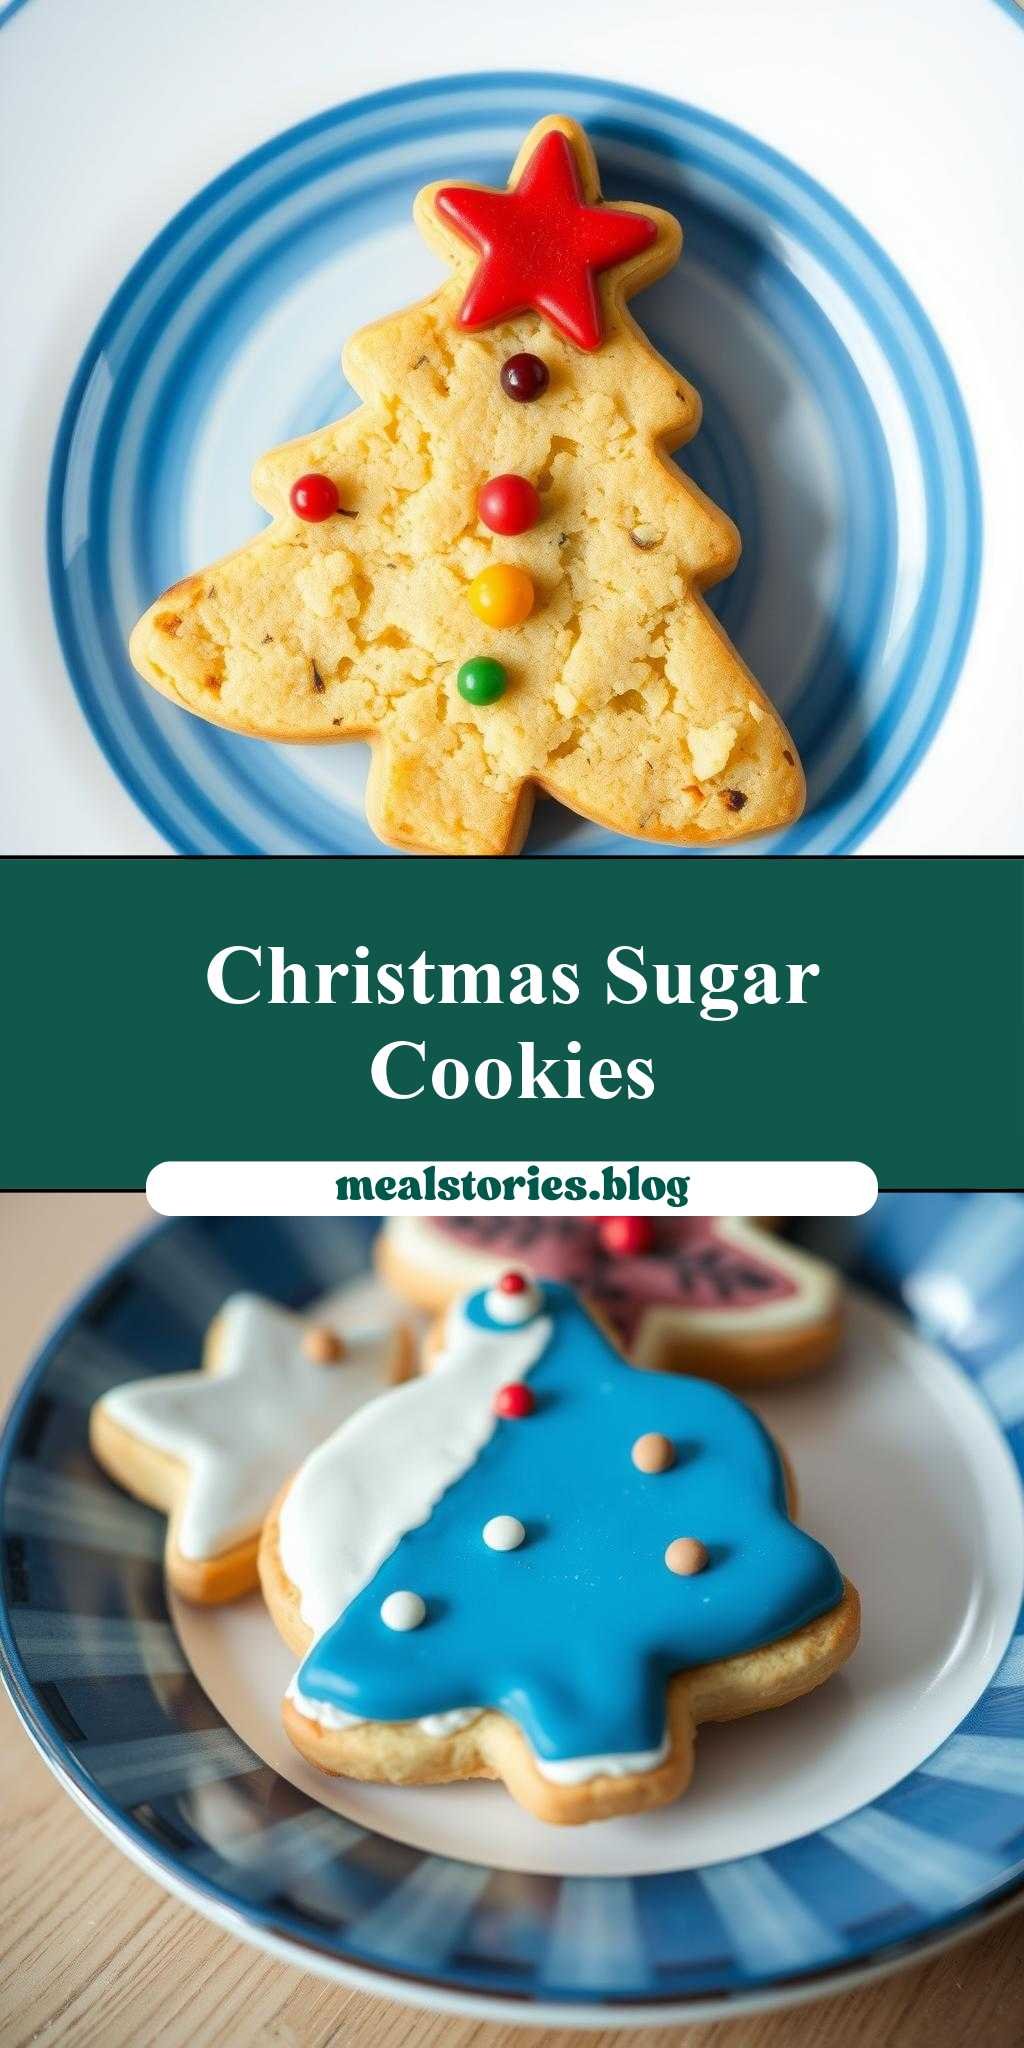
Decorated Christmas Cookies on a Blue and White Plate
Introduction
As the holiday season approaches, one of the most delightful traditions is baking and decorating Christmas cookies. There’s something magical about creating these sweet treats, adorned with frosting and sprinkles, and presenting them on a beautifully set table, such as a blue and white plate. This recipe for decorated Christmas cookies is not only a delight to the taste buds but also a feast for the eyes. With everyday ingredients and a bit of creativity, you can make your holiday gatherings even more special. The best part? It’s surprisingly easy to achieve impressive results with minimal effort, making it perfect for bakers of all skill levels.
Why This Works
- Flavor balance and ingredient accessibility: The combination of butter, sugar, eggs, and flour creates a cookie that is both tender and flavorful, while the use of common pantry ingredients makes it easy to get started.
- Ease of preparation: With a simple dough that comes together quickly, you can focus on the fun part – decorating your cookies.
- Impressive results with minimal effort: The key to beautiful cookies lies in the details of decoration. With a few basic frosting colors and some creative sprinkles, you can turn your cookies into stunning holiday treats.
Key Ingredients
To make these decorated Christmas cookies, you’ll need a few basic ingredients. For the cookies, you’ll need 2 1/4 cups of all-purpose flour, 1 tsp baking powder, 1 tsp baking soda, 1 tsp salt, 1 cup unsalted butter softened, 3/4 cup granulated sugar, 1 egg, and 1 tsp vanilla extract. For the frosting, you’ll need 1 cup powdered sugar, 2 tbsp milk, and food coloring. Practical substitutions can be made, such as using salted butter and omitting the salt, or replacing the granulated sugar with brown sugar for a slightly different flavor.
Instructions
- Step 1: Begin by preheating your oven to 375°F (190°C). Line a baking sheet with parchment paper or a silicone mat. In a medium bowl, whisk together the flour, baking powder, baking soda, and salt. Set aside.
- Step 2: In a large bowl, use an electric mixer to cream together the butter and sugar until light and fluffy. Beat in the egg and vanilla extract until well combined. Gradually mix in the dry ingredients until a dough forms.
- Step 3: On a lightly floured surface, roll out the dough to about 1/4 inch thickness. Use your favorite holiday cookie cutters to cut out shapes. Place the cookies on the prepared baking sheet, leaving about 1 inch of space between each cookie.
- Step 4: Bake for 10-12 minutes, or until the edges are lightly golden. Allow the cookies to cool on the baking sheet for 5 minutes before transferring them to a wire rack to cool completely. Once the cookies are cool, you can start decorating. To make the frosting, whisk together the powdered sugar, milk, and a few drops of food coloring until smooth. Decorate your cookies as desired, using frosting, sprinkles, and other edible decorations.
Handy Tips
- For the best results, make sure your butter is at room temperature before starting. This will help the dough come together smoothly and evenly.
- Don’t overmix the dough, as this can lead to tough cookies. Stop mixing as soon as the ingredients come together in a cohesive ball.
- Experiment with different extracts, like almond or peppermint, to give your cookies a unique flavor.
Heat Control
When baking your cookies, it’s crucial to keep an eye on them to avoid overcooking. The ideal temperature is 375°F (190°C), and the cookies should be baked for 10-12 minutes. They are done when the edges are lightly golden. If you prefer a crisper cookie, bake for 12-14 minutes, but be careful not to overbake.
Crunch Factor
The texture of your cookies can vary based on your preference. For a chewier cookie, bake for 8-10 minutes. For a crisper cookie, bake for 12-14 minutes. The key to achieving the perfect crunch is to not overbake and to let the cookies cool completely before decorating.
Pro Kitchen Tricks
- Chill your dough for 30 minutes to an hour before rolling it out. This will help the cookies retain their shape better during baking.
- Use parchment paper or a silicone mat on your baking sheet to prevent cookies from sticking and to make cleanup easier.
- For a professional-looking finish, use a turntable to display your decorated cookies, and consider using a small pedestal or cake stand to add height to your presentation.
Storage Tips
- Store your decorated cookies in an airtight container at room temperature for up to 5 days. If you won’t be serving them within this time, consider freezing them. Place the cookies in a single layer in a freezer-safe bag or container and freeze for up to 2 months. When you’re ready to serve, thaw at room temperature.
- For longer storage, undecorated cookies can be frozen for up to 3 months. Simply thaw and decorate when needed.
Gift Packaging Ideas
These decorated Christmas cookies are perfect for gifting. Consider packaging them in decorative tins, festive jars, or even cellophane bags tied with ribbon. You can also create a cookie gift basket by arranging the cookies in a basket lined with holiday-themed paper or a festive towel, and adding some candy canes, holly sprigs, or other small decorations.
Flavor Variations
- Different spices: Add a pinch of nutmeg, cinnamon, or cardamom to your dough for a unique flavor twist.
- Creative toppings: Use different types of sprinkles, nonpareils, or even chopped nuts to decorate your cookies.
- Ingredient swaps: Replace the vanilla extract with almond extract for a different flavor profile, or use brown sugar instead of granulated sugar for a deeper flavor.
Troubleshooting
- Texture problems: If your cookies are too hard, they may have been overbaked. If they’re too soft, they might not have been baked long enough.
- Ingredient replacements: If you’re out of a specific ingredient, consider substitutions. For example, you can use salted butter and omit the salt called for in the recipe.
- Over/undercooking signs: Keep an eye on your cookies while they’re baking. They’re done when the edges are lightly golden. If they start to darken too quickly, they might be overcooking.
FAQs
- Can I freeze it? Yes, you can freeze both decorated and undecorated cookies. Undecorated cookies can be frozen for up to 3 months, and decorated cookies can be frozen for up to 2 months.
- Is it gluten-free? No, this recipe uses wheat flour and is not gluten-free. However, you can experiment with gluten-free flours to make a gluten-free version.
- Can I double the recipe? Yes, you can easily double or even triple this recipe if you’re making cookies for a large group. Just be sure to use a larger baking sheet to accommodate the additional cookies.
Conclusion
Making decorated Christmas cookies is a fun and rewarding holiday activity that combines creativity with delicious flavors. With these simple steps and handy tips, you can create beautiful and tasty cookies to enjoy with your family and friends or to give as gifts. Don’t be afraid to experiment with different flavors and decorations to make your cookies truly special. Happy baking, and warmest wishes for a joyous holiday season!