What makes the perfect dessert even better? Adding Oreos on top of a moist homemade cake, that’s what. This easy treat is a game changer for any weeknight dinner, and with its simple ingredients like Oreos and rich chocolate, you’ll be making it again and again. Save this idea for your next family favorite dessert.
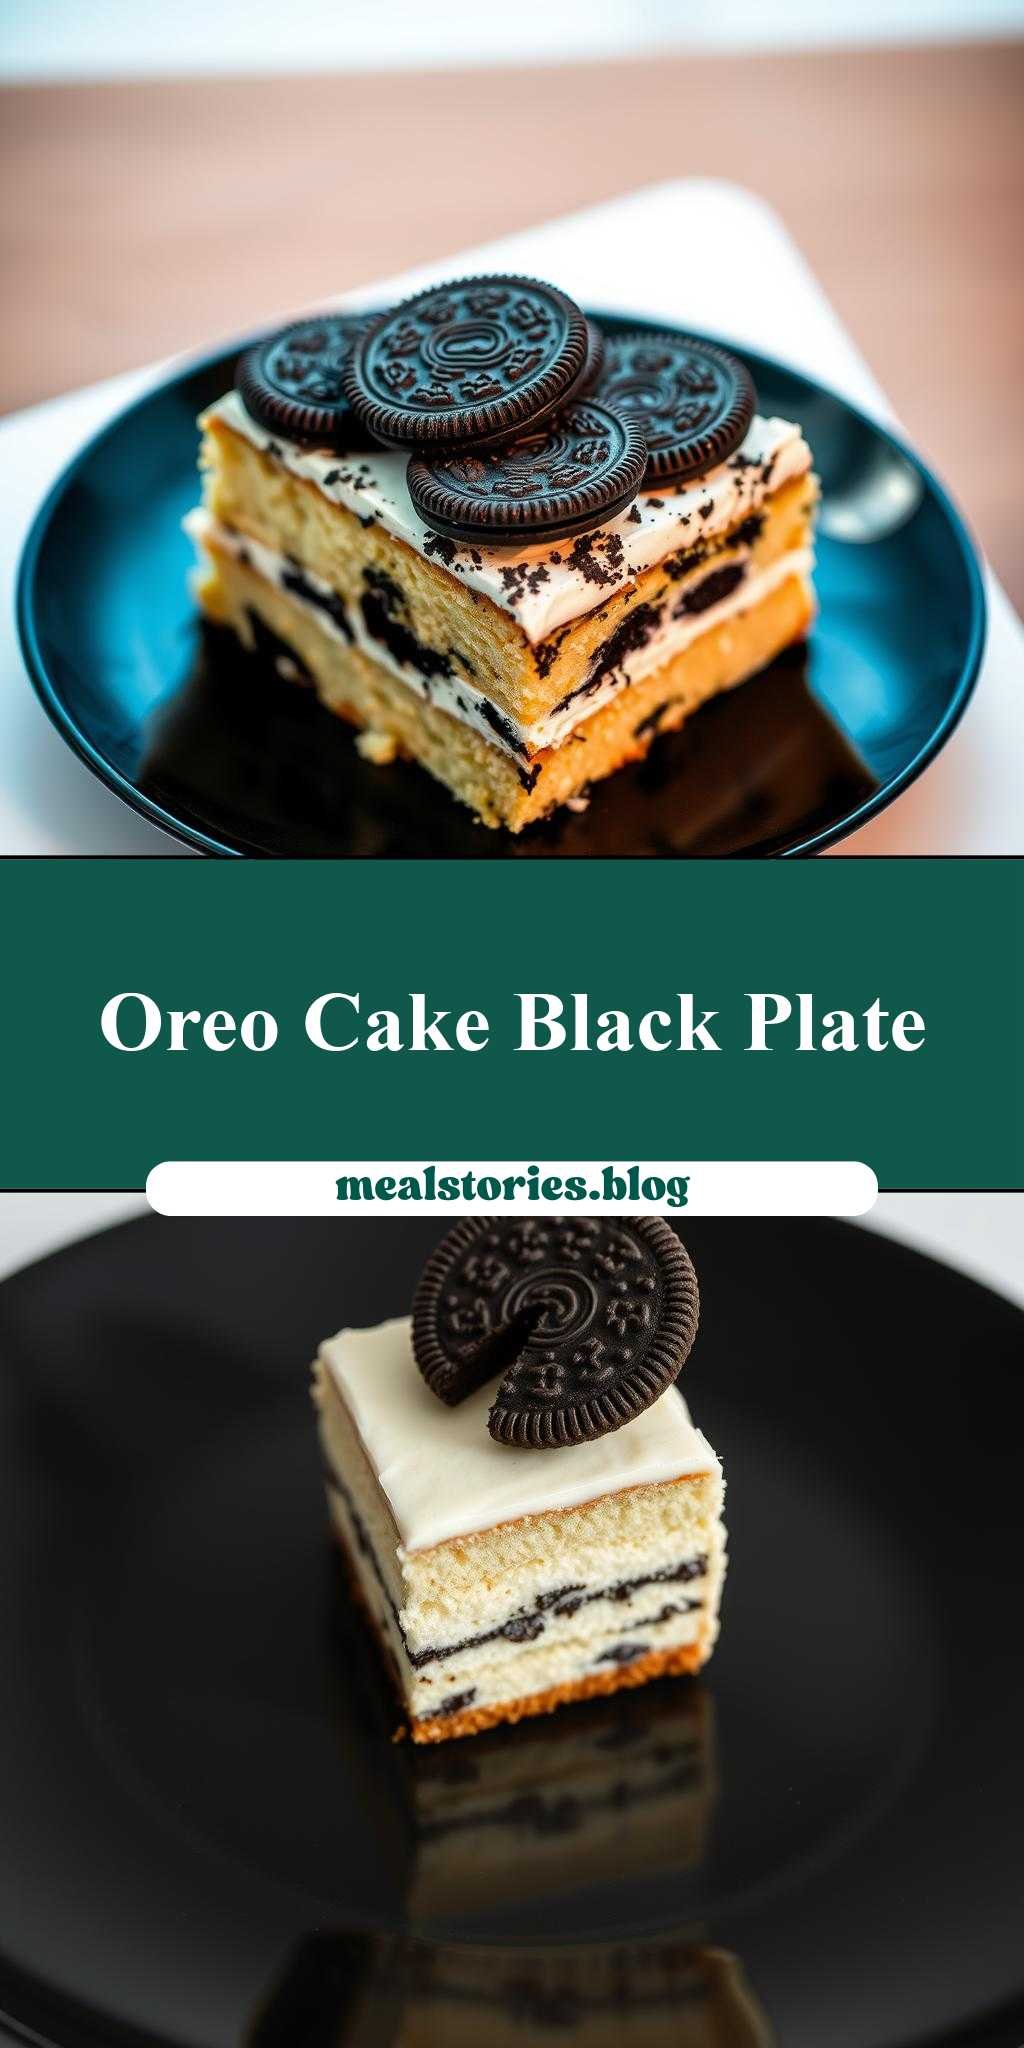
a piece of cake with oreo cookies on top is sitting on a black plate
Introduction
This delectable dessert combines the simplicity of a moist cake with the crunch and flavor of Oreo cookies, all presented elegantly on a black plate. The beauty of this recipe lies in its ease of preparation, the balance of flavors, and the creativity it allows by using everyday ingredients. Whether you’re a seasoned baker or a beginner in the kitchen, this cake is sure to impress with its simplicity and delightful taste. The contrast between the soft cake and the crunchy Oreo cookies creates a delightful texture experience, making each bite a pleasure. This recipe is perfect for those looking to indulge in a sweet treat without spending hours in the kitchen.
Why This Works
- Flavor balance and ingredient accessibility: The cake’s basic ingredients are readily available, and the addition of Oreo cookies adds a familiar and beloved flavor, ensuring the dessert appeals to a wide range of tastes.
- Ease of preparation: The cake mix can be prepared quickly, and the topping of Oreo cookies requires no cooking, making this a fast and efficient dessert to prepare.
- Impressive results with minimal effort: Despite its simplicity, the presentation of a piece of cake topped with Oreo cookies on a black plate is visually appealing and can easily be dressed up for special occasions or events.
Key Ingredients
The main ingredients for this dessert include a basic cake mix (which can be homemade or store-bought), Oreo cookies, and any desired additional toppings such as whipped cream or chocolate shavings. For the cake, you will need flour, sugar, eggs, and butter or oil. The Oreo cookies serve as a topping and can be crushed or left whole, depending on the desired texture and presentation. Practical substitutions can include using different types of cookies for the topping or adding nuts, fruit, or caramel sauce to the cake for added flavor and texture.
Instructions
- Step 1: Begin by preheating your oven to the temperature specified on the cake mix box (usually 350°F) and prepare your baking pans. If making the cake from scratch, measure out your ingredients according to your recipe.
- Step 2: Mix the cake batter according to the instructions on the box or your recipe. Pour the batter into your prepared pans and bake until a toothpick inserted into the center comes out clean. Let the cake cool completely before proceeding.
- Step 3: Once the cake is cool, you can start decorating. Place a piece of cake on a black plate. Open a package of Oreo cookies and decide how you want to arrange them on top of the cake. You can leave them whole for a more rustic look or crush them for a textured topping.
- Step 4: Final touches can include adding whipped cream around the base of the cake, drizzling with chocolate sauce, or sprinkling with powdered sugar. This step allows you to get creative and make the dessert your own.
Handy Tips
- To ensure your cake is moist, don’t overmix the batter and make sure not to overbake. This will help maintain the cake’s texture and prevent it from becoming dry.
- For an extra crunchy topping, consider dipping the Oreo cookies in melted chocolate before placing them on the cake. This adds an extra layer of flavor and texture.
- Always let your cake cool completely before decorating to prevent any toppings from melting or sliding off.
Heat Control
If you’re baking the cake from scratch, it’s crucial to maintain the right oven temperature and baking time to achieve the perfect doneness. Most cakes are done when they’re lightly golden on top and a toothpick inserted into the center comes out clean. The ideal temperature is usually around 350°F, and baking times can vary from 20 to 40 minutes, depending on the size of your cake and your oven’s efficiency.
Crunch Factor
The crunch factor in this dessert comes primarily from the Oreo cookies on top. To enhance this, you can crush the cookies into smaller pieces or even blend them into a fine crumb to sprinkle over the cake. For an added crunch, consider sprinkling chopped nuts over the top of the cake as well. The contrast between the soft cake and crunchy topping is what makes this dessert so appealing.
Pro Kitchen Tricks
- To ensure your cake releases easily from the pan, grease the pan thoroughly with butter or cooking spray and coat with a thin layer of flour, tapping out any excess.
- For a professional finish, consider investing in a turntable for displaying your cake and a cake stand to elevate it, making it a centerpiece for any gathering.
- Keep your cake fresh by storing it in an airtight container at room temperature or in the fridge, depending on the cake’s ingredients and the ambient temperature.
Storage Tips
- Leftover cake should be stored in an airtight container to maintain freshness. If the cake contains dairy products or has a high moisture content, it’s best stored in the refrigerator.
- Reheating tips: If your cake is stored in the fridge, let it come to room temperature before serving, or lightly warm it in the microwave or oven if desired.
- The shelf life of the cake depends on its ingredients and storage conditions but generally can last a few days at room temperature or up to a week when refrigerated.
Gift Packaging Ideas
This dessert makes a wonderful gift, especially for birthdays or as a thank-you gesture. Consider placing a slice or the whole cake in a decorative tin or box. Wrap the box in colorful paper or a gift bag and tie with a ribbon. For a more personalized touch, include a handwritten note or card with the gift. If you’re gifting just the Oreo cookies, you can fill a mason jar with them and attach a gift tag with a note suggesting they be used as a topping for a favorite dessert.
Flavor Variations
- Different spices: Try adding a pinch of cinnamon, nutmeg, or cardamom to the cake batter for a unique flavor twist.
- Creative toppings: Besides Oreo cookies, consider using other types of cookies, nuts, dried fruits, or even candy pieces to top your cake.
- Ingredient swaps: For a gluten-free version, use gluten-free flour. You can also substitute sugar with honey or maple syrup for a different flavor profile.
Troubleshooting
- Texture problems: If your cake turns out too dry, it may have been overbaked. If it’s too wet, it might not have been baked long enough.
- Ingredient replacements: Always read the labels and instructions when substituting ingredients, especially if you’re using a store-bought mix, to ensure you’re using the right proportions and types of ingredients.
- Over/undercooking signs: Keep an eye on your cake while it’s baking. It’s done when it’s lightly golden on top and a toothpick inserted comes out clean. Avoid opening the oven door too frequently, as this can cause the cake to sink.
FAQs
- Can I freeze it? Yes, you can freeze the cake before decorating. Wrap it tightly in plastic wrap or aluminum foil and place it in a freezer-safe bag. Frozen cake can be thawed at room temperature or refrigerated overnight.
- Is it gluten-free? The gluten content depends on the type of flour used in the cake. For a gluten-free version, use gluten-free flour and ensure all other ingredients are gluten-free as well.
- Can I double the recipe? Yes, you can double the recipe to make a larger cake. Just remember to adjust the baking time accordingly, as a larger cake will take longer to bake through.
Conclusion
This recipe for a piece of cake with Oreo cookies on top is a versatile and delicious dessert option that can be tailored to suit various tastes and occasions. With its ease of preparation, impressive presentation, and the joy of combining familiar flavors, this dessert is sure to become a favorite. Feel free to experiment with different toppings and ingredients to make it your own, and don’t hesitate to share your creations with friends and family. Whether you’re a baking novice or an experienced chef, this simple yet satisfying dessert is a great way to indulge in something sweet without spending too much time in the kitchen.