What happens when multiple decadent cheesecakes come together in one stunning dessert tower, featuring a rich homemade graham cracker crust and creamy cream cheese filling, perfect for a quick and easy weeknight dinner party treat, Save this idea
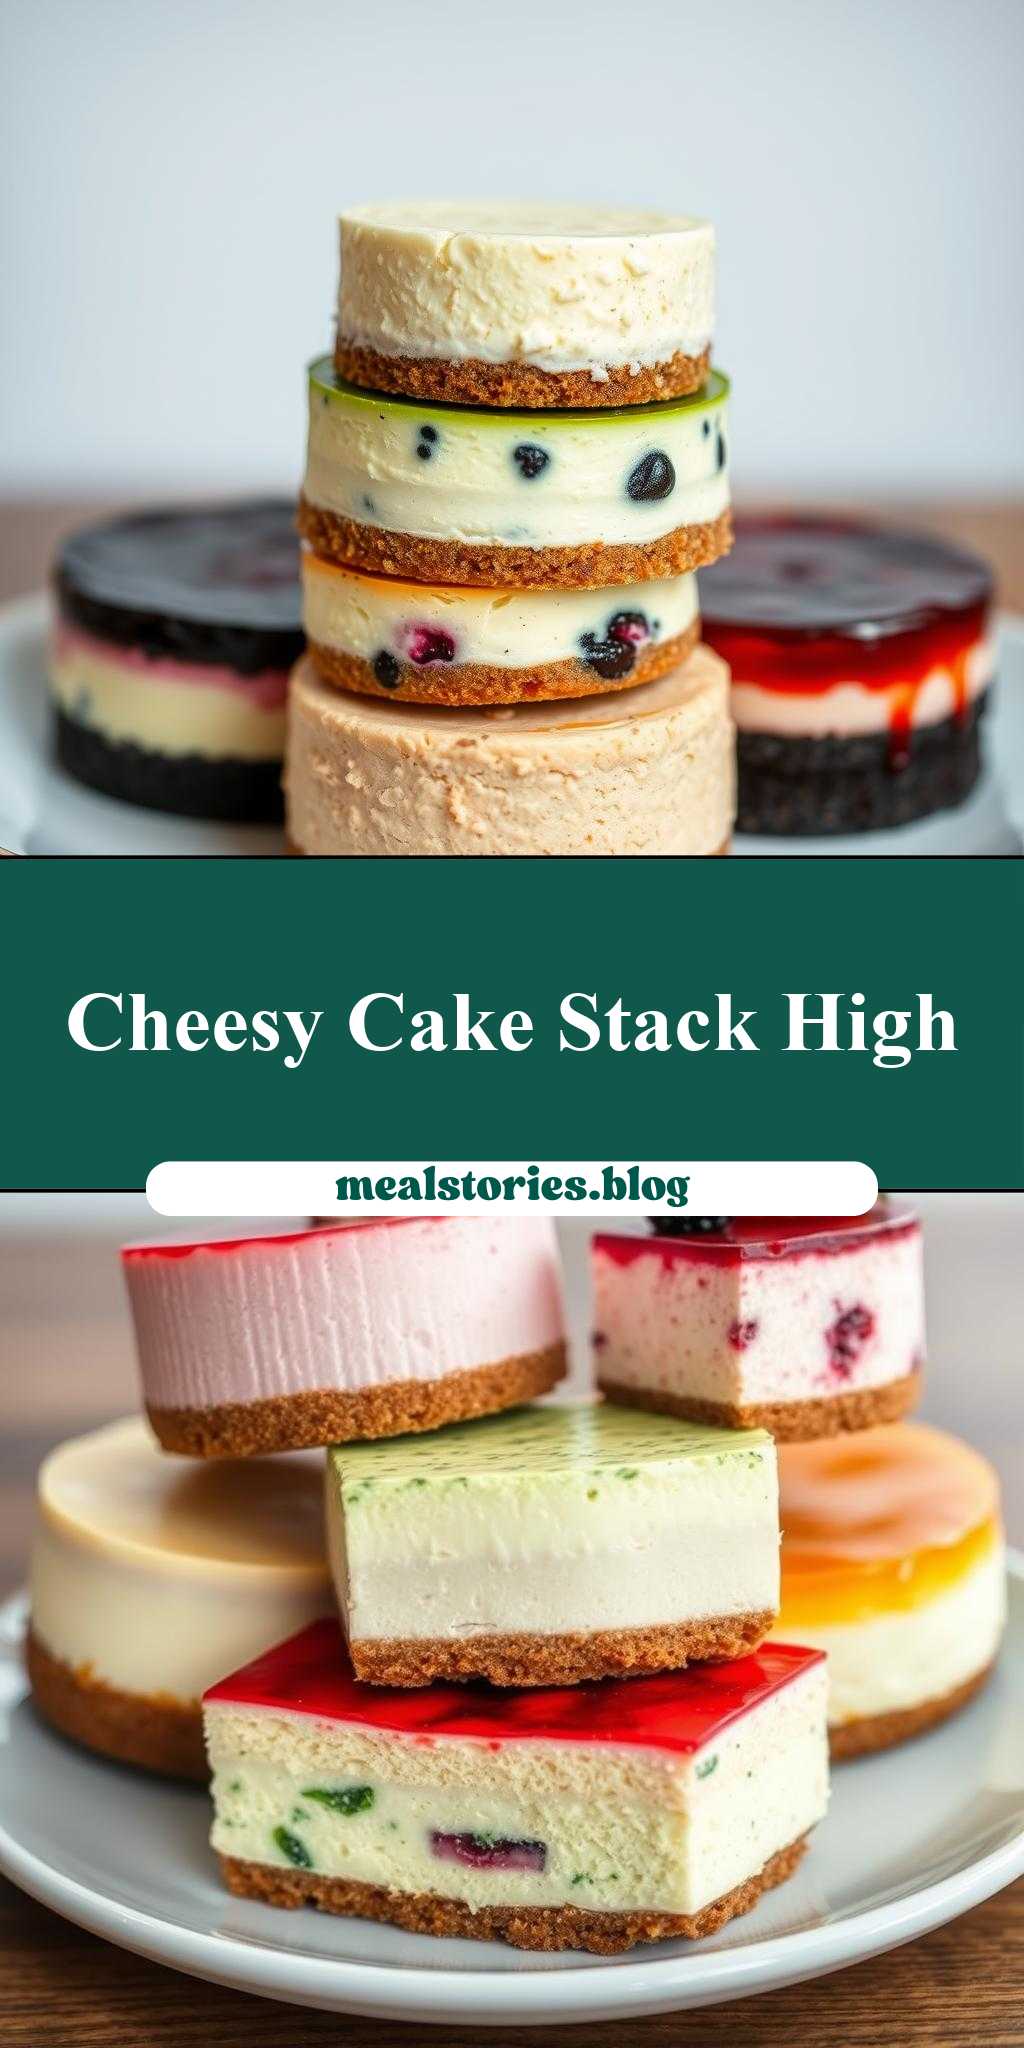
Several Different Types of Cheesecakes Sitting on Top of Each Other
Introduction
Imagine a dessert that combines the richness of multiple cheesecakes, each with its unique flavor profile, stacked elegantly on top of each other. This show-stopping dessert is not just a feast for the eyes but also a symphony of flavors and textures that will leave your guests in awe. The best part? It’s surprisingly easy to make, using everyday ingredients that you might already have in your pantry. With a little creativity and some basic baking skills, you can create a masterpiece that will be the centerpiece of any dinner party or special occasion. In this article, we’ll guide you through the process of making several different types of cheesecakes sitting on top of each other, from the preparation of the ingredients to the final presentation.
Why This Works
- Flavor balance and ingredient accessibility: By choosing complementary flavors for each cheesecake, you can create a harmonious balance of tastes that will delight your palate. Moreover, using readily available ingredients makes this dessert accessible to anyone, regardless of their location or budget.
- Ease of preparation: Despite its impressive appearance, this dessert is relatively easy to prepare. Each cheesecake can be made individually and then stacked, allowing you to manage your time and effort efficiently.
- Impressive results with minimal effort: The stacking of multiple cheesecakes creates a dramatic effect that belies the simplicity of the preparation process. With a few clever tricks and presentation techniques, you can achieve a professional-looking dessert without needing to be a skilled pastry chef.
Key Ingredients
The key to making great cheesecakes is using high-quality ingredients. For the crust, you’ll need graham cracker crumbs, sugar, and melted butter. For the cheesecake batter, you’ll need cream cheese, eggs, granulated sugar, sour cream, and vanilla extract. Depending on the flavor profile you’re aiming for, you might also need additional ingredients such as melted chocolate, fruit purees, or nuts. Practical substitutions can be made for some ingredients; for example, you can use other types of crackers for the crust or substitute sour cream with Greek yogurt. However, it’s essential to use high-quality cream cheese and real vanilla extract to get the! best flavor out of your cheesecakes.
Instructions
- Step 1: Begin by preparing your ingredients. Chop any nuts or fruits you plan to use, measure out your dry ingredients, and soften your cream cheese to room temperature. This step is crucial for ensuring that your cheesecakes bake evenly and have the right texture.
- Step 2: Cook or mix the base ingredients for each cheesecake. This typically involves making the crust by mixing the graham cracker crumbs with sugar and melted butter, and then pressing the mixture into the bottom of your baking pans. For the cheesecake batter, you’ll need to beat the cream cheese until it’s smooth, add the eggs one at a time, and then mix in the sugar, sour cream, and vanilla extract.
- Step 3: Layer flavors or textures. This is where you can get creative with your cheesecakes. You might add melted chocolate to one batter for a chocolate cheesecake, use a fruit puree in another for a fruity twist, or add some chopped nuts for extra texture. The key is to balance your flavors so that each cheesecake complements the others.
- Step 4: Final touches and plating. Once your cheesecakes are baked and cooled, you can start stacking them. Use a little bit of frosting or jam to stick each cheesecake to the one below it, and then decorate the top with fresh fruits, nuts, or chocolate shavings. The presentation is everything, so take your time and have fun with it!
Handy Tips
- One of the most helpful kitchen advice for making cheesecakes is to not overmix the batter. Overmixing can lead to a dense, tough cheesecake that’s not pleasant to eat. Mix your ingredients just until they come together, and then stop mixing.
- Another tip is to use a water bath when baking your cheesecakes. A water bath helps to cook the cheesecakes evenly and prevents them from cracking. To use a water bath, you’ll need to place your cheesecake pans in a larger pan filled with hot water. The water should come about halfway up the sides of the cheesecake pans.
- Finally, don’t be afraid to experiment and try new things. Cheesecakes are very forgiving, and you can substitute different ingredients or try new flavor combinations without too much risk. Just remember to taste as you go and adjust your ingredients accordingly.
Heat Control
If heat is used, it’s crucial to control the temperature and timing to achieve the perfect doneness. For cheesecakes, you’ll typically want to bake them in a preheated oven at 325°F (165°C). The baking time will depend on the size of your cheesecakes, but as a general rule, you’ll want to bake them for about 45-60 minutes, or until the edges are set and the centers are just slightly jiggly. Avoid overbaking, as this can cause your cheesecakes to dry out and crack.
Crunch Factor
The crunch factor in your cheesecakes can come from a variety of sources, including nuts, cookie crumbs, or even candy pieces. To achieve the right crunch, you can add your crunchy ingredients to the batter before baking, or use them as a topping after the cheesecakes have cooled. If you’re using nuts, you might want to toast them in a pan before adding them to your cheesecakes to bring out their flavor and texture.
Pro Kitchen Tricks
- One expert tip for making cheesecakes is to use a high-quality pan that will help your cheesecakes to bake evenly and prevent them from sticking. A springform pan is ideal for cheesecakes, as it allows you to remove the cheesecakes easily once they’ve cooled.
- Another trick is to use a variety of flavor extracts to add depth and complexity to your cheesecakes. Vanilla is a classic choice, but you might also consider using almond, lemon, or orange extracts to create unique and interesting flavor combinations.
- Finally, don’t underestimate the power of presentation. Your cheesecakes should be visually appealing, so take the time to decorate them with fresh fruits, nuts, or chocolate shavings. You can also use frosting or jam to add color and texture to your cheesecakes.
Storage Tips
- Once your cheesecakes are cooled and stacked, you’ll need to store them in the refrigerator to keep them fresh. Wrap your cheesecakes tightly in plastic wrap or aluminum foil, and store them in the fridge for up to 5 days.
- If you want to freeze your cheesecakes, you can do so by wrapping them tightly in plastic wrap or aluminum foil and placing them in a freezer-safe bag. Frozen cheesecakes will keep for up to 2 months. To thaw, simply leave your cheesecakes in the fridge overnight or at room temperature for a few hours.
- When it comes to reheating your cheesecakes, you can do so in the microwave or oven. If using the microwave, heat your cheesecakes on high for 10-15 seconds, or until they’re warmed through. If using the oven, heat your cheesecakes at 350°F (180°C) for 5-10 minutes, or until they’re warmed through.
Gift Packaging Ideas
If you’re giving your cheesecakes as a gift, you’ll want to package them in a way that’s visually appealing and protective of the dessert. Consider using a decorative cake box or a gift tin, and fill any empty spaces with packing materials like bubble wrap or paper filler. You can also add a personal touch by including a gift note or a sprinkle of decorative toppings like edible flowers or chocolate shavings.
Flavor Variations
- Different spices: Consider adding a pinch of cinnamon, nutmeg, or cardamom to your cheesecake batter for a unique and interesting flavor combination.
- Creative toppings: Use fresh fruits, nuts, or candy pieces to add texture and flavor to your cheesecakes. You can also use frosting or jam to add color and sweetness.
- Ingredient swaps: Don’t be afraid to substitute different ingredients in your cheesecake batter to create new and interesting flavor combinations. For example, you could use almond flour instead of graham cracker crumbs, or substitute sour cream with Greek yogurt.
Troubleshooting
- Texture problems: If your cheesecakes are too dense or dry, it may be because you overmixed the batter or overbaked the cheesecakes. Try adjusting your mixing time or baking temperature to achieve a lighter, fluffier texture.
- Ingredient replacements: If you’re missing an ingredient or want to substitute something new, don’t be afraid to experiment. Just remember to taste as you go and adjust your ingredients accordingly.
- Over/undercooking signs: If your cheesecakes are overcooked, they may be dry and cracked. If they’re undercooked, they may be jiggly or soft in the center. Adjust your baking time and! temperature accordingly to achieve the perfect doneness.
FAQs
- Can I freeze it? Yes, you can freeze your cheesecakes for up to 2 months. Simply wrap them tightly in plastic wrap or aluminum foil and place them in a freezer-safe bag.
- Is it gluten-free? Depending on the ingredients you use, your cheesecakes may be gluten-free. Be sure to check the labels on your ingredients, and consider using gluten-free flours or substitutes if necessary.
- Can I double the recipe? Yes, you can double the recipe to make more cheesecakes. Simply multiply all the ingredients by two and adjust your baking time and temperature accordingly.
Conclusion
Making several different types of cheesecakes sitting on top of each other is a fun and rewarding project that’s perfect for special occasions or everyday desserts. With a little creativity and some basic baking skills, you can create a masterpiece that will impress your friends and family. Don’t be afraid to experiment and try new things – and most importantly, have fun with it! Whether you’re a seasoned baker or a beginner in the kitchen, this dessert is sure to become a new favorite. So go ahead, get baking, and enjoy the oohs and aahs as you present your stunning cheesecake stack.