What makes a perfect breakfast spread? Flaky homemade pastries filled with sweet and savory goodness, baked to perfection using simple ingredients like butter and fresh fruit. Try making these easy treats for a quick weeknight dinner or family favorite dessert. Save this idea for a delicious meal anytime.
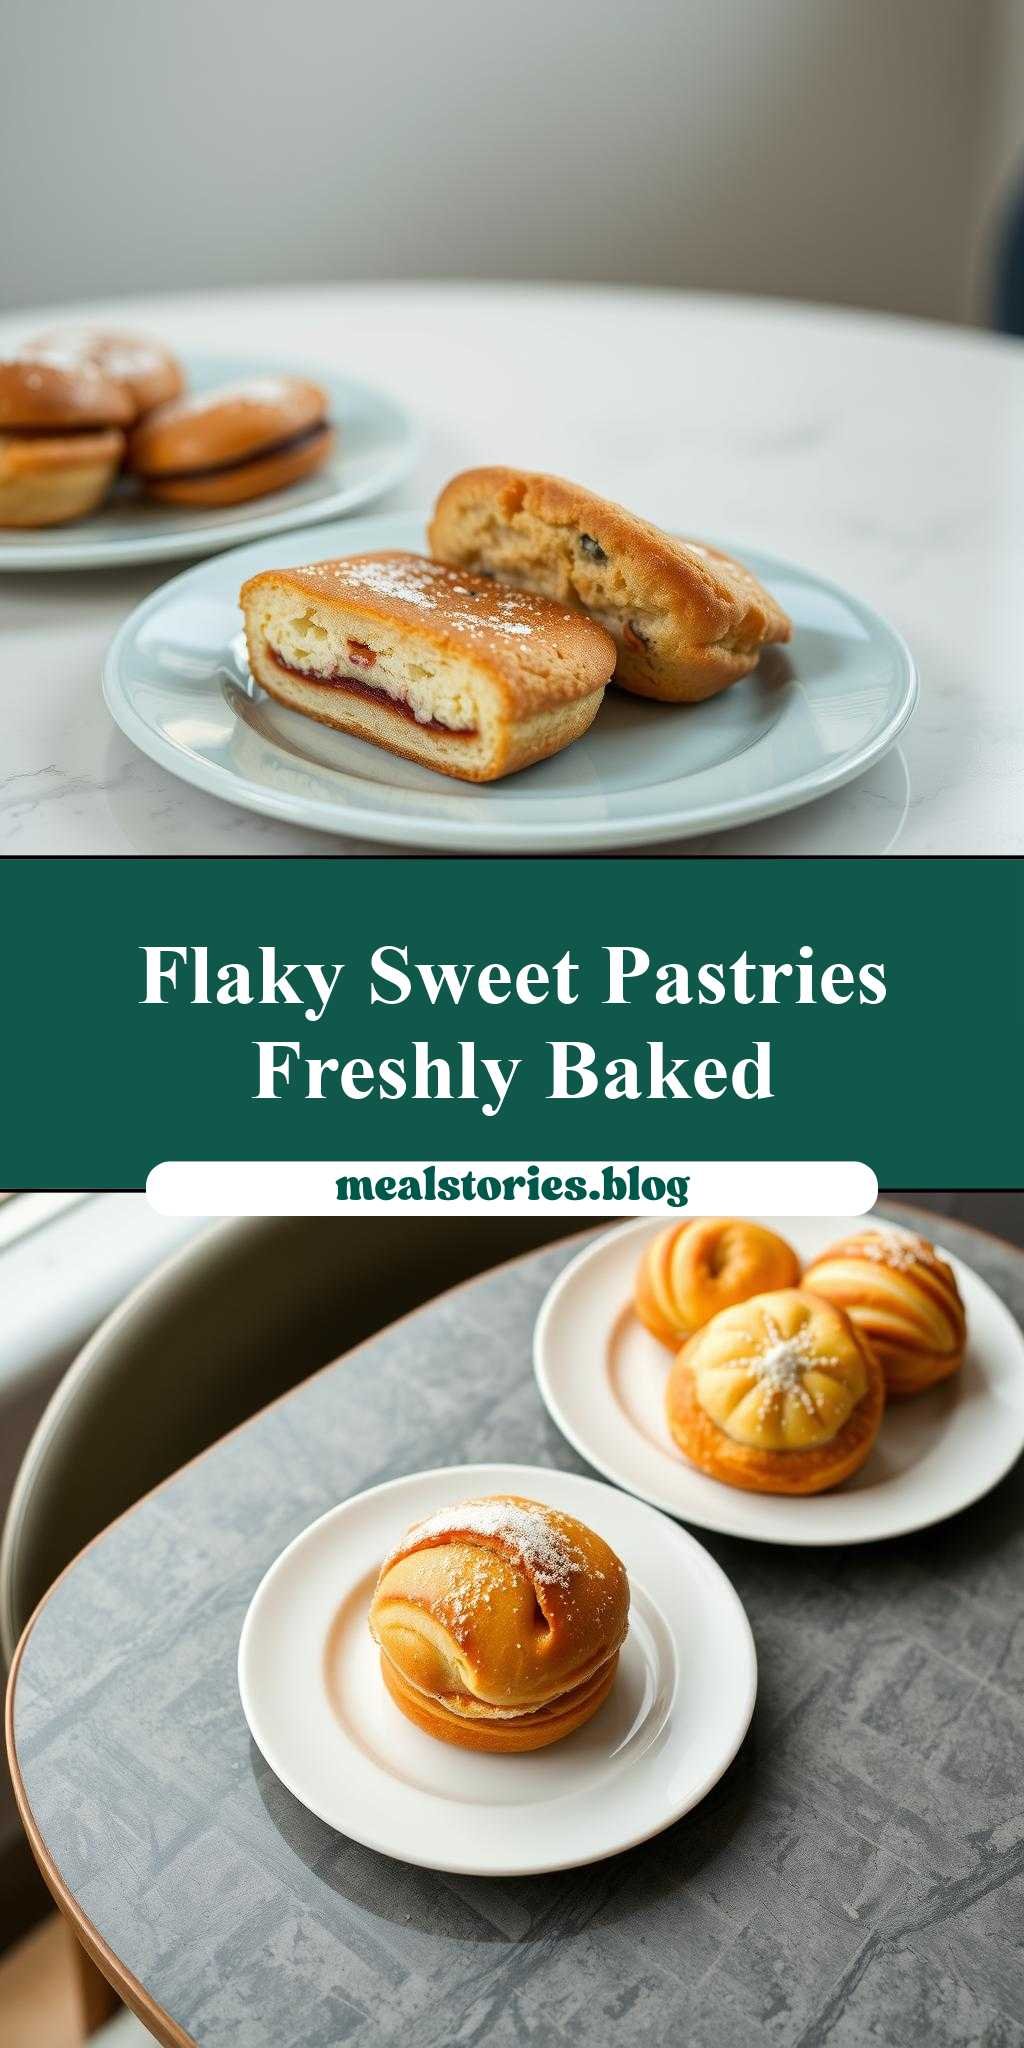
two plates filled with pastries on top of a table
Introduction
Imagine stepping into a cozy bakery, surrounded by the sweet aroma of freshly baked pastries. With this recipe, you can recreate that magical experience in the comfort of your own home. Our focus is on ease, flavor, and creativity, using everyday ingredients to craft a delicious and visually stunning arrangement of pastries on two plates. Whether you’re a beginner in the kitchen or a seasoned baker, this recipe is designed to guide you through the process with simplicity and clarity, ensuring that your final product is not only delicious but also beautifully presented.
Why This Works
- Flavor balance and ingredient accessibility: The combination of sweet and savory elements, along with the use of readily available ingredients, makes this recipe accessible to everyone.
- Ease of preparation: With straightforward steps and minimal complicated techniques, this recipe is perfect for those looking to spend less time in the kitchen without compromising on taste or presentation.
- Impressive results with minimal effort: Despite its simplicity, the final arrangement of pastries on two plates is sure to impress, making it an ideal choice for gatherings or special occasions.
Key Ingredients
The main ingredients for this recipe include a variety of pastries such as croissants, Danish, and muffins, along with fresh fruits like strawberries, blueberries, and grapes, and a drizzle of honey or chocolate sauce for added flavor. Practical substitutions can be made based on personal preferences and dietary requirements, such as using gluten-free pastry options or replacing dairy products with non-dairy alternatives. The flexibility in ingredient choice allows for creativity and customization, making the recipe adaptable to different tastes and dietary needs.
Instructions
- Step 1: Begin by preparing your pastries. If using frozen pastries, follow the package instructions for thawing. For homemade pastries, ensure they are completely cooled before proceeding.
- Step 2: Arrange a selection of pastries on each plate. Consider mixing different types and sizes to create a visually appealing arrangement.
- Step 3: Add fresh fruits around and on top of the pastries. This not only adds natural sweetness but also pops of color, enhancing the presentation.
- Step 4: Drizzle with honey or chocolate sauce, depending on your preference. This step adds an extra layer of flavor and can help bind the arrangement together visually.
Handy Tips
- To keep your pastries fresh for a longer period, store them in an airtight container at room temperature or freeze them if not using immediately.
- Experiment with different types of fruits and sauces to find your favorite combination.
- Avoid overloading the plates, as this can make the arrangement look cluttered and less appealing.
Heat Control
If you’re baking your pastries from scratch, it’s crucial to control the heat in your oven. Most pastries bake well at a moderate temperature (around 375°F or 190°C). Keep an eye on them to avoid overbaking, which can lead to dryness and an unappealing texture. For store-bought pastries, follow the heating instructions provided on the packaging for the best results.
Crunch Factor
The crunch factor in your pastry arrangement can come from the fresh fruits and the pastry itself. To achieve a nice crunch, ensure that your pastries are baked until golden brown and that your fruits are fresh and firm. Avoid using fruits that are too ripe, as they can become mushy and lose their texture.
Pro Kitchen Tricks
- Use a variety of heights by stacking pastries or using stands to create a more dynamic display.
- Consider the color palette of your arrangement and try to balance warm and cool tones for a visually appealing effect.
- For an extra professional touch, garnish with fresh herbs like mint or rosemary.
Storage Tips
- Store any leftover pastries in an airtight container to maintain freshness.
- Reheat pastries in the oven or microwave if they become stale, but be cautious not to overheat.
- The shelf life of your pastry arrangement will depend on the freshness of the pastries and fruits. Generally, it’s best consumed within a day of preparation.
Gift Packaging Ideas
If you’re considering gifting your pastry arrangement, presentation is key. Use decorative plates or trays, and cover with plastic wrap or place in a gift basket. Adding a ribbon or a gift card with a personal message can make it an even more thoughtful gift. For a more rustic look, consider using wooden boards or wicker baskets, and don’t forget to include a drizzle of sauce or a sprinkle of powdered sugar for an extra touch of elegance.
Flavor Variations
- Different spices: Try adding a pinch of cinnamon or nutmeg to your pastries for a unique flavor twist.
- Creative toppings: Experiment with various nuts, seeds, or even candy pieces to add texture and flavor.
- Ingredient swaps: Replace traditional pastry ingredients with alternatives like almond flour for a gluten-free option or use different types of milk for a non-dairy version.
Troubleshooting
- Texture problems: If your pastries become too dense or hard, check your baking time and temperature. For fruits, ensure they are fresh and stored properly.
- Ingredient replacements: Always read labels and look for substitutes that match the flavor and texture of the original ingredient as closely as possible.
- Over/undercooking signs: Keep an eye on your pastries while they bake. Overcooked pastries will be dry and possibly burnt, while undercooked pastries may be raw in the center.
FAQs
- Can I freeze it? Yes, most pastries can be frozen. However, it’s best to freeze them before arranging, as the freezing process can affect the texture of the fruits and the presentation of the arrangement.
- Is it gluten-free? This depends on the type of pastry used. If using gluten-free pastry options, the arrangement can be gluten-free. Always check the ingredients of store-bought pastries or use gluten-free flours if baking from scratch.
- Can I double the recipe? Yes, you can easily double or triple the recipe based on your needs. Just ensure you have enough plates and ingredients to accommodate the increase.
Conclusion
Creating a stunning arrangement of pastries on two plates is not only a delightful treat for the taste buds but also a feast for the eyes. With its emphasis on ease, flavor, and creativity, this recipe is perfect for anyone looking to impress without spending hours in the kitchen. Feel free to experiment with different pastries, fruits, and sauces to make the recipe your own, and don’t hesitate to share your creations with friends and family. Whether it’s a special occasion or just a cozy afternoon, this pastry arrangement is sure to bring joy and satisfaction to all who indulge in it.