What’s the secret to a perfect snack that’s both wholesome and indulgent? Look no further than these easy homemade granola bars, made with rolled oats and golden syrup, a classic British flapjacks recipe that’s a family favorite, perfect for a quick weeknight treat, save this idea for a healthy breakfast or lunch on the go, try it soon
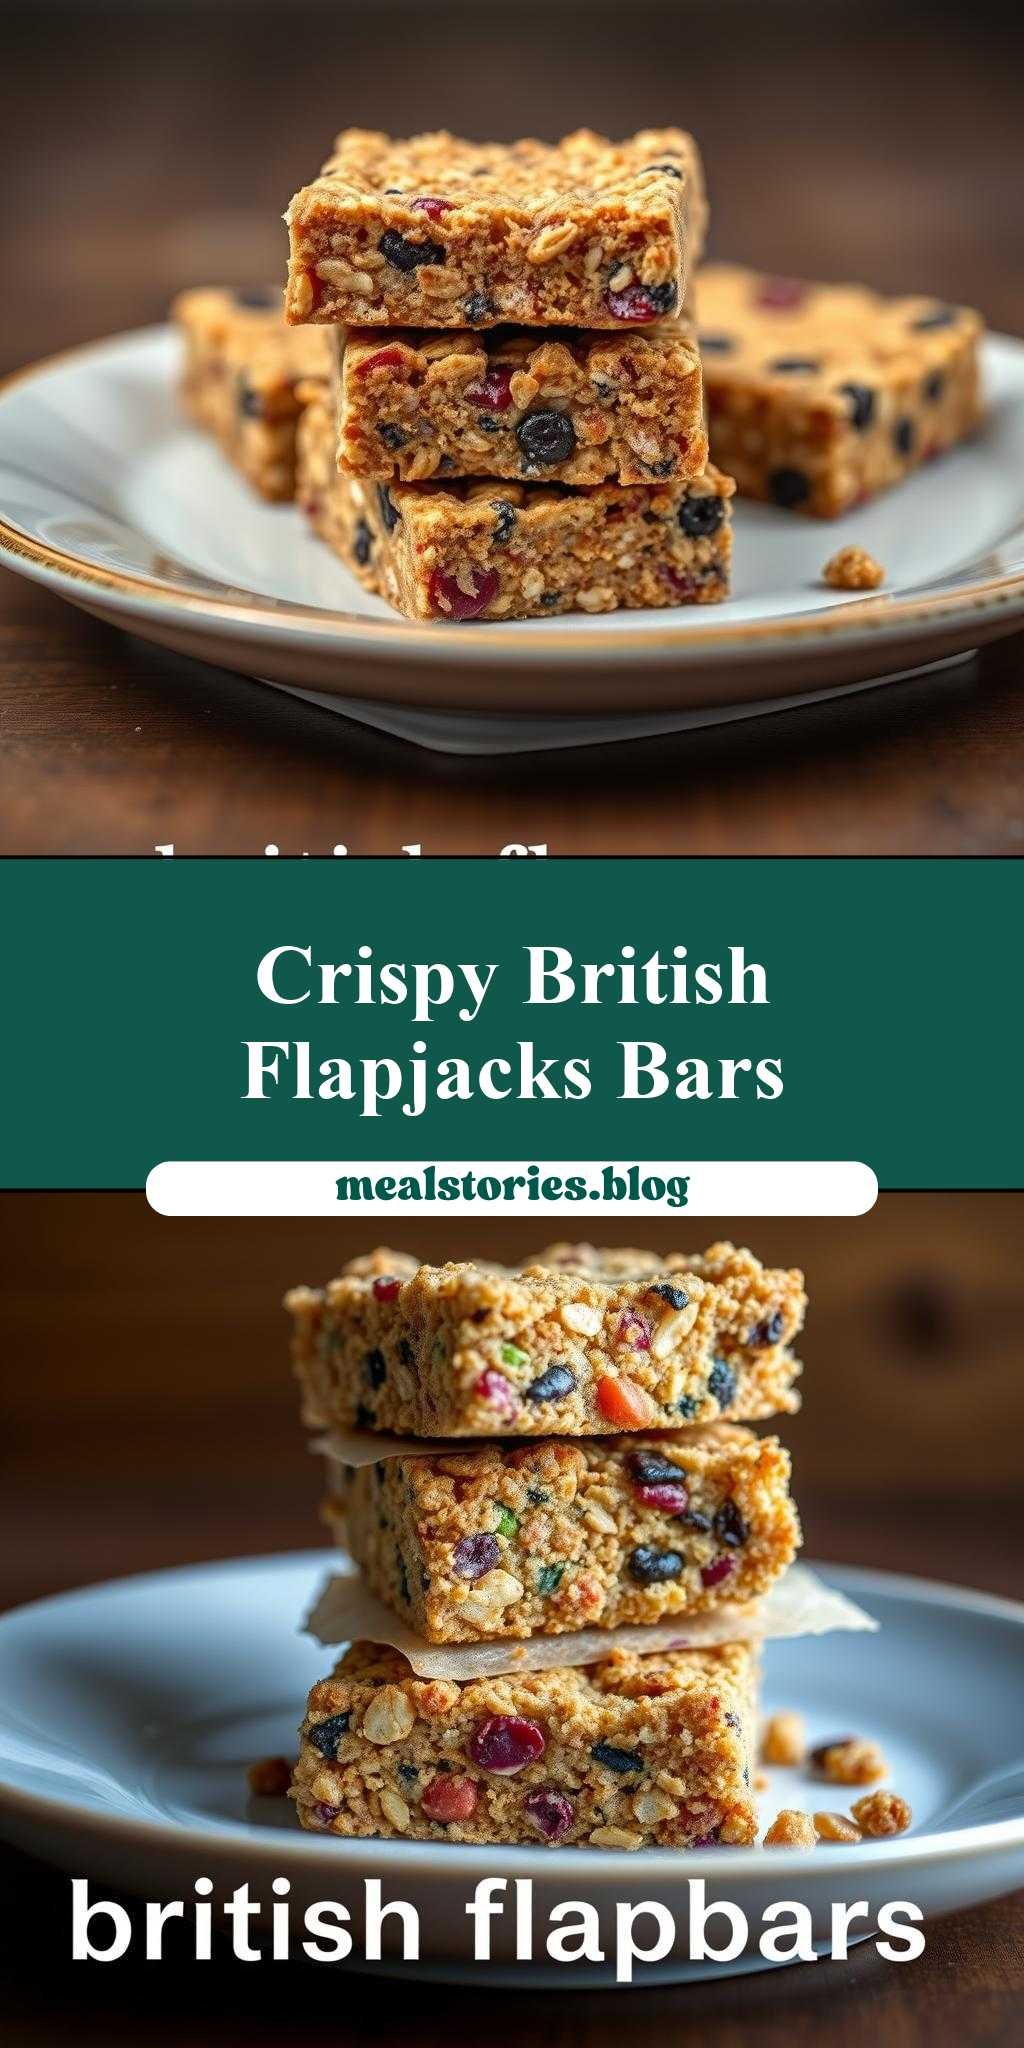
homemade granola bars stacked on top of each other with the words british flapjacks recipe below
Introduction
Imagine sinking your teeth into a crunchy, golden granola bar, packed with the perfect balance of sweet and savory flavors, all made from the comfort of your own kitchen. The beauty of homemade granola bars, or as they’re affectionately known in Britain, flapjacks, lies in their ease of preparation, the flexibility to customize with your favorite ingredients, and the impressive results that require minimal effort. Whether you’re a busy parent looking for a healthy snack for your kids, an athlete seeking a nutritious energy boost, or simply someone who loves to bake, these homemade granola bars are the perfect treat. They’re made with everyday ingredients that are easily accessible, allowing you to get creative and make them your own.
Why This Works
- Flavor balance and ingredient accessibility: The combination of rolled oats, golden syrup, and brown sugar creates a harmonious balance of flavors that is both comforting and delicious. Plus, these ingredients are staples in many kitchens, making it easy to whip up a batch.
- Ease of preparation: The process of making these granola bars is incredibly straightforward. It involves mixing the ingredients together, pressing them into a pan, and letting them set. This simplicity makes it a great activity to do with kids or a quick project for a busy evening.
- Impressive results with minimal effort: Despite the simplicity of the recipe, the end result is impressive. The granola bars are perfect for snacking on the go, packing in lunchboxes, or as a post-workout treat. They’re also a great base for experimenting with different flavors and ingredients, allowing you to create a variety of bars to suit any taste.
Key Ingredients
The main ingredients in these homemade granola bars include rolled oats, which provide a delicious texture and a good source of fiber; golden syrup, which adds a rich, caramel-like flavor; brown sugar, which contributes to the bars’ sweetness and chewiness; and butter, which helps bind the ingredients together. You can also customize your granola bars with nuts, seeds, or dried fruits to add extra texture and flavor. For those looking for substitutions, honey or maple syrup can be used in place of golden syrup, and coconut oil or margarine can replace butter for a dairy-free option.
Instructions
- Step 1: Begin by prepping your ingredients. Measure out the oats, golden syrup, brown sugar, and butter. If using, chop any nuts or seeds you plan to add.
- Step 2: In a large saucepan, melt the butter and golden syrup over low heat, stirring occasionally. Once melted, add the brown sugar and stir until dissolved.
- Step 3: Remove the saucepan from the heat and stir in the rolled oats until they are well coated with the syrup mixture. If using, add your chopped nuts or seeds and stir to combine.
- Step 4: Press the oat mixture into a lined or greased tin. Let it cool and set. Once set, remove from the tin, cut into bars, and your homemade granola bars are ready to eat.
Handy Tips
- To ensure your granola bars hold their shape, don’t overmix the oat mixture, and make sure to press it firmly into the tin.
- Experiment with different combinations of nuts and seeds to find your favorite flavor.
- For an extra crunchy top, broil the bars for a minute or two after they’ve set. Keep an eye on them to prevent burning.
Heat Control
When melting the butter and golden syrup, it’s essential to use low heat to prevent the mixture from burning or becoming too dark. Stir occasionally to ensure everything melts evenly. If you notice the mixture starting to smoke or turn too dark, remove it from the heat immediately.
Crunch Factor
The crunch factor in these granola bars comes from the toasted oats and any nuts or seeds you add. To enhance the crunch, you can toast the oats in a dry pan for a few minutes before making the bars. Be careful not to overtoast, as this can make the oats taste bitter.
Pro Kitchen Tricks
- For cleaner cutting, refrigerate the set granola mixture for about 30 minutes before cutting into bars. This will help the bars hold their shape and prevent them from crumbling.
- Use a sharp knife to cut the bars, and apply gentle pressure to avoid applying too much pressure, which can cause the bars to break.
- Consider using a silicone tin for easier removal of the bars once they’re set.
Storage Tips
- Store your homemade granola bars in an airtight container to keep them fresh. They can be stored at room temperature for up to a week or frozen for up to two months.
- When freezing, consider wrapping each bar individually in plastic wrap or aluminum foil for easy grabbing and going.
- If you find your bars become too soft during storage, try refrigerating them for a few hours to firm them up.
Gift Packaging Ideas
These homemade granola bars make wonderful gifts, especially when packaged thoughtfully. Consider placing a few bars in a decorative tin or jar, wrapping them in colorful paper or cloth, and adding a ribbon or gift tag. For a more personalized touch, you can include a handwritten note with the recipe or a few suggestions for flavor variations.
Flavor Variations
- Different spices: Add a pinch of cinnamon, nutmeg, or ginger to give your granola bars a unique twist.
- Creative toppings: Press some chocolate chips, dried cranberries, or coconut flakes into the top of the granola mixture before it sets for added flavor and texture.
- Ingredient swaps: Use different types of sugar, like muscovado or turbinado, for a distinct flavor, or swap out the butter for a vegan alternative like coconut oil.
Troubleshooting
- Texture problems: If your bars are too crumbly, they might not have been pressed firmly enough into the tin. If they’re too hard, they might have been overcooked.
- Ingredient replacements: Always taste as you go and adjust the sweetness or flavor to your liking. Some ingredients, like nuts or seeds, can be substituted with others of similar texture and flavor.
- Over/undercooking signs: Keep an eye on the color and consistency of your granola mixture. It should be golden brown and hold its shape when pressed. If it’s too light, it might not be set; if it’s too dark, it might be overcooked.
FAQs
- Can I freeze it? Yes, these granola bars can be frozen for up to two months. Wrap each bar individually for the best results.
- Is it gluten-free? Depending on the type of oats used, these granola bars can be gluten-free. Ensure that your oats are labeled as gluten-free to accommodate dietary restrictions.
- Can I double the recipe? Yes, you can easily double or triple this recipe to make more granola bars. Just ensure you have a large enough tin to accommodate the increased volume.
Conclusion
Making your own homemade granola bars is a fun and rewarding process that allows you to create a delicious, healthy snack tailored to your tastes. With these simple steps and handy tips, you’ll be on your way to creating your own signature flapjacks. Don’t be afraid to experiment with different ingredients and flavors to make the recipe your own. Share your creations with friends and family, and enjoy the satisfaction of eating something you’ve made with love and care. Happy baking!