What’s the ultimate treat for chocolate lovers? Rich, fudgy brownies loaded with Nutella and made easy at home. Perfect for a quick weeknight dessert, these homemade brownies are a family favorite. Save this idea for your next baking project and indulge in the gooey chocolate goodness. Try it soon and enjoy every bite of these decadent treats. Pin for later
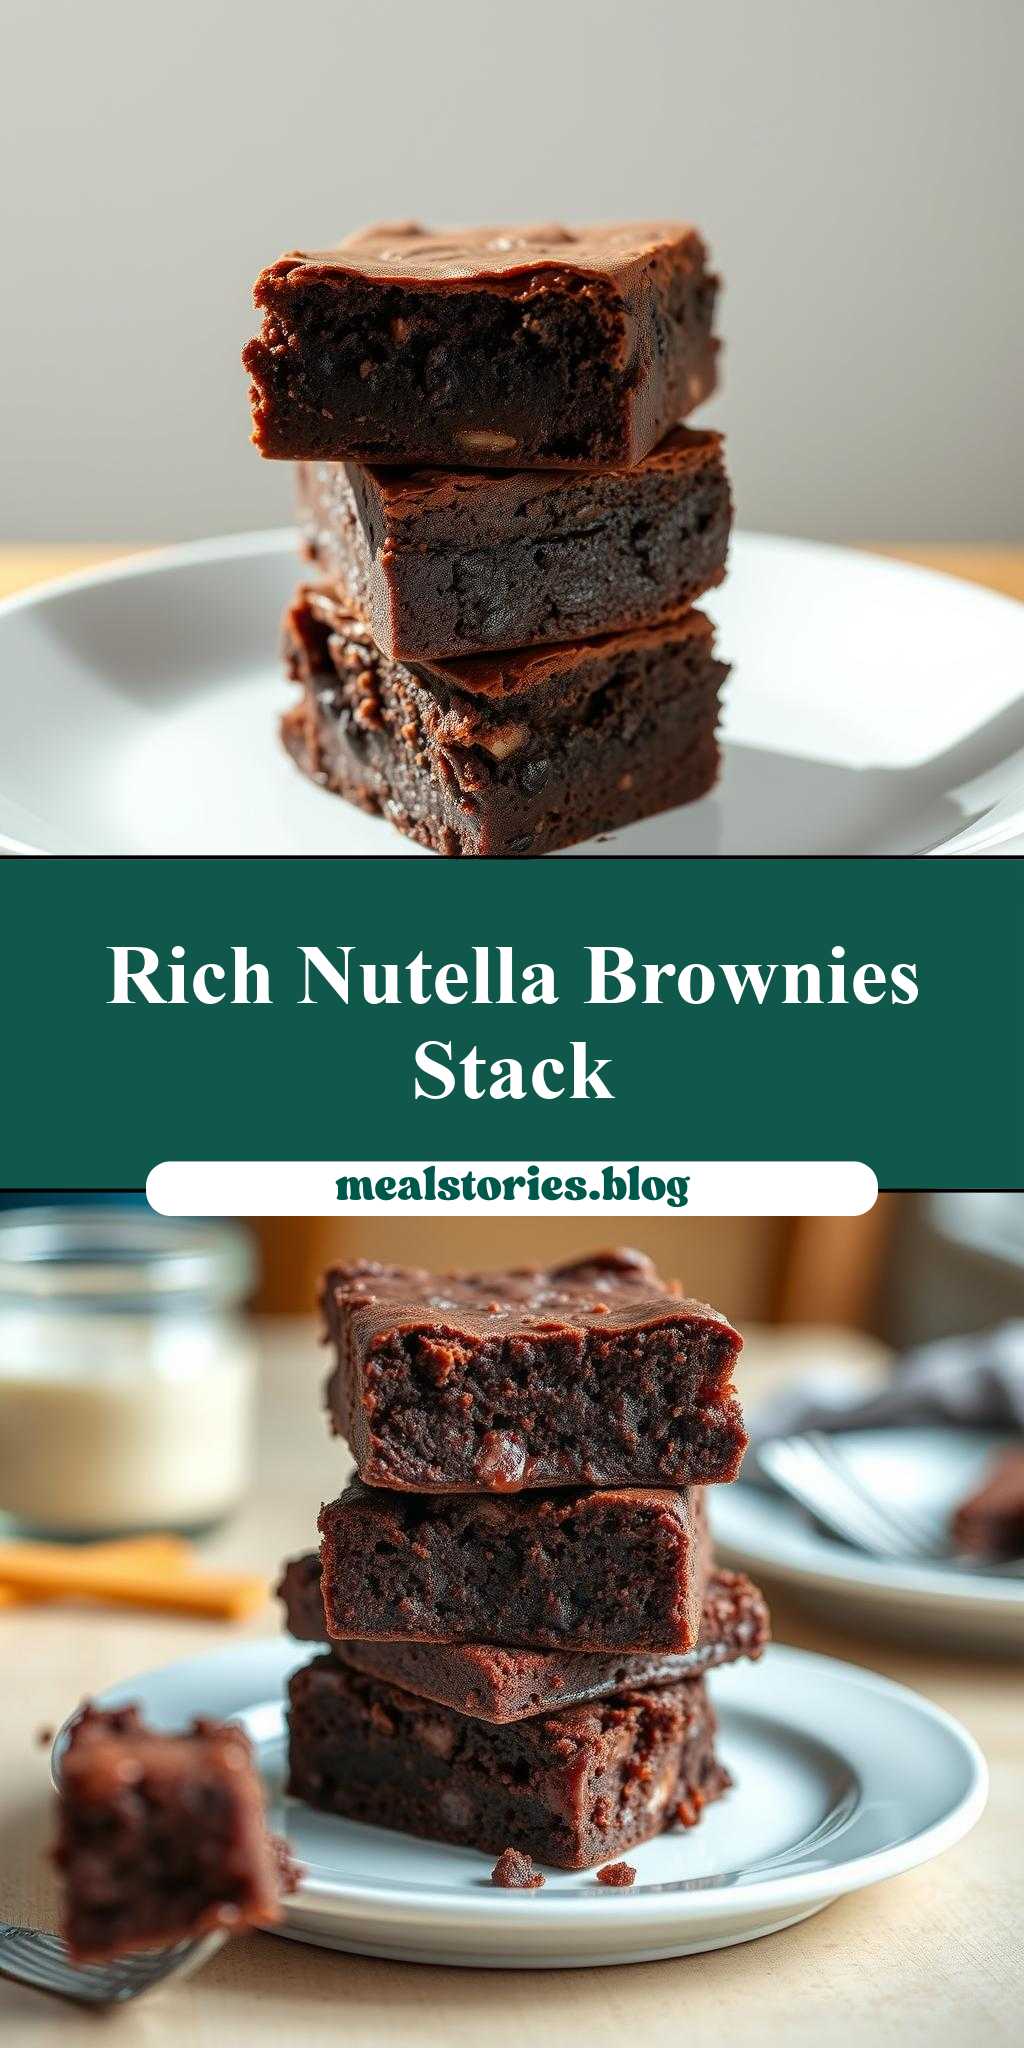
Chocolate Nutella Brownies Stacked on Top of Each Other with the Words Nutella Brownies Above Them
Introduction
Imagine a dessert that combines the richness of chocolate, the decadence of Nutella, and the creativity of stacking brownies on top of each other, all while having the words “Nutella Brownies” elegantly placed above them. This recipe for Chocolate Nutella Brownies is not only a feast for the eyes but also a treat for the taste buds. With the ease of using everyday ingredients and the simplicity of the preparation process, you can create an impressive dessert that is sure to wow your friends and family. The best part? It’s incredibly easy to make and requires minimal effort, making it perfect for both beginners and experienced bakers alike.
Why This Works
- The balance of flavors between the deep, dark chocolate and the creamy, hazelnut Nutella creates a match made in heaven, accessible to anyone with basic pantry staples.
- The preparation is straightforward, requiring just a few steps and minimal cooking, which means you can have your dessert ready in no time.
- Despite the simplicity, the end result is visually stunning and tastes sophisticated, making it perfect for special occasions or as a unique dessert for any gathering.
Key Ingredients
The main ingredients for this recipe include dark chocolate for the intense chocolate flavor, Nutella for the creamy hazelnut taste, eggs to bind the mixture, flour as a base, sugar for sweetness, and optionally, nuts for added texture. For those looking for substitutions, you can use alternative types of chocolate or nut spreads, and for a gluten-free version, simply replace the flour with a gluten-free mix. The beauty of this recipe lies in its flexibility and the ability to adapt it to your dietary needs and preferences.
Instructions
- Step 1: Begin by preheating your oven to 350°F (175°C). While that’s heating up, prepare your ingredients by measuring out the sugar, flour, and chopping any nuts you plan to use. Don’t forget to grease a square baking pan and line it with parchment paper for easy removal of the brownies once they’re baked.
- Step 2: In a large mixing bowl, combine the eggs, sugar, and Nutella. Mix until well combined and smooth. In a separate bowl, melt the chocolate (either in a double boiler or in the microwave in 30-second increments, stirring between each interval until smooth). Allow the chocolate to cool slightly before folding it into the Nutella mixture. Then, gently fold in the flour until just combined, being careful not to overmix.
- Step 3: Pour the batter into the prepared baking pan and smooth the top. If using nuts, sprinkle them evenly over the top of the batter. Bake for about 25-30 minutes or until a toothpick inserted into the center comes out with a few moist crumbs attached. Let the brownies cool completely in the pan before cutting them into squares.
- Step 4: To create the stacked effect, cut the cooled brownies into squares or use a cookie cutter for a more playful shape. Stack the brownies on top of each other, using a small amount of Nutella or chocolate ganache to “glue” them together. Finally, write “Nutella Brownies” above your stacked masterpiece using melted chocolate or icing, and serve.
Handy Tips
- For a fudgier brownie, bake for 23-25 minutes. For a firmer brownie, bake for 30-32 minutes. Keep an eye on them to ensure you achieve your perfect texture.
- Consider using high-quality chocolate for the best flavor. If Nutella isn’t your favorite, you can substitute it with another chocolate-hazelnut spread or even peanut butter for a different twist.
- Avoid overmixing the batter, as this can lead to dense brownies. Also, don’t overbake, as this will dry out your brownies.
Heat Control
When baking the brownies, it’s crucial to control the heat to ensure they cook evenly and don’t burn. The ideal temperature is 350°F (175°C), and the baking time will depend on your oven and the size of your brownies. Keep an eye on them after 20 minutes, checking every 5 minutes thereafter until they’re done to your liking. A toothpick inserted into the center should come out with a few moist crumbs for fudgy brownies or clean for cakeier brownies.
Crunch Factor
The crunch factor in these brownies can be achieved by adding nuts such as hazelnuts, walnuts, or pecans on top before baking. If you prefer a chewier brownie, baking them for a shorter time will help retain moisture. For a firmer, more cake-like brownie, bake them for a few minutes longer. The texture is entirely up to your personal preference, making this recipe highly adaptable.
Pro Kitchen Tricks
- For an extra glossy top, melt a small amount of chocolate and spread it over the brownies once they’ve cooled. This not only adds flavor but also gives them a professional finish.
- Use room temperature ingredients for easier mixing and a more even bake.
- Don’t open the oven door during the baking time, as this can cause the brownies to sink or not cook evenly.
Storage Tips
- Store the brownies in an airtight container at room temperature for up to 3 days. For longer storage, consider freezing them. Wrap the brownies tightly in plastic wrap or aluminum foil and place them in a freezer-safe bag. Frozen brownies will keep for up to 2 months.
- To reheat, simply thaw at room temperature or reheat in the microwave in short intervals until warmed through.
- For the stacked brownies, it’s best to assemble just before serving to prevent them from becoming soggy. However, you can prepare the components (bake the brownies, prepare the Nutella or chocolate ganache) ahead of time and store them separately until ready to assemble.
Gift Packaging Ideas
If you’re considering gifting these brownies, they can be packaged in a variety of creative ways. Place a stack of brownies in a decorative tin or jar, tied with a ribbon and a gift tag that says “Nutella Brownies.” Alternatively, wrap individual brownies in cellophane bags and tie with a twist tie and a label. For a more rustic look, use parchment paper or brown paper bags with a handwritten note. Whatever method you choose, the recipient is sure to be delighted by the thought and the delicious taste of your homemade brownies.
Flavor Variations
- Consider adding different spices like cinnamon, nutmeg, or cayenne pepper to give your brownies a unique twist.
- Creative toppings can include marshmallows, caramel sauce, or even candy pieces for a fun surprise.
- Ingredient swaps like using peanut butter instead of Nutella or adding dried fruit can change the flavor profile entirely.
Troubleshooting
- If your brownies turn out too dense, it might be due to overmixing the batter. Try mixing the ingredients just until they come together for a lighter texture.
- For brownies that are too dry, they might have been overbaked. Keep a closer eye on the baking time, and consider reducing it by a few minutes.
- If you’re looking to replace an ingredient and aren’t sure what to use, start by looking for ingredients with similar properties. For example, if you’re out of Nutella, look for another chocolate-hazelnut spread or consider making your own.
FAQs
- Can I freeze it? Yes, you can freeze the brownies for up to 2 months. Wrap them tightly and store in a freezer-safe bag.
- Is it gluten-free? The original recipe includes flour, making it not gluten-free. However, you can easily make it gluten-free by substituting the flour with a gluten-free flour mix.
- Can I double the recipe? Absolutely. Simply double all the ingredients and adjust the baking time as needed. Keep in mind that larger batches may require longer baking times.
Conclusion
Creating Chocolate Nutella Brownies stacked on top of each other with the words “Nutella Brownies” above them is a fun and creative project that combines delicious flavors with a visually appealing presentation. Whether you’re a seasoned baker or just starting out, this recipe is easy to follow and adapt to your tastes. Don’t be afraid to experiment with different ingredients or presentation styles to make it your own. Share your creations with friends and family, and enjoy the process of making something truly special. Happy baking!