What makes the perfect weeknight dinner? A quick and easy homemade cheesy garlic chicken wrap that’s a family favorite, filled with tender chicken, rich garlic flavor and melted cheese. Try it soon, save this idea for a delicious meal solution.
Cheesy Garlic Chicken Wrap
Introduction
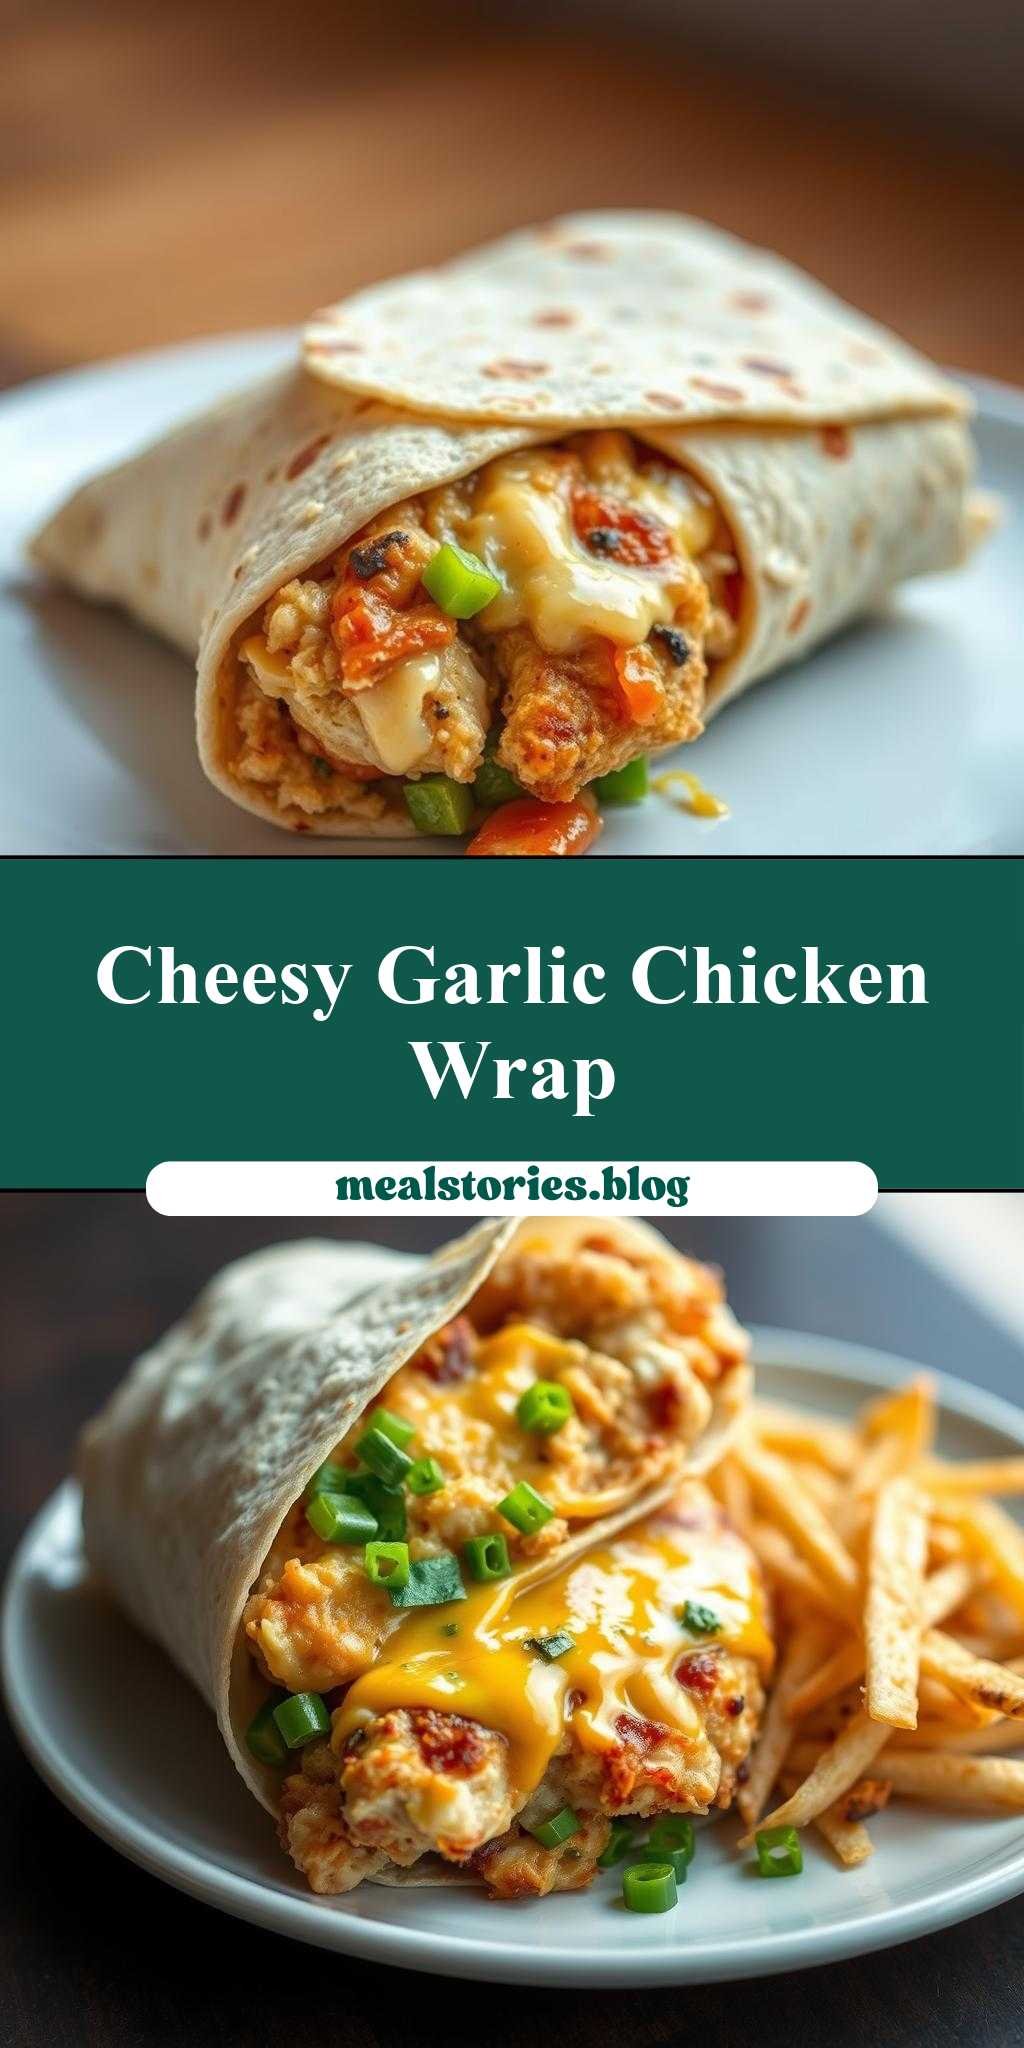
The Cheesy Garlic Chicken Wrap is a mouthwatering, easy-to-make dish that combines the savory flavors of chicken, garlic, and cheese, all wrapped up in a convenient and delicious package. This recipe is perfect for anyone looking to whip up a quick and satisfying meal using everyday ingredients. The beauty of this dish lies in its simplicity and versatility, making it an ideal choice for lunch, dinner, or even as a snack. With its perfect balance of flavors and textures, the Cheesy Garlic Chicken Wrap is sure to become a favorite among both kids and adults alike.
Why This Works
- The balance of flavors in this dish is impeccable, with the richness of the cheese, the pungency of the garlic, and the juiciness of the chicken all coming together in perfect harmony. Plus, the ingredients are easily accessible and budget-friendly.
- The preparation of this dish is remarkably straightforward, requiring minimal effort and time. This makes it an excellent option for busy days when you need a meal that’s both quick and delicious.
- Despite its simplicity, the Cheesy Garlic Chicken Wrap yields impressive results, making it a great choice for those looking to impress guests or family members without spending hours in the kitchen.
Key Ingredients
The main ingredients in this recipe include boneless, skinless chicken breasts, garlic, cheese (such as cheddar or mozzarella), large tortilla wraps, lettuce, tomatoes, and mayonnaise or sour cream. For practical substitutions, you can use different types of cheese, add some diced onions or bell peppers for extra flavor, or swap the chicken with turkey or roast beef for a variation. The garlic can be adjusted to taste, and for those who prefer a lighter flavor, garlic powder can be used as a substitute.
Instructions
- Step 1: Begin by preparing your ingredients. Chop the lettuce and tomatoes, slice the cheese, and mince the garlic. Also, make sure your chicken breasts are ready to be cooked.
- Step 2: Cook the chicken breasts in a pan with some olive oil until they are browned and cooked through. Add the minced garlic towards the end of the cooking time to infuse the chicken with its flavor. Season with salt and pepper to taste.
- Step 3: Warm the tortilla wraps by wrapping them in a damp paper towel and microwaving for about 20-30 seconds. This will make them more pliable and easier to roll. Then, assemble the wraps by slicing the cooked chicken, adding shredded cheese, chopped lettuce, diced tomatoes, and a dollop of mayonnaise or sour cream.
- Step 4: For the final touches, place the assembled wraps under the broiler for a minute or two to melt the cheese and crisp the tortilla slightly. Remove, let cool for a moment, and serve immediately.
Handy Tips
- Always handle chicken safely to avoid cross-contamination. Make sure to wash your hands thoroughly after handling raw chicken and clean any utensils or surfaces that came into contact with it.
- For an extra crispy tortilla, you can grill the wraps in a pan for a few seconds on each side after assembling. Keep an eye on them to avoid burning.
- Consider adding some diced herbs like parsley or cilantro for extra freshness and flavor.
Heat Control
When cooking the chicken, it’s essential to ensure it reaches a safe internal temperature of 165°F (74°C) to avoid foodborne illness. Use a thermometer to check the temperature, especially in the thickest part of the breast. As for the broiling step, keep an eye on the wraps to prevent the cheese from burning or the tortilla from becoming too crispy.
Crunch Factor
The crunch in this dish comes from the fresh lettuce and tomatoes, as well as the slightly crisped tortilla from the broiling process. To achieve the perfect crunch, don’t overcook the vegetables, and broil the wraps just until the cheese is melted and the tortilla starts to crisp. This balance of textures adds depth and enjoyment to the meal.
Pro Kitchen Tricks
- Marinating the chicken in your favorite seasonings for a few hours before cooking can add an extra layer of flavor to the dish.
- Using a panini press or a George Foreman grill can be an excellent alternative to broiling, providing an evenly heated and crisped wrap.
- For cleanup, having all ingredients measured and ready to go can significantly reduce the mess and time spent in the kitchen.
Storage Tips
- Leftover wraps can be stored in the refrigerator for up to a day. Reheat them in the microwave or oven until the cheese is melted and the chicken is warmed through.
- Consider using airtight containers to keep the wraps fresh and prevent drying out.
- For longer storage, the cooked chicken can be frozen and then used in future wraps, reducing food waste and saving time.
Gift Packaging Ideas
If you’re considering gifting these wraps, perhaps for a picnic or as part of a meal basket, you can wrap them individually in plastic wrap or aluminum foil and place them in a basket or container. Adding a side of chips, a salad, or a dessert can make the gift even more special. Use decorative ribbons or labels to add a personal touch.
Flavor Variations
- Spice it up by adding different spices to the chicken, such as cumin for a Mexican twist or paprika for a smoky flavor.
- Get creative with the toppings by adding sliced avocado, bacon bits, or a fried egg for added richness and texture.
- Swap the chicken with other proteins like steak, pork, or tofu for a vegetarian option, adjusting the cooking method as needed.
Troubleshooting
- If the wraps become too soggy, it might be due to overfilling or not warming the tortillas properly. Try using less filling or warming the tortillas for a longer time.
- For dry chicken, ensure it’s not overcooked. Use a thermometer, and don’t press down on the chicken while it’s cooking, as this can squeeze out juices.
- If the cheese doesn’t melt properly, check the broiler temperature and ensure the wraps are not too far from the heat source.
FAQs
- Can I freeze it? Yes, you can freeze the cooked chicken and assemble the wraps when you’re ready to eat them. However, it’s best to add the lettuce, tomatoes, and mayonnaise just before serving to maintain freshness.
- Is it gluten-free? This depends on the type of tortilla wrap used. Look for gluten-free wraps to make the dish suitable for those with gluten intolerance.
- Can I double the recipe? Absolutely, this recipe can be easily doubled or tripled for larger groups. Just ensure you have enough pans or cooking space to accommodate the increased amount of chicken and wraps.
Conclusion
The Cheesy Garlic Chicken Wrap is a versatile and delicious meal option that can be customized to suit any taste. With its ease of preparation, impressive flavor profile, and the ability to be made in large quantities, it’s perfect for families, parties, or even a quick solo meal. Don’t be afraid to experiment with different ingredients and toppings to make the dish your own. Share your creations and enjoy the journey of culinary exploration with the Cheesy Garlic Chicken Wrap as your starting point.